One stop supplier of water treatment parts&accessories


Big Blue Water Filter Housing: Simple Guide to Pick the Right One for Your Home
Okay, here’s my story about installing a big blue water filter housing.
So, I finally got around to installing that big blue water filter housing I bought a while back. The water in my area isn’t terrible, but I figured it couldn’t hurt to have an extra layer of filtration, especially since we sometimes get sediment after heavy rains. Plus, I heard that these things can help protect your appliances, and I’m all for that.
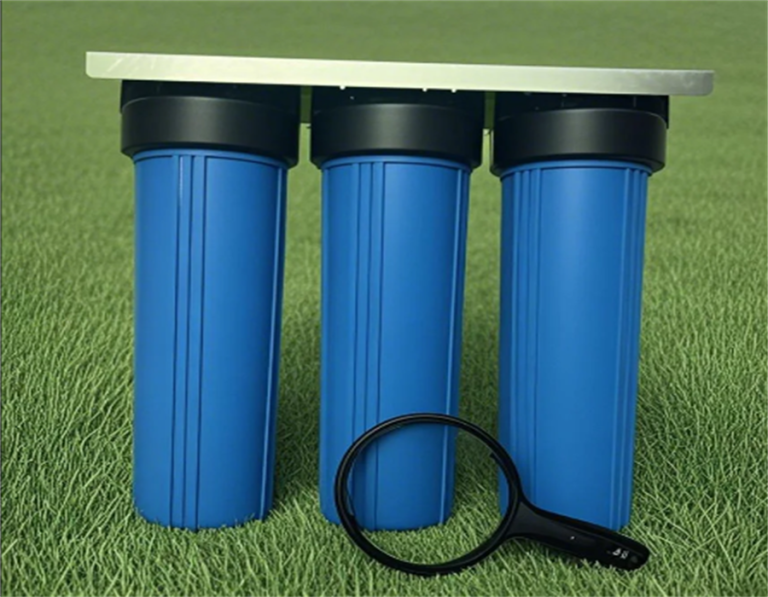
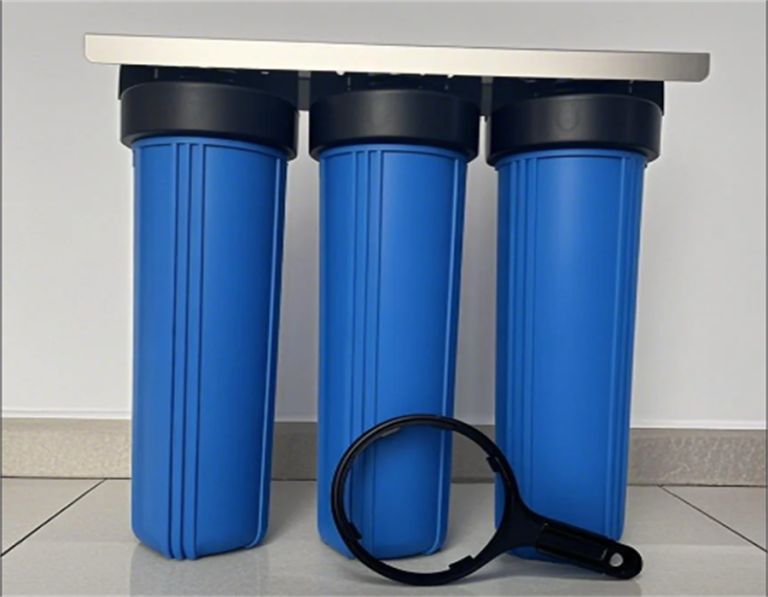
First things first, I gathered all my tools and materials. I already had the filter housing itself, which is this big blue cylinder thing. I also picked up a sediment filter cartridge, a mounting bracket, a wrench, and some other stuff for connecting it to my main water line. I’m no plumber, but I’ve done a few DIY projects around the house, so I wasn’t too intimidated.
- Big blue water filter housing
- Sediment filter cartridge
- Mounting bracket
- Wrench
- Fittings and pipe adapters
The first step was to shut off the main water supply to the house. I located the main shut-off valve, which was pretty easy to do. I turned it clockwise until the water was completely off. It is an essential step. Once the water was off, I picked a spot to install the filter housing. I chose a section of the main water line that was easily accessible and had enough space around it to work comfortably. And I also considered the water flow direction because I saw the cap was marked “IN” and “OUT” on the top of the housing.
Next, I mounted the bracket to the wall using screws. I made sure it was level and secure because that housing is pretty heavy when it’s full of water. Then, I attached the filter housing to the bracket. It was a simple matter of fitting it into place and tightening some bolts.
Connecting the Pipes
This is where things got a bit tricky. I had to cut a section of my main water line to make room for the filter housing. I used a pipe cutter for this, which made a nice, clean cut. Then, I connected the fittings to the inlet and outlet ports of the filter housing. These fittings are specific to the type of pipes you have, so I made sure I had the right ones. I used some Teflon tape on the threads to prevent leaks. I mean, I’m not a professional plumber, just try to do it right.
After that, I connected the pipes from the main water line to the fittings on the filter housing. This involved using some adapters and making sure everything was tightened properly. Again, I used Teflon tape on all the threaded connections. This part took a bit of trial and error, but eventually, I got everything connected and leak-free.
Flushing and Testing
Once everything was hooked up, I slowly turned the main water supply back on. I checked for leaks and tightened any connections if needed. Luckily, there were no leaks. Then, I opened a faucet in the house to let the water run through the new filter for a few minutes. This is to flush out any air or loose particles in the filter. At first, the water was a bit cloudy, but it quickly cleared up. This filter is designed to remove impurities and contaminants from your water supply.
And that’s it! The big blue water filter housing was installed and working. I have to say, I was pretty proud of myself for tackling this project. It wasn’t as hard as I thought it would be, and now I have the peace of mind knowing that my family is drinking cleaner water. It seems that the filter will prevent any of the softening resin from escaping from the softener. Plus, my appliances might last a bit longer, too. So, if you’re thinking about installing one of these, I say go for it! Just make sure you have the right tools and follow the instructions carefully. You might surprise yourself with what you can accomplish.