One stop supplier of water treatment parts&accessories


Big Blue Water Filter Installation: Heres What You Need to Know! Everything About the Filter, Supplies, Tools, and Process!
Okay, so, I’ve been wanting to up my water game at home. You know, make sure the water we drink and use is, like, top-notch. Finally, I got around to getting a big blue water filter. I thought, why not share how the whole thing went down? Might be useful for someone out there, you know?
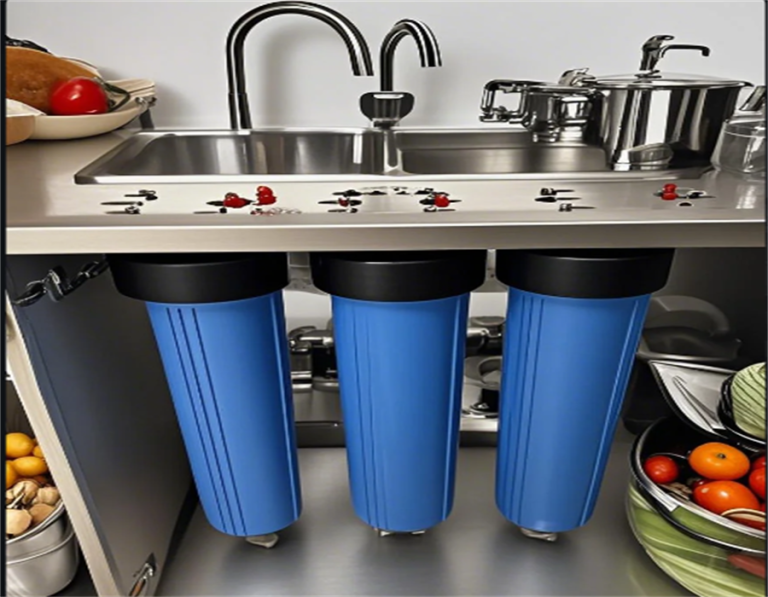
First off, I gotta say, finding the right spot for this thing was a bit of a head-scratcher. I live at 2521 Big Timber Dr – it’s this cozy little two-bed place. Not exactly swimming in extra space, if you catch my drift. After a bit of pacing around and eyeing different corners, I decided the best place was this under-sink area in the kitchen. Figured it’s out of the way but still easy to get to.
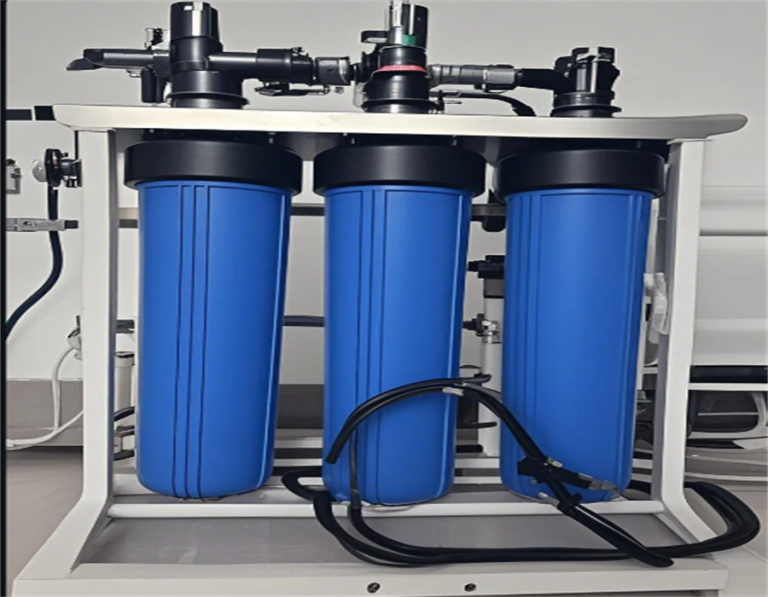
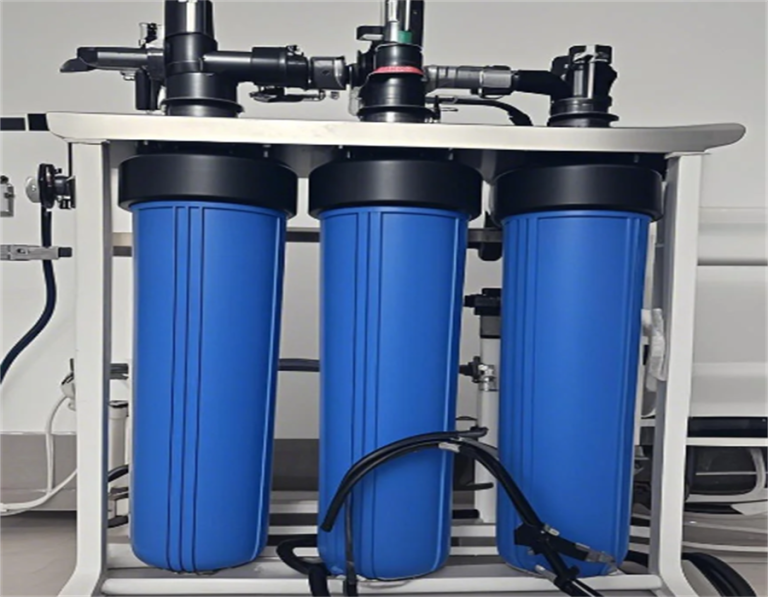
Next up, the actual setting up part. I won’t lie, looking at all those parts and the filter itself, I was a bit like, “What did I get myself into?” But, it turned out to be more bark than bite. I started by turning off the main water supply. Safety first, right? Then, I connected the filter housing to the pipes. It involved some twisting and tightening, making sure everything was snug as a bug. There was a bit of a “lefty loosey, righty tighty” situation, but I got the hang of it.
Once the housing was in place, I popped in the filter cartridge. This one’s supposed to be great for catching all the tiny stuff like dirt and whatnot in the water, especially since my town likes to flush the water mains every now and then, which always stirs up a bunch of sediment. I slotted the cartridge into the housing, gave it a good twist to lock it in, and that was that.
The last step was turning the water back on and checking for any leaks. I turned the tap on slowly, held my breath, and… no drips! Success! I let the water run for a few minutes, just like the instructions said, to flush out any loose bits from the new filter.
- Turn off the water: Don’t wanna flood the place.
- Connect the housing: Some elbow grease required here.
- Insert the filter: This is the hero that does the cleaning.
- Turn the water back on: Fingers crossed for no leaks.
- Flush the filter: Gotta clear out the new filter gunk.
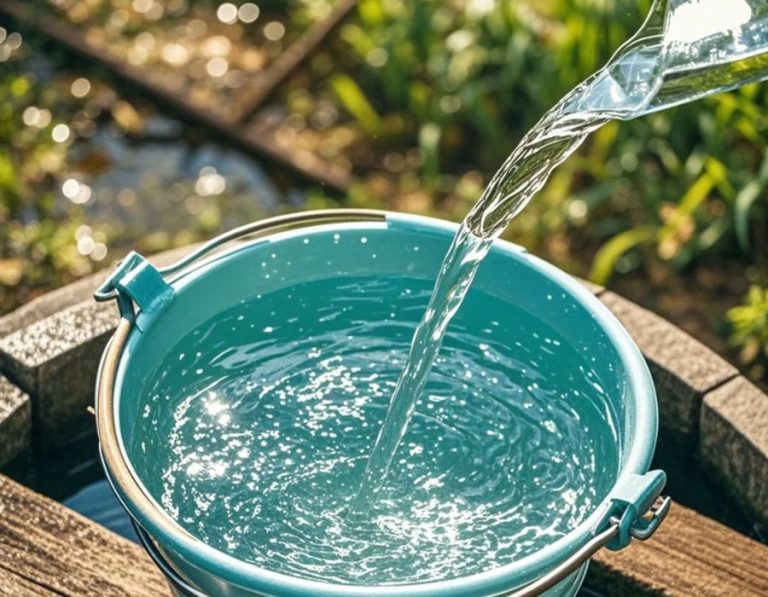
After everything was set, I poured myself a glass of water, and I gotta say, it tasted… different. Cleaner, maybe? Could be all in my head, but hey, I’m feeling pretty good about the whole setup. It’s like, I’ve got this little water purification station right in my kitchen. It wasn’t just about installing a filter, it felt like leveling up my home game.
Honestly, the whole process wasn’t as scary as I thought it would be. And yeah, it took a bit of time and a couple of “Wait, how does this work again?” moments, but in the end, it was totally worth it. My tap water feels and tastes better and it’s peace of mind knowing that the water my family drinks daily is clean! Plus, I got to feel like a DIY champ for a day, which is always a nice bonus.