One stop supplier of water treatment parts&accessories


Buying a pentair big blue 20 filter replacement? Read this first!
Okay, here’s a blog post about replacing a Pentair Big Blue 20 filter, written in the style you described:
Alright, so the water at my place started tasting a bit funky, and the water pressure was getting kinda weak. It’s been a while since I messed with the whole house water filter, so I figured it was probably time to swap out the old filter cartridge. I’ve got one of those Pentair Big Blue 20-inch filter housings – pretty standard stuff. These things are hefty, so you know they’re working hard.
First thing’s first, I went and turned off the main water supply to the house. Don’t wanna end up with a surprise shower, you know? Then, I grabbed a bucket and put it under the filter housing to catch any water that might spill out.
These Big Blue housings have a pressure release button on top. I pushed that to let out any built-up pressure. That’s an important step, makes it way easier to unscrew the housing.
Next, I got my trusty filter wrench – you definitely need one of these, it’s a special kind of wrench that fits around the housing. I placed the wrench around the base of the housing and turned it counterclockwise. It took a bit of muscle, but it eventually loosened up.
Once it was loose enough, I carefully unscrewed the housing by hand the rest of the way. Man, that thing is heavy when it’s full of water! I dumped out the old water into the bucket – it was pretty murky, so yeah, definitely time for a new filter.
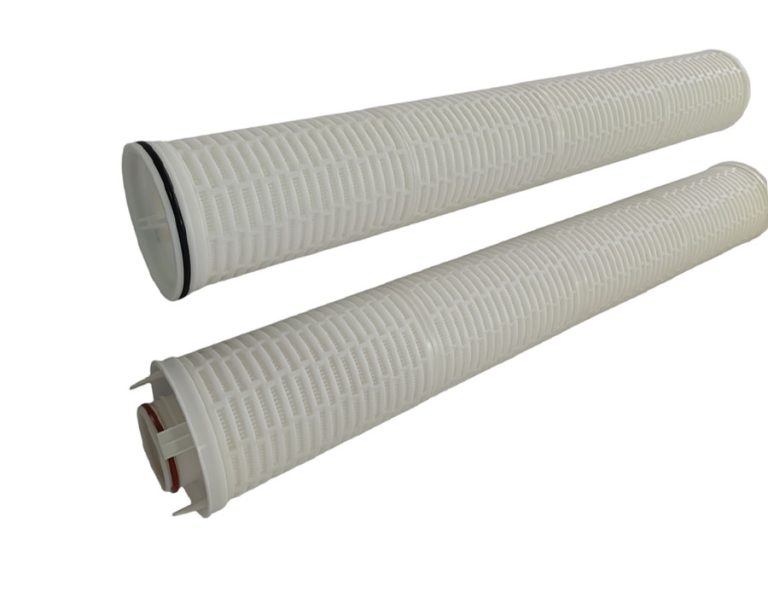
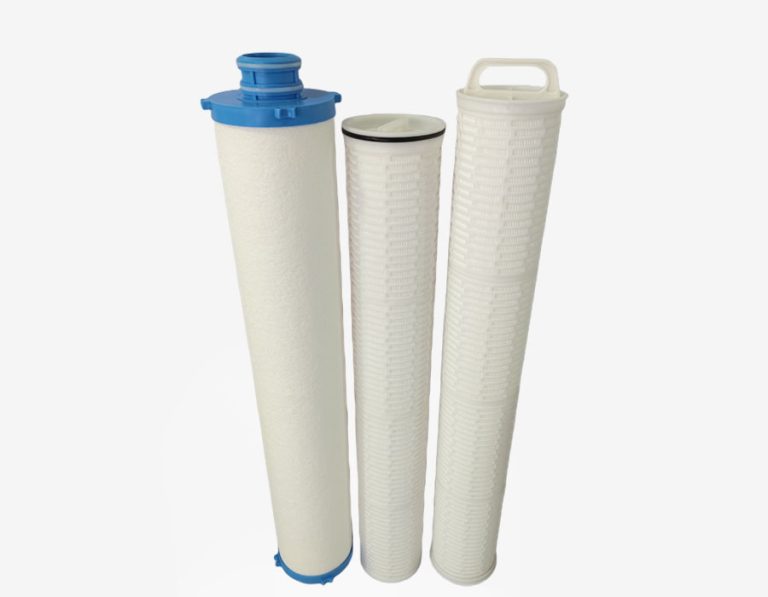
I pulled out the old filter cartridge. It was covered in gunk and sediment. Glad I decided to change it! The filter is pretty big, about 20 inches long and 4.5 inches wide, it is a carbon filter, so it deals with the smell and the city’s water treatment stuff.
Before putting in the new filter, I took a look inside the housing and gave it a quick rinse with some clean water. Just wanted to make sure there wasn’t any debris hanging around in there.
I unwrapped the new filter cartridge. This time I got one with some 33% more dirt holding thing, let’s see if it will last longer. Then I carefully placed it into the housing, making sure it was centered and seated properly.
Next, I screwed the housing back onto the filter head. I tightened it by hand first, then used the wrench to give it a final snug turn. Don’t overtighten it, just enough so it’s secure and won’t leak.
With the new filter in place, I slowly turned the main water supply back on. I kept an eye on the filter housing for any leaks. Once I was sure everything was good, I opened up a few faucets in the house to let the water run and flush out any air in the lines.
And that’s it! Water’s tasting fresh again, and the pressure is back to normal. Pretty easy job, overall. Just gotta remember to change these filters every so often. I’d say it was a successful DIY project.
- Keep track of when you last changed the filter. Write the date on the housing or something, I use a marker to write the date on the filter.
- If the housing is really stuck, you can try using a strap wrench for extra leverage. Or you can call your strong friends.
- It’s not a bad idea to have a spare filter cartridge on hand. I always buy two at once, just in case.
Some tips I picked up:
Hope this helps anyone out there tackling their own filter replacement. It is not that scary. Stay hydrated, folks!