One stop supplier of water treatment parts&accessories


Changing Resin in Water Softener: A Comprehensive Guide
Introduction
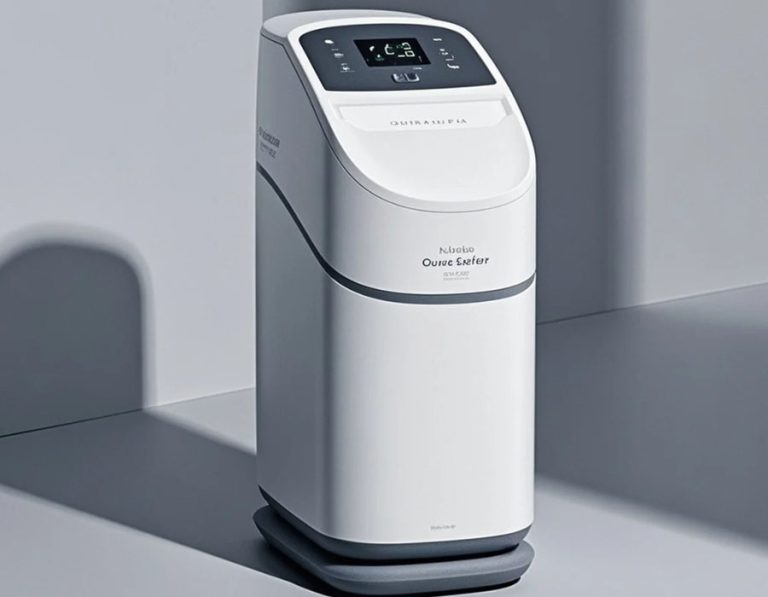
Changing resin in water softener is a task that might seem daunting at first, but it’s crucial for maintaining your water softener’s performance. Over time, the resin in your water softener can wear out or become contaminated. Let’s explore why and how you should change it.
Why Change the Resin?
Loss of Softening Power
One main reason is the loss of softening power. If your water feels hard again, like it did before you got the softener, the resin might be the culprit. For example, if you notice more soap scum in your shower, it could mean the resin isn’t doing its job. So, how do you know when it’s time to change the resin? A drop in water softness is a big sign.
Resin Contamination
Another factor is resin contamination. Iron, manganese, or other impurities in the water can coat the resin beads. This stops them from effectively exchanging ions. If your resin looks discolored or has a strange smell, it might be contaminated. Thus, contamination can be a clear indication that changing resin in water softener is needed.
Age of the Resin
Resin has a lifespan. Generally, it can last from 5 to 15 years. But this depends on water quality and usage. Older resin may break down, with beads becoming brittle or smaller. So, if your resin is approaching the end of its expected lifespan, it’s wise to consider replacement.
Tools and Materials Needed
Safety Gear
First, you’ll need safety gear. Gloves protect your hands from any chemicals or sharp edges. Safety glasses shield your eyes. It might seem like overkill, but safety comes first. So, always gather these before starting to change the resin in your water softener.
Tools
You’ll need a few tools. A siphon helps drain the water from the resin tank. A bucket catches the drained water. A screwdriver or wrench is useful for opening the tank. For example, if your tank has a lid secured with screws, you’ll need a screwdriver. Thus, having the right tools makes the job easier.
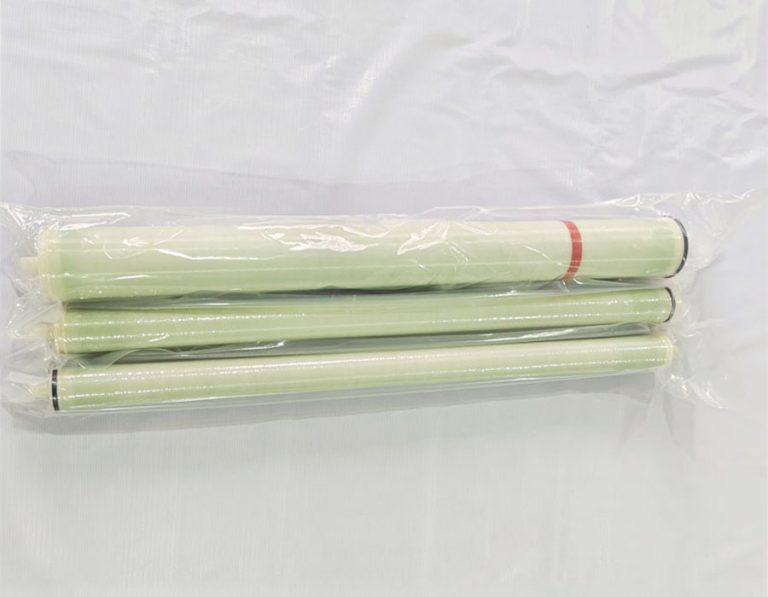
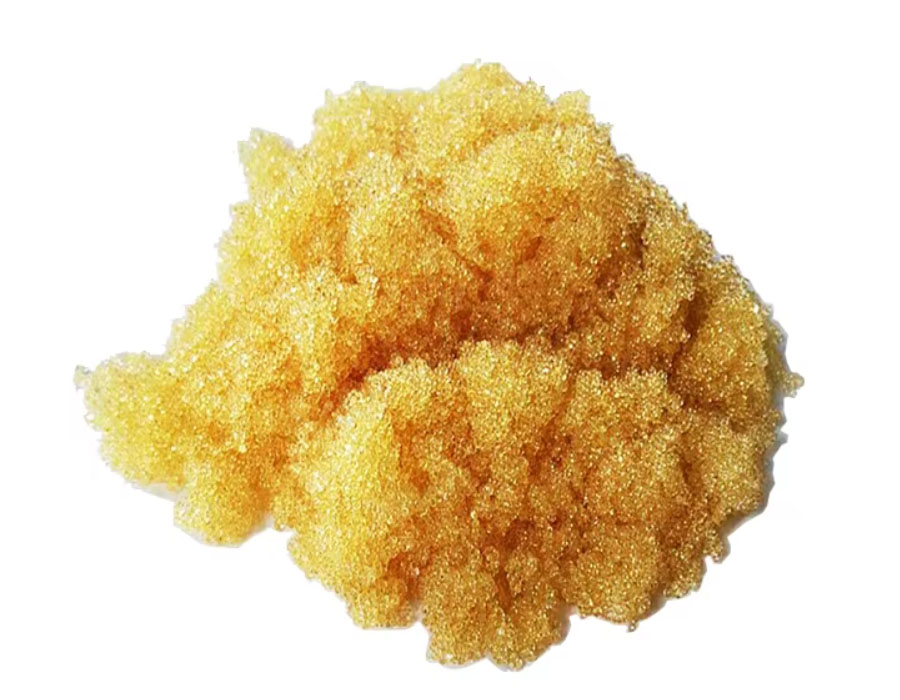
New Resin
Of course, you need new resin. Make sure to buy the right type for your water softener. Different models might require specific resins. For instance, some need cation exchange resin. So, double – check the type before purchasing new resin for your water softener.
Step – by – Step Process of Changing Resin
Preparation
Start by turning off the water supply to the softener. Then, unplug the unit. This ensures your safety. Next, open the bypass valve if your system has one. So, why is this preparation important? It stops water flow and electrical hazards while you work on changing the resin.
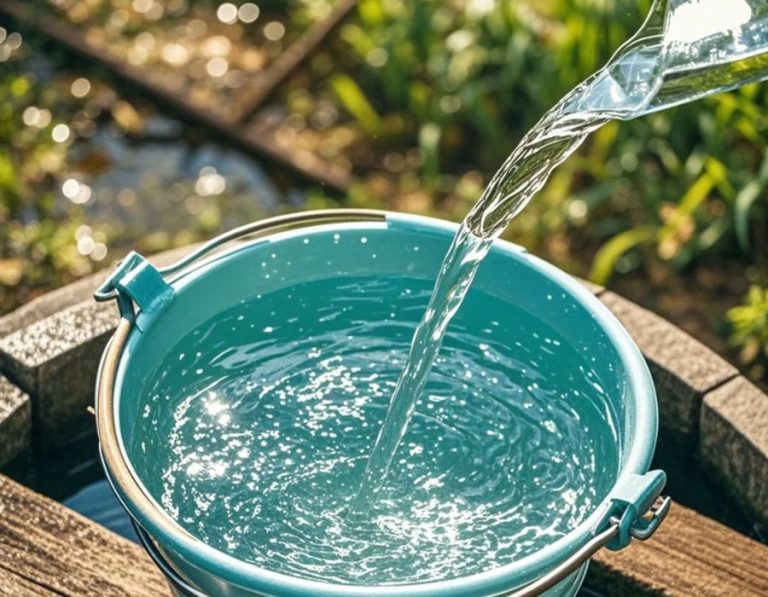
Draining the Tank
Use the siphon to drain the water from the resin tank into the bucket. Be patient, as this can take some time. What if there’s a lot of sediment? You might need to empty and refill the bucket several times. Once drained, you can move on to the next step.
Removing the Old Resin
Open the resin tank. You can scoop out the old resin using a small shovel or your gloved hands. Be careful not to damage the tank. If there are any stubborn bits, you can use a soft – bristle brush. So, removing the old resin is a key step in changing resin in water softener.
Cleaning the Tank
After removing the old resin, clean the tank. Use a mild detergent and water. Scrub the walls and bottom of the tank. Rinse it thoroughly. This removes any remaining debris or contaminants. Thus, a clean tank is essential for the new resin to work well.
Adding the New Resin
Pour the new resin into the tank. Make sure to fill it to the recommended level. This information is usually in your water softener’s manual. For example, it might say to fill the tank to 3/4 full. So, adding the new resin correctly is crucial for proper softener function.
Reassembling and Starting Up
Close the tank lid securely. Then, turn off the bypass valve and turn on the water supply. Plug in the unit. Check for any leaks. How do you know if it’s working? Run some water and check its softness. So, proper reassembly and startup are the final steps in the process.
Tips for a Smooth Resin Change
Buy Quality Resin
Invest in high – quality resin. It might cost a bit more, but it’ll last longer and work better. For example, well – known brands often offer better – performing resins. So, don’t skimp on the resin when changing it in your water softener.
Follow Manufacturer’s Instructions
Always follow the manufacturer’s instructions. They know their product best. The manual will have specific details about your water softener model. For instance, it might have unique steps for opening the tank. Thus, following these instructions ensures a successful resin change.
Monitor Water Quality
After changing the resin, monitor the water quality. Use a water hardness test kit. This helps you see if the new resin is working as it should. If the water still seems hard, there might be an issue. So, monitoring water quality is a good way to check the success of the resin change.