One stop supplier of water treatment parts&accessories


Changing Your Big Blue Water Filter: Heres a Simple Guide You Can Follow.
So, I got this big blue water filter thing at home, you know, the one for the whole house. It’s been, like, six months, and I figured it’s probably time to change the filter inside. I mean, they say you gotta do it every six months or something, right? To keep the water clean and stuff. Anyway, I thought I’d share how I went about it.
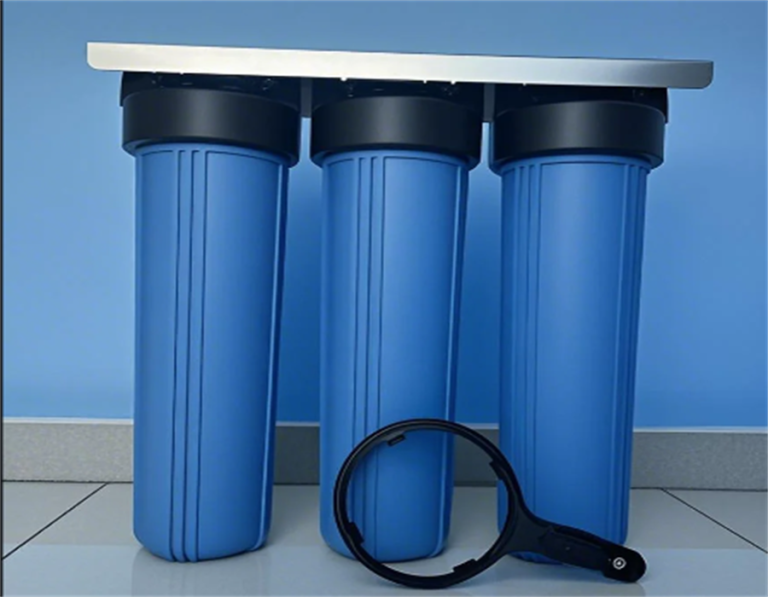
First things first, I turned off the main water supply to the house. Don’t wanna end up with a mini flood in the basement, ha! Then I went looking for the filter housing. It’s this big blue cylinder thing, pretty hard to miss. Once I located it, I took a good look at it. There’s this red button on top, which I later found out is the pressure release button. Pretty handy, I guess.
-
Turning the Water Off
-
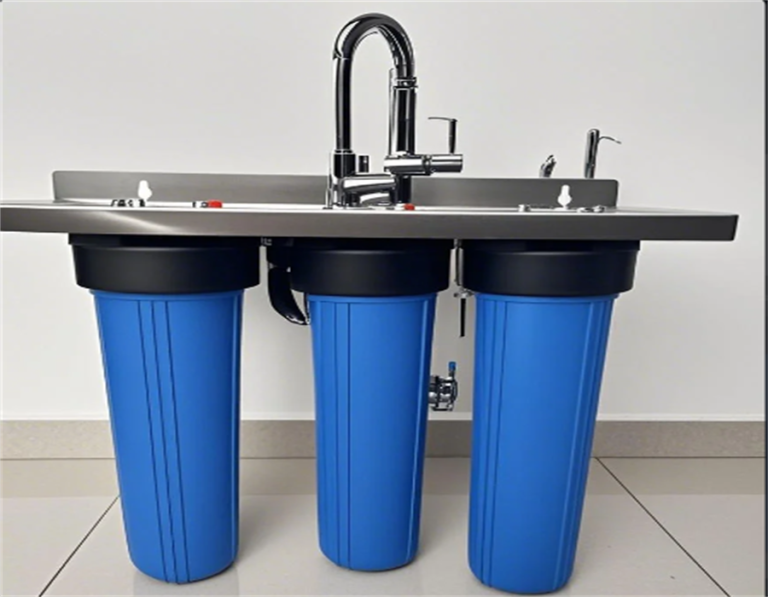
Finding the Filter
-
Pressing the Red Button
I made sure to turn that water valve all the way. No dripping allowed!
It’s big, it’s blue, it’s right there connected to the pipes. It was not difficult to find.
Pushing that button let out some air. I think it’s supposed to make things easier.
Now, the tricky part. I had to unscrew the housing. There’s a special wrench for this, thankfully it came with the filter when I bought it. I placed the wrench around the housing, took a deep breath, and started twisting. It was a bit tight at first, but I managed to loosen it up. Slowly but surely, I unscrewed the whole thing, and water started gushing out – I used a big bucket to catch all the water. Don’t forget this part, or you’ll have a mess! I made sure I had a bucket ready to catch the water.
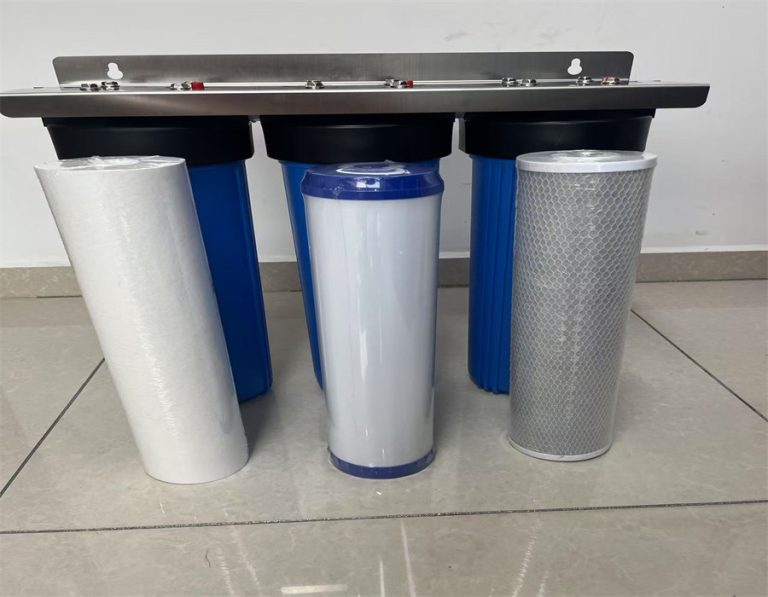
With the housing off, I could finally see the old filter. It was all gross and discolored. Definitely time for a change. I pulled out the old filter, and man, it was heavy and full of gunk. I was kind of glad I decided to change it, imagine drinking water that went through that.
-
Using the Wrench
-
Taking Out the Old Filter
That wrench thingy is a lifesaver. I twisted and twisted until it came loose.
Pulled it out, and it was nasty. Good thing I’m changing it.
Next, I grabbed the new filter. It looked so clean and white compared to the old one. I carefully placed it inside the housing, making sure it was properly seated. Then, I screwed the housing back on, using the wrench again to tighten it up. I didn’t want any leaks, so I made sure it was nice and snug.
-
Putting in the New Filter
-
Screwing the Housing Back On
Slid the new one in, easy peasy.
Tightened it up real good with the wrench.
Finally, I turned the water supply back on and checked for leaks. Everything looked good, no drips or anything. I let the water run for a few minutes, just to flush out any air or loose debris. And that’s it! I changed the filter in my big blue water filter. I felt accomplished with a little dirty and wet. Not too bad for a first-timer, right? Now I can enjoy clean water for another six months. Hopefully, this helps someone out there. It is pretty easy to do!