One stop supplier of water treatment parts&accessories


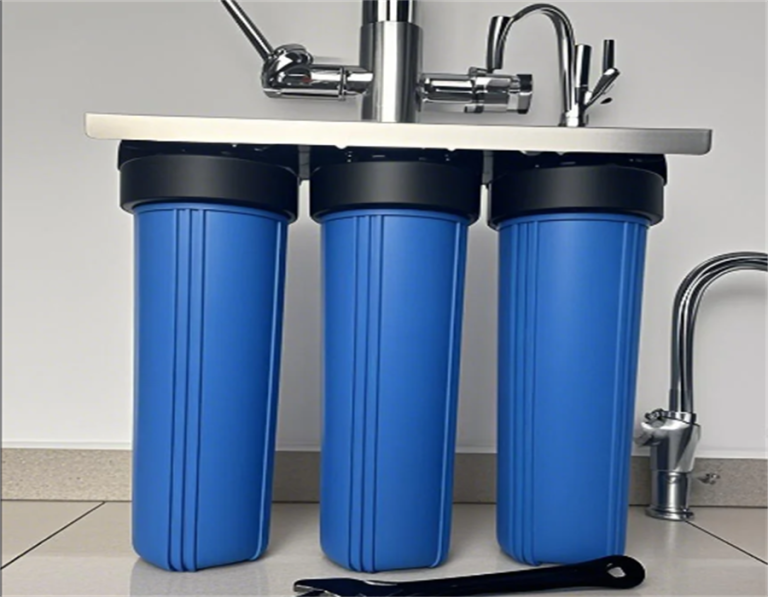
Choosing the right pentek big blue 20 filter replacement: A simple guide for homeowners!
Okay, so the other day, I had to swap out the filter in my Pentek Big Blue 20” filter. Let me tell you, it was quite the process, but I managed to get it done, and I figured I’d share my experience in case anyone else is about to tackle the same task.
Getting Started
First things first, I gathered all my tools. You’re gonna need a filter wrench, a new Pentek Big Blue 20” filter cartridge, and maybe some plumber’s tape if you wanna be extra cautious about leaks. I already had a wrench from the last time, so I just picked up a new filter. There are different types, like sediment and carbon filters. This time I went with a Pentek CFB-Plus20BB Water Filter Cartridge, which is a carbon block one. It’s supposed to be good for getting rid of chlorine taste and odor.
Shutting Off the Water
Next, I shut off the water supply. This is super important, unless you want a surprise shower. My shut-off valve is right before the filter housing, so I just turned that to the “off” position. Easy peasy.
Releasing the Pressure
Then, there’s usually a pressure release button on the top of the filter housing. I pressed that to get rid of any built-up pressure inside. A little water might come out, so be prepared for that.
Unscrewing the Housing
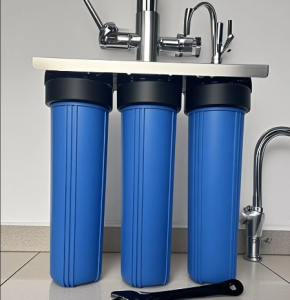
Now comes the fun part. I used my filter wrench to unscrew the housing. It’s that big blue part, hence the name “Big Blue.” It can be pretty tight, so I had to put some muscle into it. Righty tighty, lefty loosey – don’t forget that!
Removing the Old Filter
Once the housing was off, I could see the old filter. It was definitely time for a change. I just pulled it out, and let me tell you, it was heavy and full of gunk. It’s amazing how much stuff these filters catch. This model is also compatible with other 20 heavy duty filter housings, and also can replace any 20 x 4.5 carbon filter.
Installing the New Filter
Putting in the new filter was a breeze. I made sure it was centered properly and then screwed the housing back on. I used the wrench to tighten it, but not too tight. You don’t wanna crack the housing.
Checking for Leaks
Finally, I turned the water supply back on slowly and checked for leaks. I watched it for a few minutes, and everything looked good. No drips, no sprays, just clean water flowing through. It’s also useful for scenarios that require high.
Wrap-Up
And that’s it! It’s not the most glamorous task, but changing your water filter is important for keeping your water clean and tasty. I also know that Pentek’s products include sediment and carbon filter cartridges, filter housings, ultraviolet, UF ultra * you’re doing it yourself, just remember to shut off the water, release the pressure, and don’t overtighten the housing. It might take a little elbow grease, but it’s definitely a doable DIY project. Hopefully, my little walkthrough helps someone out there. Stay hydrated, folks!
- First, turned off the water.
- Second, released the pressure.
- Third, unscrewed the housing.
- Fourth, removed the old filter.
- Fifth, installed the new filter.
- Sixth, turned on the water and checked for leaks.
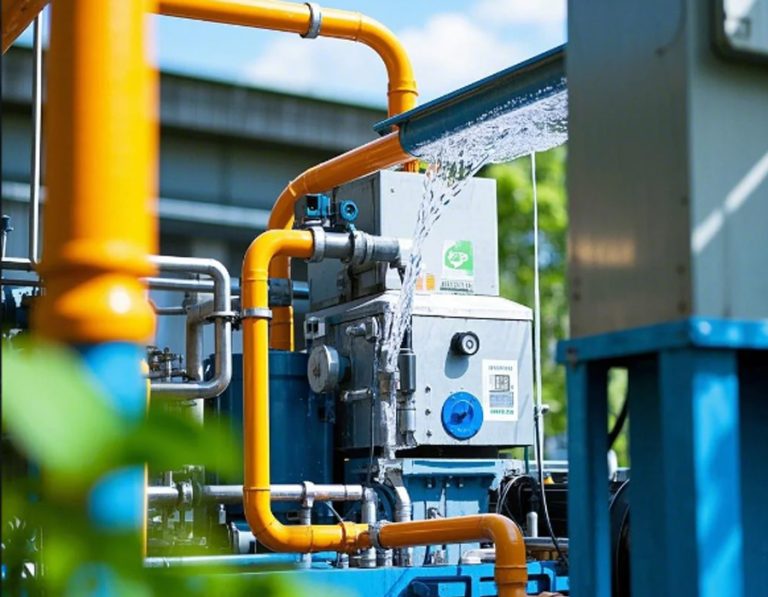
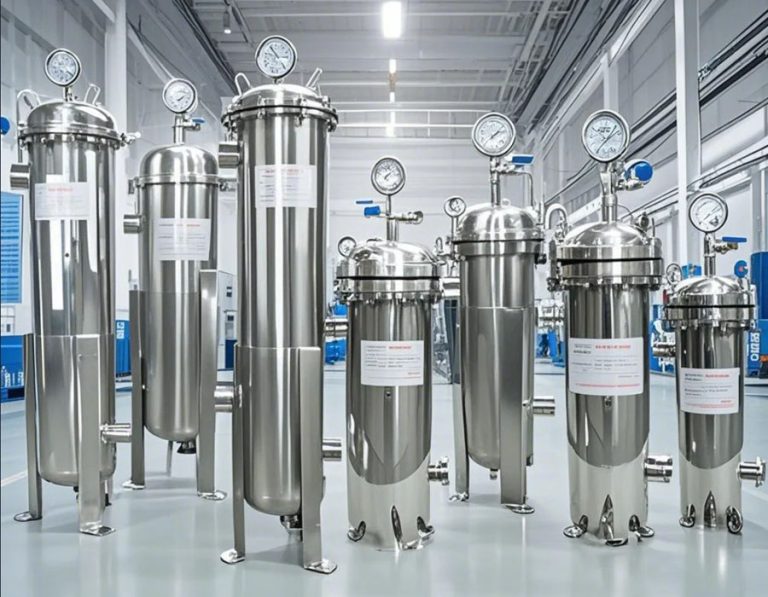
Pentek provides key filtration solutions for water, oil and gas, power generation, chemical, paints and coatings, food and beverage, pharmaceutical and other industrial market sectors.
And the cutting edge design and performance characteristics of the Pentek DGD series filters make them an ideal.
Also, I found some troubleshooting tips online for leaks between the cap and the bottom of the housing, which could be handy if you run into that issue.
Anyway, that’s my story. Happy filtering!