One stop supplier of water treatment parts&accessories


Clean RO Membrane Vinegar Guide, Quick Tips for Better Tasting Water!
Today, I’m gonna share my experience with cleaning my reverse osmosis system’s membrane using vinegar. It’s not rocket science, but it does need a little know-how, so stick with me.
Getting Started
First off, I noticed my RO system wasn’t pumping out water like it used to. The flow was weak, and I figured the membrane might be clogged up with all sorts of gunk. I remembered reading somewhere that vinegar could do the trick, so I decided to give it a shot.
Diving In
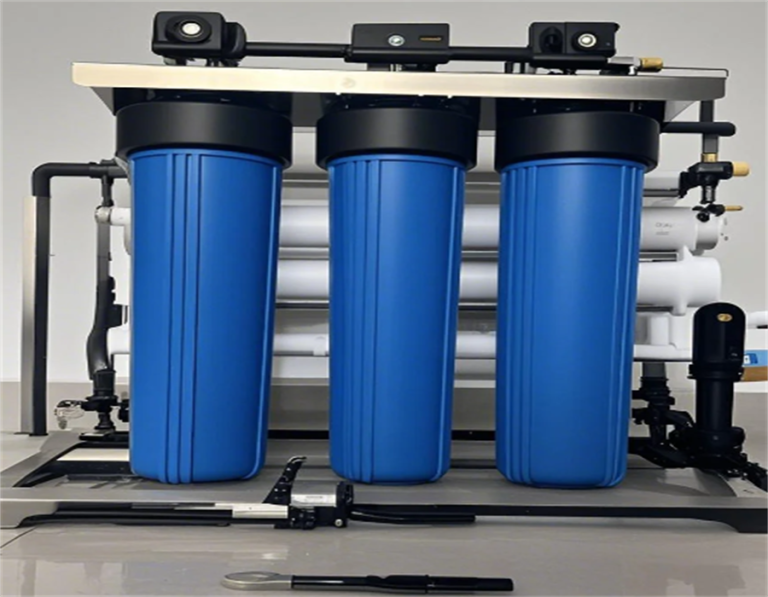
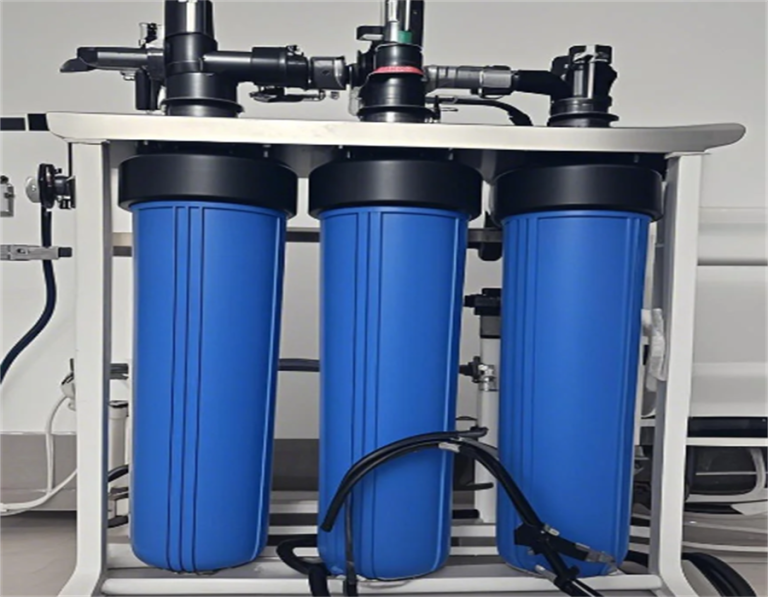
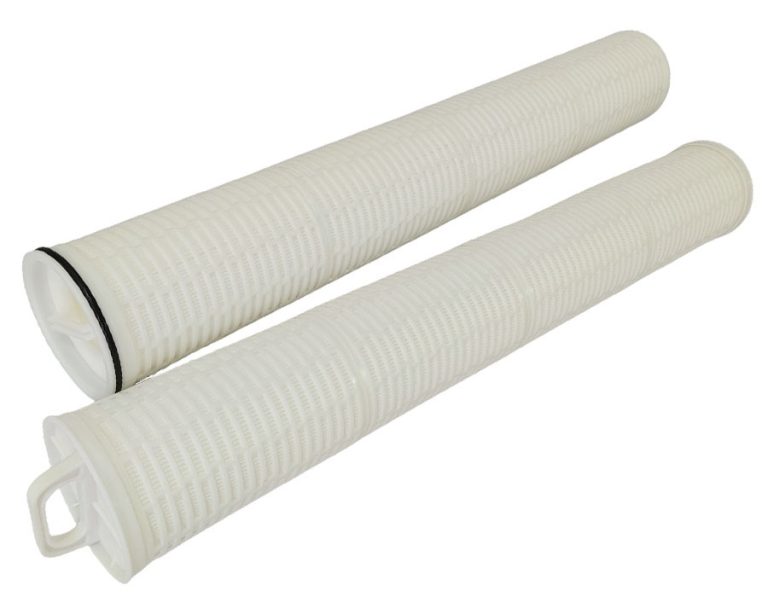
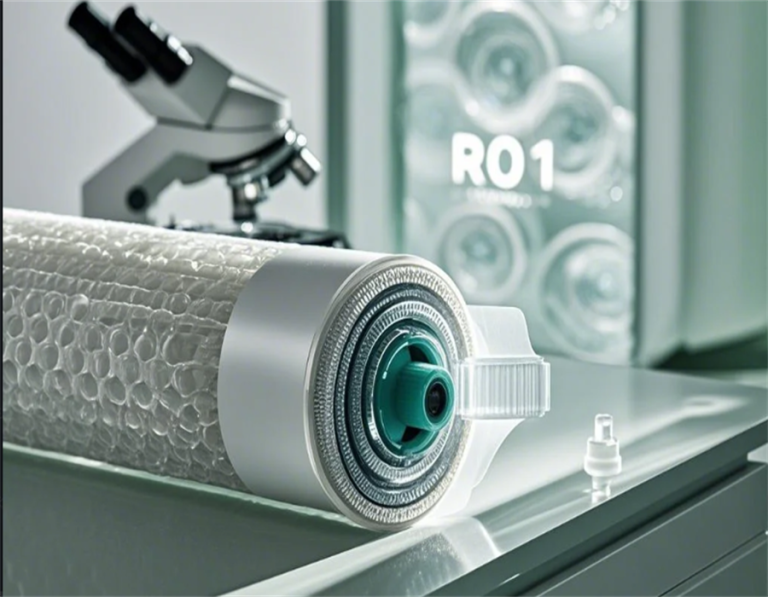
I started by shutting off the water supply to the system—safety first, right? Then, I grabbed my tools and got to work disassembling the thing. It felt like performing surgery, but less intense. I removed all the housings and took out all the pre-filters and post-filters. This included the sediment filters, carbon filters, and even the deionization cartridges. I was careful to make a note on my paper where each went. I’m not too confident in my ability to recall where each part went after a few hours. Finally, I extracted the reverse osmosis membrane itself. It looked pretty nasty, to be honest.
The Vinegar Soak
Next, I mixed up a 50/50 solution of white vinegar and water in a bucket. I read online somewhere that this is a good ratio to use. I submerged the membrane in this solution and let it soak overnight. I figured the vinegar’s acidity would help dissolve any mineral buildup or other deposits that were clogging the membrane. You might think I’d be worried about damaging the membrane, but honestly, it’s designed to take a bit of a beating.
Cleaning Up
The next morning, I took the membrane out of the vinegar bath and rinsed it thoroughly with clean water. I made sure all the vinegar was washed away, especially as vinegar can make water taste pretty sour. I also washed the filter housings with warm soapy water and a soft brush, then rinsed them clean. Got to keep everything spick and span, you know?
Putting It Back Together
After everything was clean and dry, I reassembled the RO system. I put the membrane back in its housing and reconnected all the filters in their proper places. I really took my time to get it right, though, because I didn’t want to mess things up. It took a while, but I was finally ready to test it out.
Testing and Results
I turned the water supply back on and watched as the system started to fill up. The first few gallons of water that came out, I discarded, just like the instructions said. Then, I filled a glass and took a sip. The water tasted fine, so I took that as a good sign. It was working, and the water tasted great. I didn’t have any scientific equipment to measure the water purity, but I had done a good job in restoring my RO system’s water flow.
- Improvement: I noticed a significant improvement in water flow after cleaning the membrane.
- Taste: The water tasted fine after the process, which was a relief.
- Satisfaction: Overall, I was pretty satisfied with the results. I had saved myself a service call and learned something new in the process.
So, that’s my story of cleaning an RO membrane with vinegar. It’s a bit of work, but definitely doable if you’re up for a little DIY project. Just remember to be patient and careful, and you’ll be enjoying clean, fresh water in no time!