One stop supplier of water treatment parts&accessories


Commercial RO Membrane Replacement: Get it Done Right Quickly!
Okay, so, I had to deal with replacing the RO membrane in my small coffee shop. I noticed the water wasn’t tasting right, and our coffee started to get some complaints. That’s when I knew something was up with our water filter system. This thing is crucial for us, you know? Good water equals good coffee.
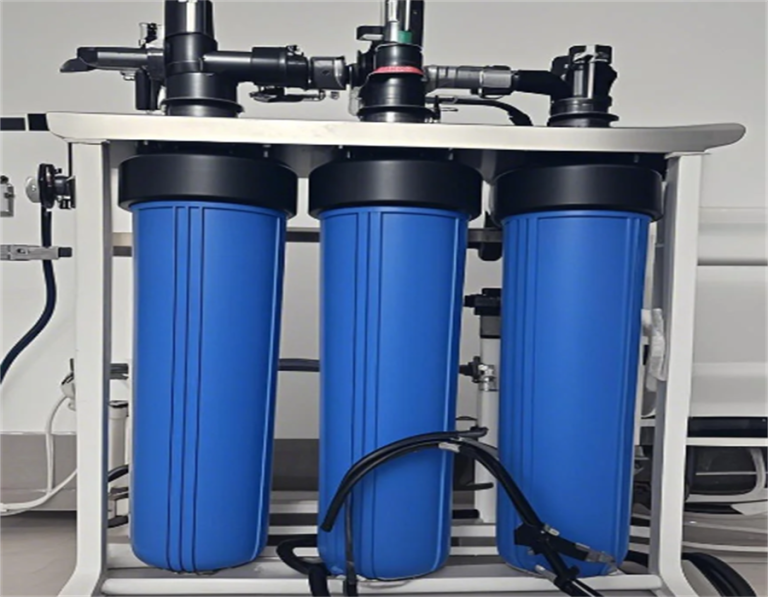
First thing I did was check the system. It’s one of those big commercial ones, not the little thing you have under your sink at home. I figured it might be the membrane since it had been a while. I mean, we use it all day, every day.
So, I started looking around for a replacement. I remembered seeing these membranes at different stores, but I wasn’t sure which one would fit our system. I knew I needed a specific type, but not the exact details. I’m not the best at remembering specs and part numbers.
Find the right one
- Checked the manual: First, I grabbed the manual for our system. It had all the info, but honestly, it was a bit overwhelming.
- Looked online: I went online and searched for commercial RO membranes. Lots of options popped up, but I had to make sure I got the right one for our model.
- Compared models: I spent a good chunk of time comparing different models, reading descriptions, and all that. It wasn’t fun, but it had to be done.
After all that trouble, I finally found the right membrane. Ordered it, and it arrived in a few days. Now came the fun part – actually replacing it.
Replacement time
- Turned off the system: First thing, I turned off the water supply and powered down the system. Safety first, right?
- Opened it up: I opened up the housing where the membrane sits. It wasn’t too hard, just a few screws.
- Took out the old one: I carefully removed the old membrane. It looked pretty worn out, so I knew I was doing the right thing.
- Put in the new one: I slotted in the new membrane, making sure it was snug and secure. It was a bit tricky, but I managed.
- Closed it up: Screwed everything back together, making sure not to overtighten.
Once everything was back in place, I turned the water back on and ran the system for a bit to flush it out. I was watching it like a hawk, making sure there were no leaks or weird noises.
After running it for a while, I tested the water. It tasted so much better! The coffee we made after that was back to its usual deliciousness. Customers were happy, and I was relieved. It was a bit of a hassle, but totally worth it to keep our coffee quality top-notch.
From now on, I’m going to keep a closer eye on the system and maybe replace the membrane a bit more often. Don’t want to go through that again anytime soon. Anyway, that’s my little adventure with the RO membrane replacement. Hope it helps someone out there!