One stop supplier of water treatment parts&accessories


Culligan Big Blue Filter Replacement: When and How To Replace
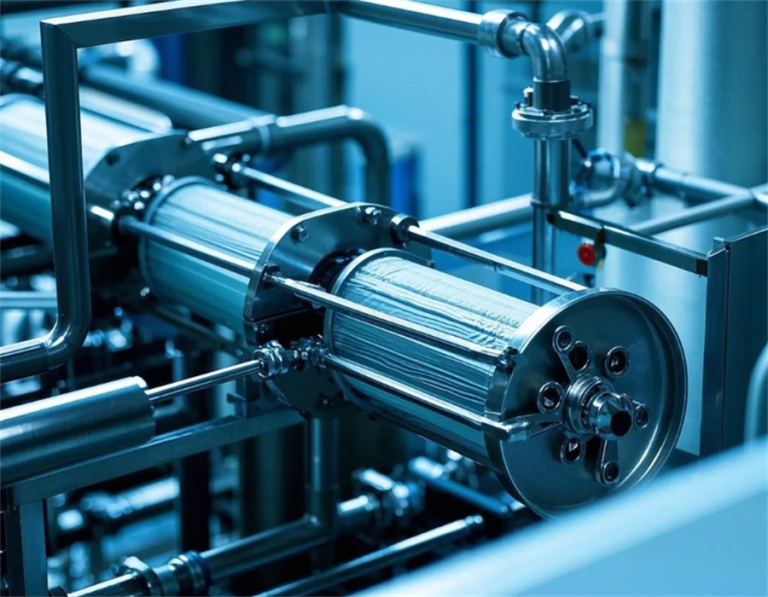
Alright, folks, let’s talk about something that’s been bugging me lately – my water filter. Specifically, the Culligan Big Blue one. You see, I’ve got this whole house water filter system set up, and it’s been working like a charm. But just the other day, I noticed the water pressure was getting kinda weak. Not a good sign.
So, I figured it was probably time to swap out that old filter. Now, I’m no plumber, but I’m pretty handy around the house. Still, I’m not gonna lie, messing with water pipes always makes me a little nervous. But hey, gotta do what you gotta do, right?
First things first, I read through the instructions that came with the filter. It’s always a good idea to at least skim those things, even if you think you know what you’re doing. Then, I shut off the main water supply to the filter housing. You definitely don’t want water spraying everywhere when you start taking things apart.
Next, I went and opened up the faucet that’s closest to the filter on the downstream side. This helps relieve any pressure that might be built up in the system. Some models have a little button you can press for this, but mine didn’t. No biggie.
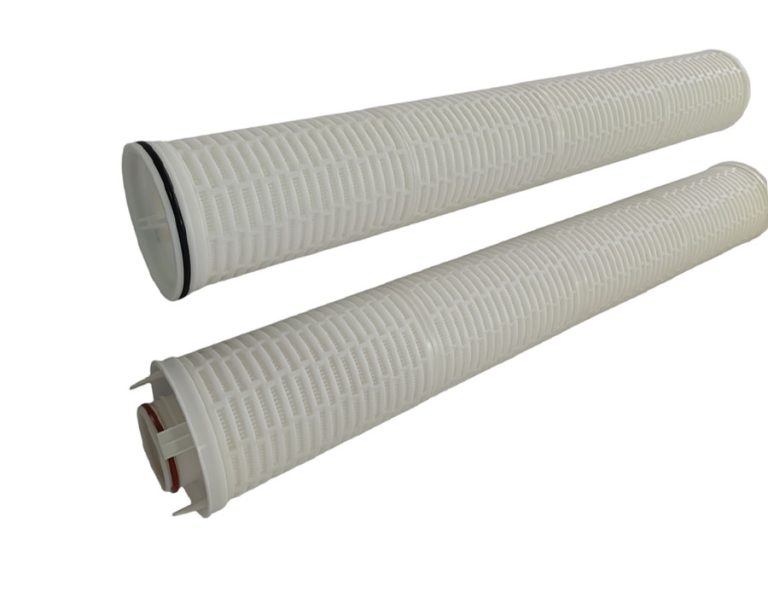
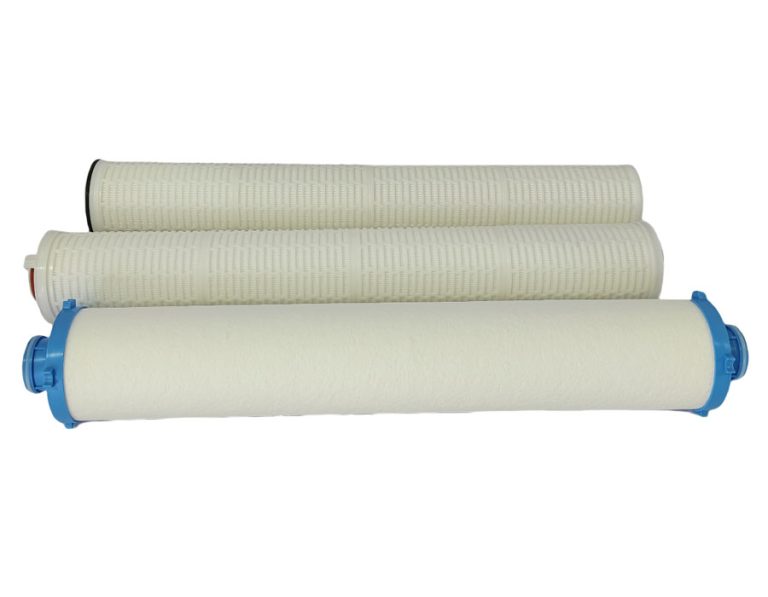
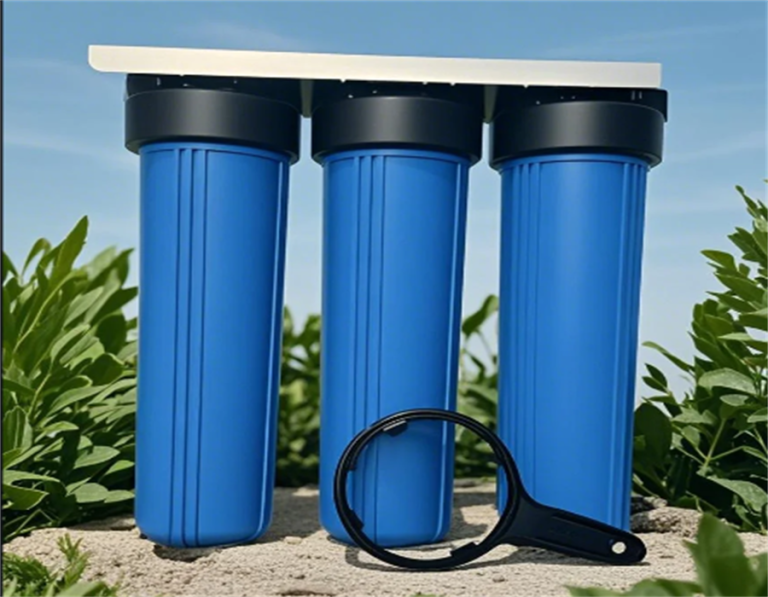
Now came the fun part – actually getting the old filter out. I grabbed the wrench that came with the housing and got to work unscrewing it. It was on there pretty tight, but I managed to get it loose. Once the housing was off, I could see the old, gunked-up filter. Let me tell you, it was not a pretty sight. Looked like it had filtered a whole beach worth of sand. I carefully pulled it out, along with all that nasty sediment, and gave it a good toss in the trash.
With the old filter gone, I gave the inside of the housing a quick wipe down, just to get rid of any leftover crud. Then, I popped the new filter in, making sure it was seated properly. After that, it was just a matter of screwing the housing back on, nice and tight.
Finally, I turned the water supply back on, slowly at first, just to make sure there were no leaks. Everything looked good, so I opened it up all the way. And bam! Water pressure was back to normal. Success!
- Turn off the water supply.
- Relieve the pressure.
- Unscrew the housing.
- Remove the old filter.
- Insert the new filter.
- Screw the housing back on.
- Turn the water back on.
Honestly, it wasn’t as bad as I thought it would be. Took me maybe 20 minutes, tops. And now I’ve got clean, fresh-tasting water again. Plus, I saved myself a bunch of money by not calling a plumber. Win-win!
So, lesson learned:
Don’t ignore your water filter, folks. When it starts to go, you’ll know. And when that happens, don’t be afraid to roll up your sleeves and change it yourself. It’s easier than you think!