One stop supplier of water treatment parts&accessories


DIY Pool Filter Cartridge Replacement: Save Money with These Easy Steps!
Okay, so the pool was looking a bit grim. You know, that not-so-fresh feeling when the water’s just… off? Figured it was time to tackle the pool filter cartridge. Let me tell you, it was way easier than I thought it would be.
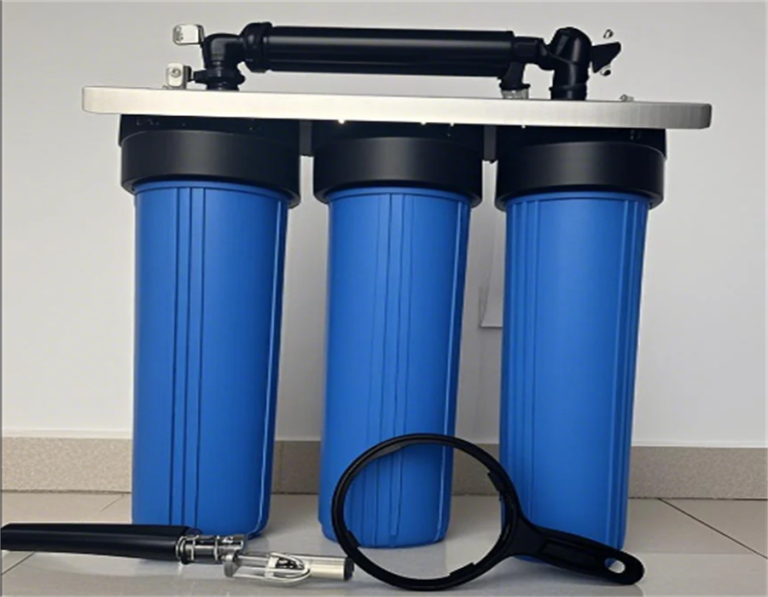
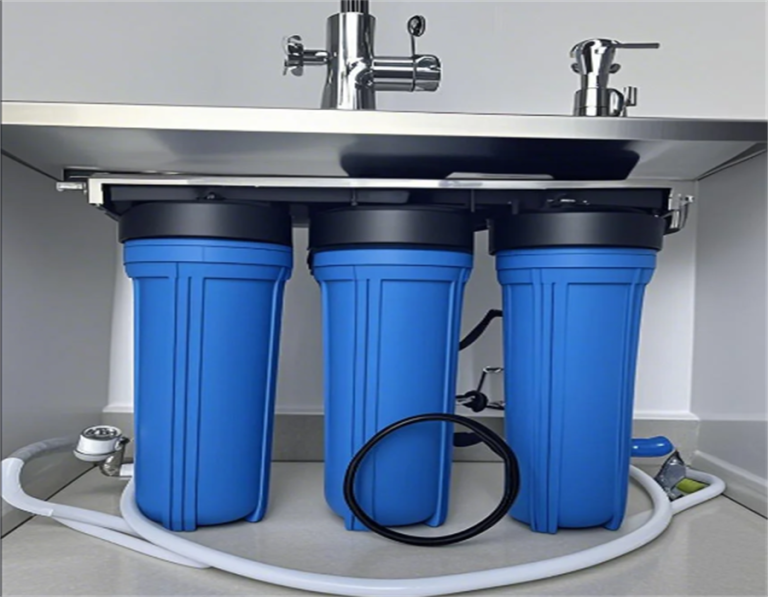
First off, I turned off the whole system. Safety first, right? No one wants a surprise waterworks show while working on the filter. Then, I located the filter housing—it’s that big container-looking thing next to the pump. Mine has this twisty lock thing on top, so I unlocked that and carefully pulled out the old cartridge.
Man, was that thing dirty! It was all gunked up with leaves, dirt, and who knows what else. I grabbed the garden hose and gave it a good rinse. I just sprayed it down until the water running off it was clear. You can see how much stuff was trapped in there, it is amazing!
- Locate filter housing.
- Unlock the top.
- Pull out the old cartridge.
- Hose it down real good.
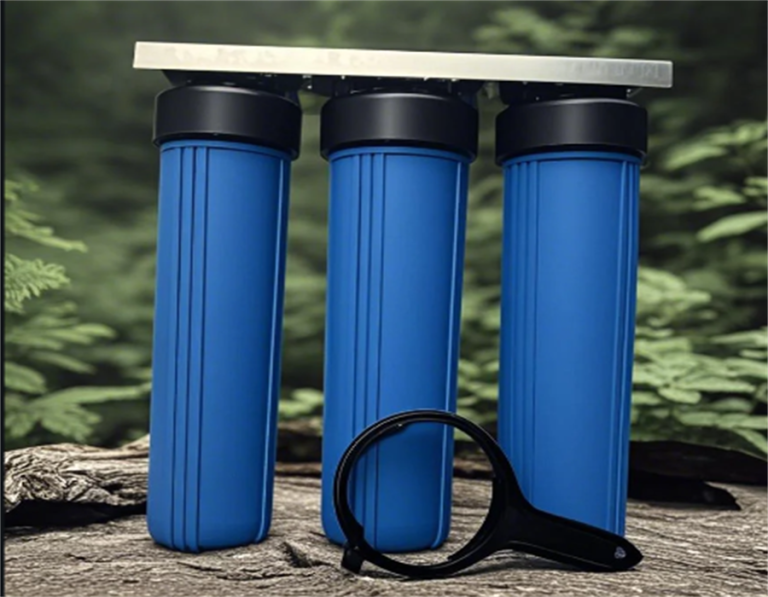
The next part was easy peasy. I took a look at the cartridge. It was pretty worn out, so I decided to pop in a new one. I mean, why not, right? A new one is better than the old, dirty one. I grabbed the new cartridge and slid it right into the housing. It fit like a glove. And seriously, the difference was night and day. I twisted the lock back on the housing, making sure it was nice and tight. Can’t have any leaks!
Final Steps
Finally, I turned the system back on and watched the water flow. The new cartridge was doing its thing, and the water started looking clearer already. It was like a breath of fresh air for the pool!
Honestly, the whole thing took me, like, maybe 20 minutes? And now my pool is back to its sparkling self. It is not a big deal, just do it myself and save a few bucks. If you’re thinking about doing this yourself, go for it! It’s super simple, and your pool will thank you.