One stop supplier of water treatment parts&accessories


DIY RO Membrane Installation: A Simple Guide to Purify Your Drinking Water
Okay, so I decided to take on this project – DIY-ing my own RO membrane. Let me tell you, it was a bit of a journey, but totally worth it in the end.
I started by doing some research because, honestly, I didn’t know much about reverse osmosis or membranes. I watched some videos, looked at a bunch of diagrams and installation guide, and tried to get a basic idea of how these systems work. It was a bit of a learning curve, but I was determined to figure it out.
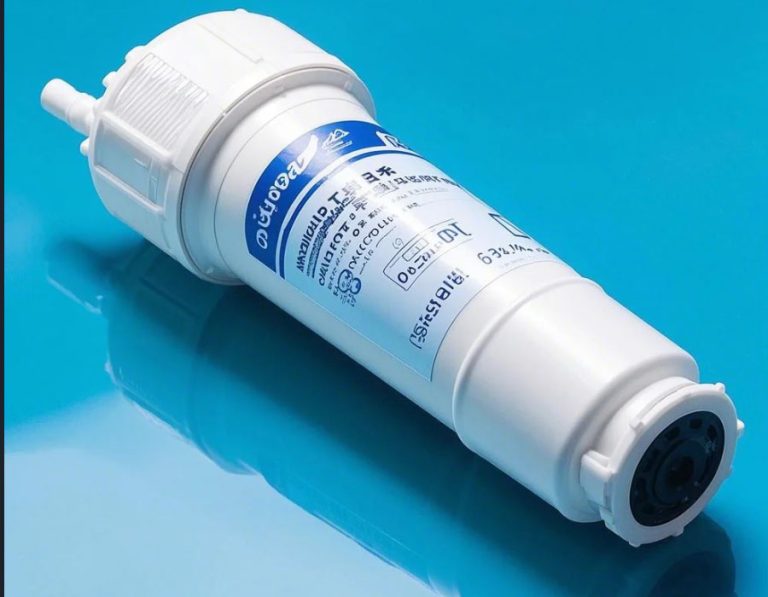
Next, I started gathering the materials. I needed a membrane housing, the membrane itself, some tubing, fittings, and a few other bits and pieces. I found some good deals online for some stuff, and I managed to pick up other parts from a local hardware store. I wanted to save some cash, so I was trying to be resourceful.
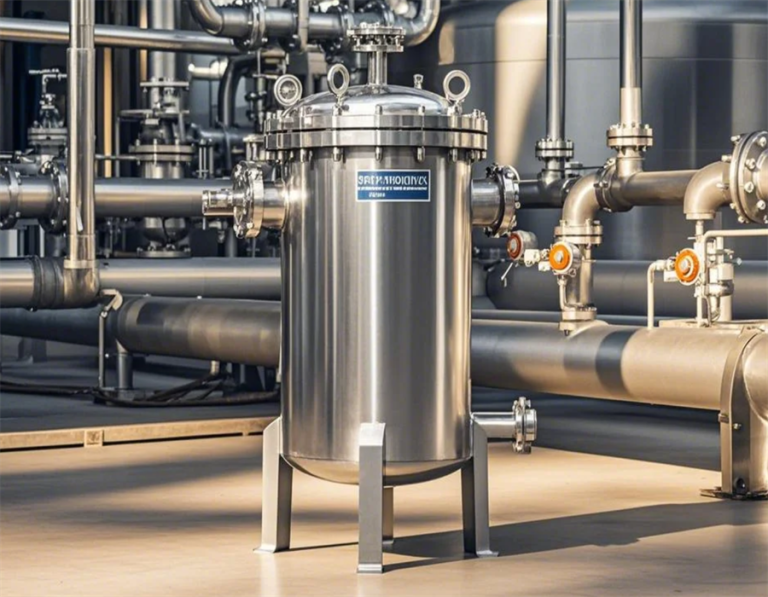
Then came the actual assembly. I started by ripping the old membrane and its housing off. I carefully followed the instructions I found to connect the tubing and fittings to the new membrane housing, double-checking every connection to make sure there were no leaks. I’ll admit, I was a bit nervous about messing something up, but I took my time and made sure everything was snug and secure.
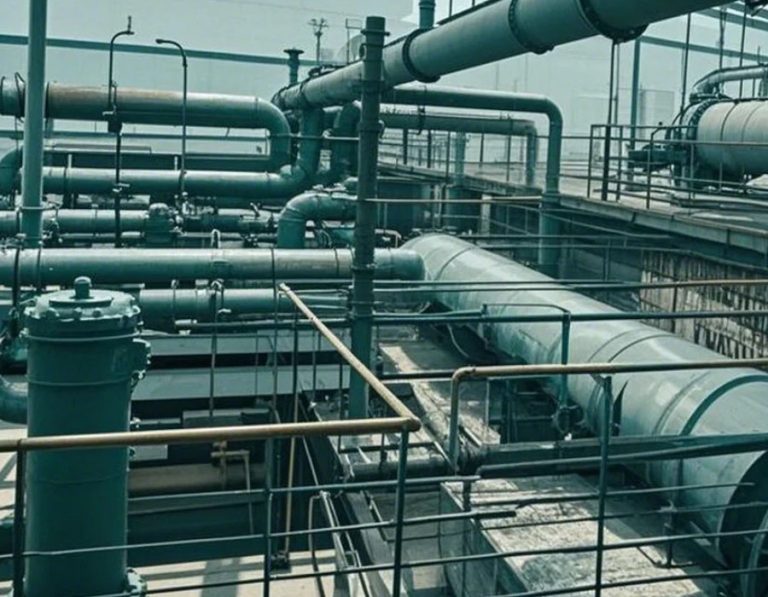
After assembling everything, I installed the new membrane housing into my water filtration setup. This involved a little bit of plumbing work, making sure the water lines were properly connected. I had to shut off the main water supply, make the connections, and then turn it back on. I held my breath and… no leaks! I was pretty proud of myself at this point.
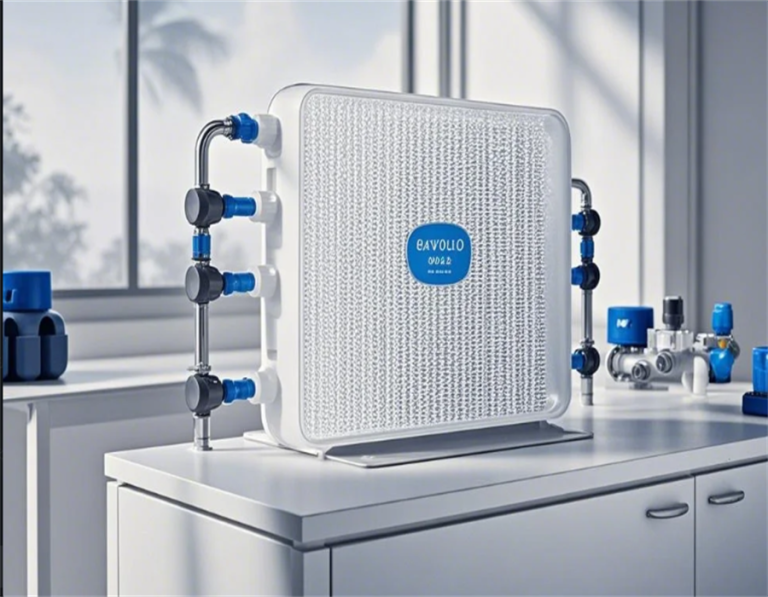
Next, I flushed the system for a while to make sure everything was clean and working properly. The water started flowing, and I could see the system doing its thing, filtering out the impurities. It was like a little science experiment in my kitchen.
Finally, I tested the water. I was curious to see if my DIY membrane was actually doing its job. I used a water quality test kit, and the results were great! The water was clean, pure, and tasted so much better. I couldn’t believe I actually pulled it off.
This whole process wasn’t just about saving money, though that was a big plus. It was also about learning something new and proving to myself that I could do it. It took some time, effort, and a bit of patience, but the satisfaction of seeing it all come together was amazing.
If you’re thinking about doing something similar, I’d say go for it! Just make sure to do your research, gather all the right materials, and take your time with the installation. It’s a rewarding experience, and you’ll have the satisfaction of knowing you did it all yourself. Plus, you’ll have some awesome-tasting water!