One stop supplier of water treatment parts&accessories


Double Membrane RO System: The Ultimate Guide for Pure Water
Today, I wanna talk about setting up a double membrane reverse osmosis system, or as the cool kids call it, a double membrane RO system. I’ve been messing around with water filtration for a while now, and let me tell you, getting this thing running was a bit of a journey. So, grab a drink, sit back, and let me walk you through my adventure.
Getting Started
First off, I had to decide what I wanted from my water. I mean, water is water, right? Wrong! I wanted the purest of the pure. So, I started looking into reverse osmosis. The idea is pretty simple: force water through a membrane that catches all the nasty stuff, leaving you with clean H2O. But I heard about this double membrane setup and thought, “Why not double the fun?”
Gathering Supplies
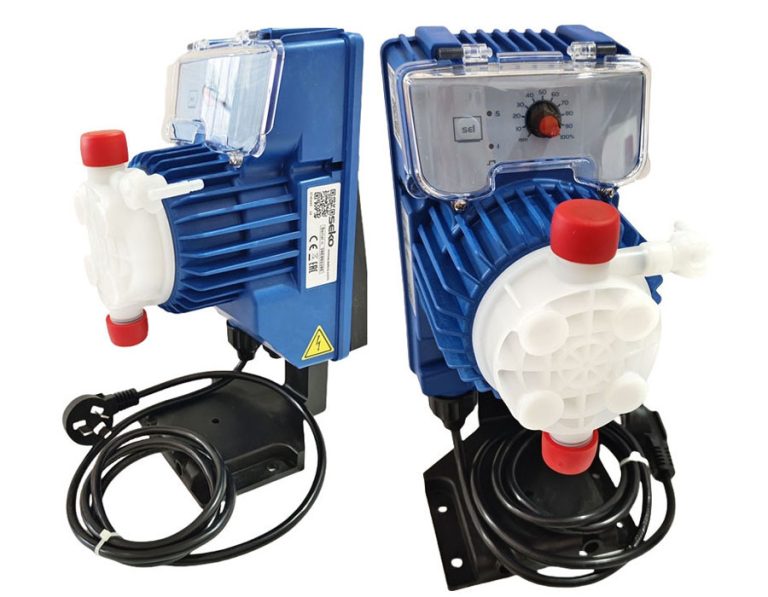
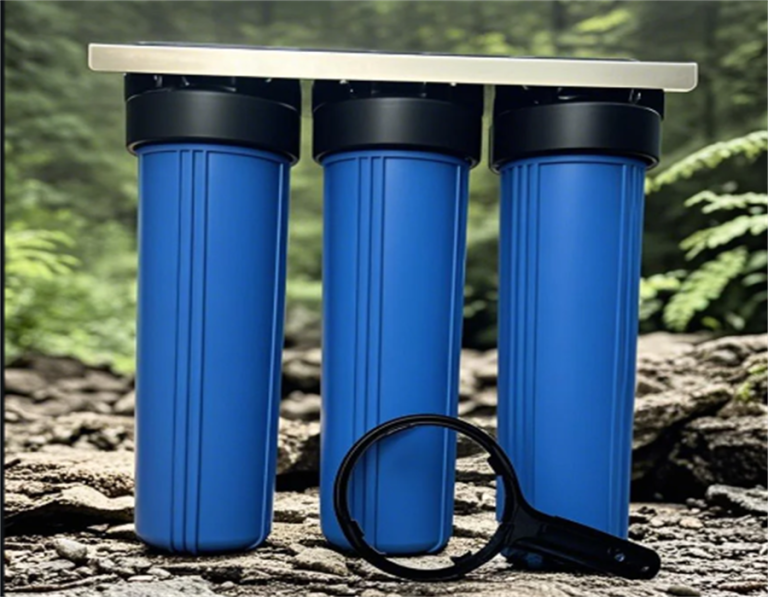
I hit up a few stores and found out that getting the right parts isn’t as easy as picking up a gallon of milk. I needed two RO membranes, a bunch of tubing, some connectors, and a couple of housings for the membranes. It felt like I was building a spaceship, not a water filter. I found a couple of membranes – one was a 50 GPD and the other a 75 GPD. Apparently, the 75 GPD one has a better rejection rate, which means it’s better at filtering out the bad stuff. I also grabbed a pump because, you know, gravity wasn’t gonna cut it.
Putting It Together
Now, the fun part – assembly. I started by connecting the first membrane, the 50 GPD one, to the water supply. Easy enough. Then, instead of just using that filtered water, I routed it to the second membrane, the 75 GPD one. This is where things got a little tricky. Making sure there were no leaks was a real pain. I used a ton of Teflon tape and tightened everything like my life depended on it. It was a mess of tubes and connectors, but hey, it looked like a legit double membrane system.
Testing and Tweaking
Once everything was connected, I turned on the water and held my breath. Water started flowing, and I was praying for no leaks. Surprisingly, it worked! But here’s the kicker – the waste water. I learned that RO systems produce a lot of waste water. I measured it and found that for every gallon of pure water, I was getting about 4-5 gallons of waste. That’s a lot! I had to adjust a few things to try and reduce the waste, but it’s just part of the process.
The Results
After all that work, I finally got to taste the water. And let me tell you, it was worth it. The water tasted incredibly clean and pure. I did a little TDS test (that’s Total Dissolved Solids, for those who don’t know) and the numbers were super low. Success! I was so proud of myself for getting this double membrane system up and running.
Final Thoughts
Setting up a double membrane RO system was quite the project. It took time, effort, and a bit of patience. But in the end, I got exactly what I wanted – super clean water. If you’re thinking about doing something similar, be prepared for a bit of a challenge. But trust me, it’s a rewarding one. And hey, if I can do it, you probably can too. Just remember to double-check those connections and be ready for some trial and error.
- First membrane: Got the water flowing through the first one, a 50 GPD.
- Second membrane: Hooked up the output of the first to the second, a 75 GPD, for extra purity.
- Waste water: Realized these systems make a lot of waste water – like 4-5 gallons of waste for 1 gallon of pure water.
- Testing: Did a TDS test and got super low numbers, meaning the water was really clean.
It was a wild ride, but I’m happy with the results. Now, I’ve got a constant supply of some of the cleanest water around. Plus, I learned a ton along the way. So, here’s to clean water and DIY projects!