One stop supplier of water treatment parts&accessories


dual membrane ro system diagram: How to choose the right one and read the diagram.
Okay, let’s talk about this whole dual membrane reverse osmosis (RO) system thing. I’ve been messing around with water filters for a while now, and I wanted to see if I could boost the output of my RO system. So, I thought, why not add another membrane? More membranes, more water, right?
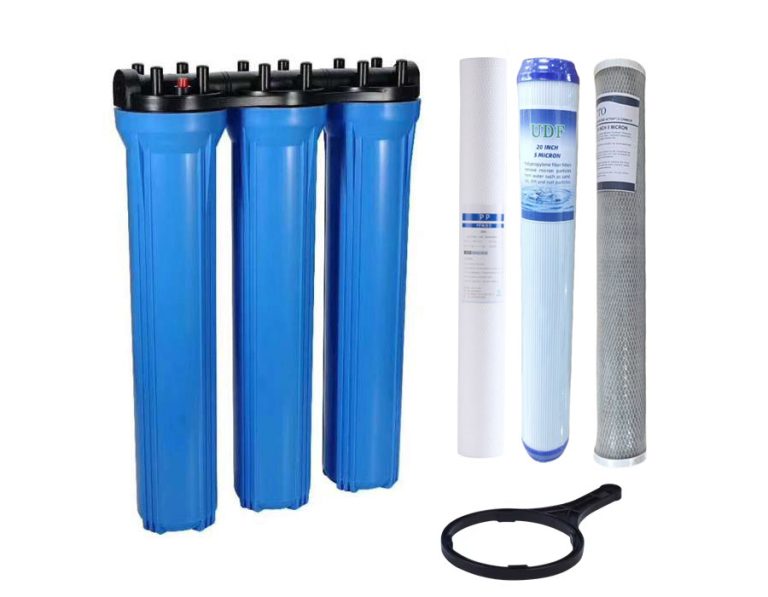
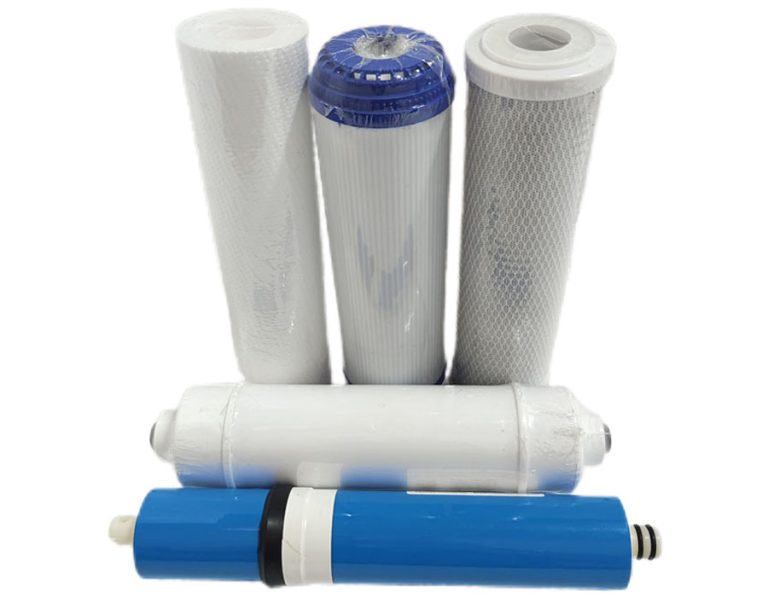
First off, I started by looking at my current setup. It’s a pretty standard under-sink system with one sediment filter, a couple of carbon filters, and a single 75 gallons per day (GPD) membrane. I figured out that each person needs about 75 gallons a day. I’m a single guy, but hey, you never know. I figured I should aim for at least triple that, so around 225 GPD. The water pressure at my place is decent, usually around 60 PSI, but I know these membranes work best with at least 65 PSI.
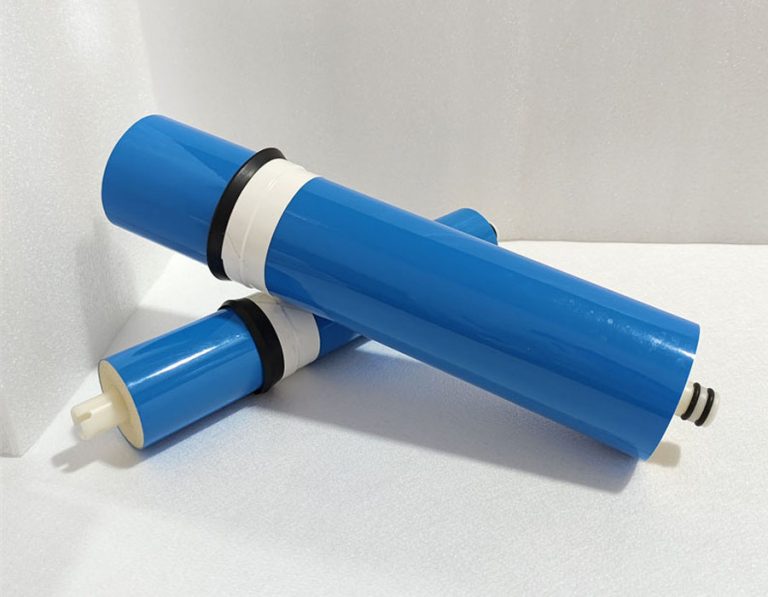
So, I went ahead and ordered another 75 GPD membrane online, along with some extra tubing and fittings. I also picked up a T-fitting to split the water flow after the pre-filters. The idea was to run the water through both membranes in parallel. I also learned the hard way and prepared some different output membrane just in case.
nce everything arriveshut off the water supply and started disassembling the existing system. I disconnected the tubing after the pre-filters and inserted the T-fitting. Then, I connected each end of the T to the inlets of the two membranes. Simple enough, or so I thought.
Next, I hooked up the outlets of the membranes. For the purified water, I just used another T-fitting to combine the flows from both membranes and connected that to the post-filter. For the waste water, I initially did the same, combining the two waste lines into one. I also connected the outlet of the reservoir to a T-fitting, then split it to the faucet and the water tank.
With everything connected, I slowly turned the water back on and checked for leaks. And guess what? Leaks everywhere! I tightened all the fittings and tried again. Still leaking. Turns out, pushing two waste lines together can cause back pressure issues. So, I redid that part and let each membrane have its own waste line.
Finally, no more leaks. I let the system run for a few hours to flush out the new membrane and any air bubbles. The first few gallons were a bit cloudy, but that’s normal. After that, the water was crystal clear.
Now for the moment of truth. I measured the water output, and boom! I was getting close to 150 GPD, double what I had before. Not quite the 225 GPD I was hoping for, but a significant improvement. I also noticed that the waste water flow increased, which makes sense.
- Initial setup: Single 75 GPD membrane
- Goal: Increase water output to around 225 GPD
- Action taken: Added a second 75 GPD membrane in parallel
- Challenges faced: Leaks, back pressure from waste lines
- Solution: Separate waste lines for each membrane
- Result: Increased output to around 150 GPD
All in all, it was a fun little project. I learned a lot about how these systems work, and I managed to boost my water output. It wasn’t perfect, but it was definitely worth the effort. If you’re thinking about doing something similar, just make sure you have good water pressure, use the right fittings, and be prepared to deal with a few leaks along the way.