One stop supplier of water treatment parts&accessories

filmtec 100 gpd ro membrane installation guide: Follow these simple steps for clean water
Okay, so I had to switch out the old membrane in my water filter system at home. The one I went for this time was the Filmtec 100 gpd RO membrane. Thought I’d share how it went, ’cause why not?
First off, I turned off the water supply to the whole system. No one wants a surprise shower, right? Then, I located my RO assembly. It’s tucked under the sink, kinda cramped, but manageable. I got the assembly out to make things easier.
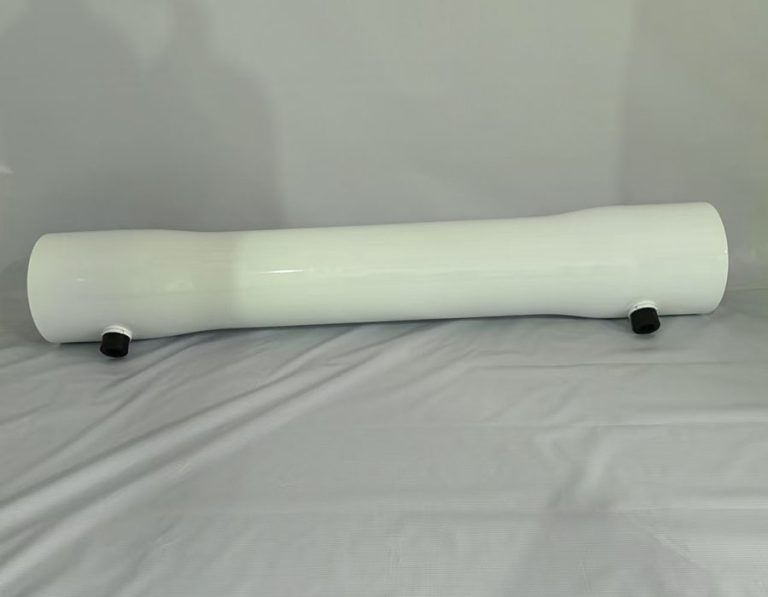
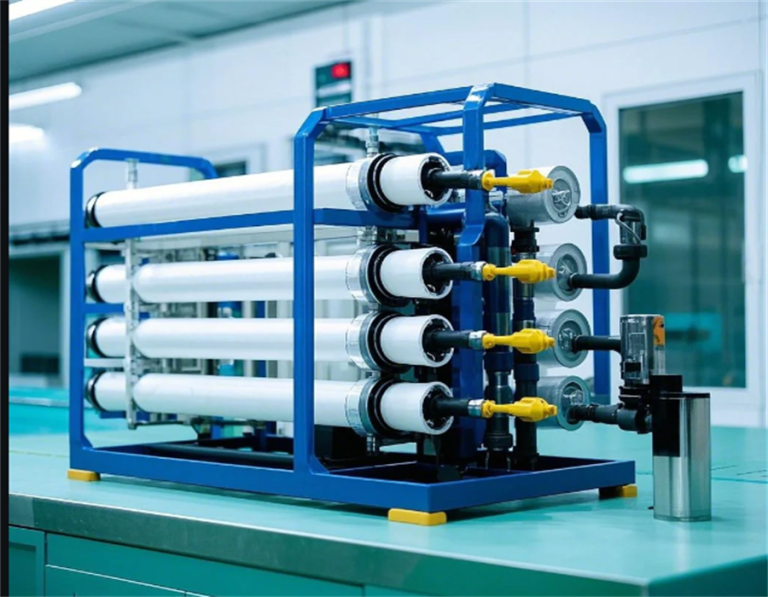
Next, I unscrewed the cap from the membrane housing. Inside was the old, used-up RO membrane. I made a mental note of how it was sitting in there because you gotta put the new one in the same way. This old membrane was really stuck, so I grabbed my needle-nose pliers. With a bit of wiggling and pulling, it finally came out.
With the old one out, I took the new Filmtec membrane and carefully slid it into the housing, making sure it was oriented just like the old one. It fit snugly, which was a good sign.
Once the new membrane was in place, I screwed the cap back on the housing, making sure it was tight and secure. Then, I carefully put the whole RO assembly back under the sink and reconnected everything. I slowly turned the water supply back on, checked for leaks – all good, thankfully.
- Turned off water supply.
- Removed RO assembly.
- Unscrewed membrane housing cap.
- Pulled out old membrane with pliers.
- Inserted new Filmtec membrane.
- Screwed cap back on.
- Reinstalled RO assembly.
- Turned on water supply and checked for leaks.
Honestly, it was easier than I thought it would be. No leaks, no fuss, and now we’ve got clean, filtered water again. I guess the Filmtec membrane is living up to its reputation for being reliable. I just hope it lasts a good long while before I have to do this again!


