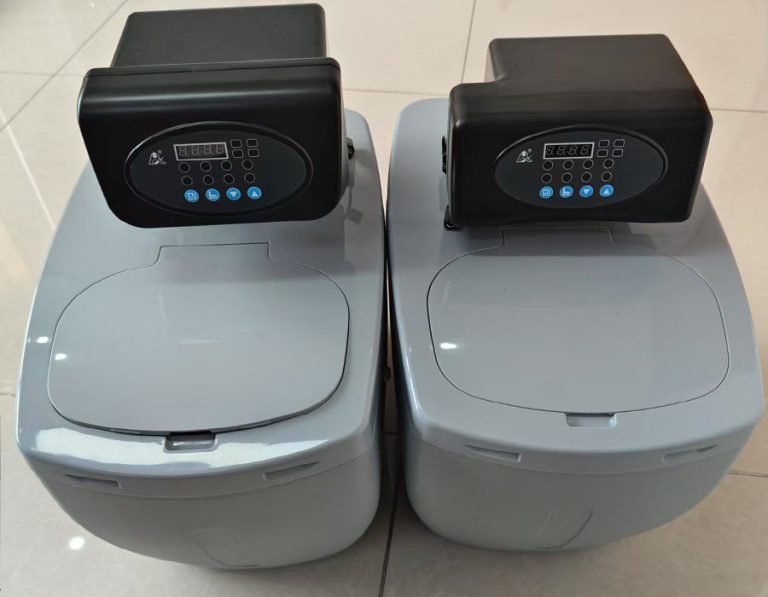
One stop supplier of water treatment parts&accessories


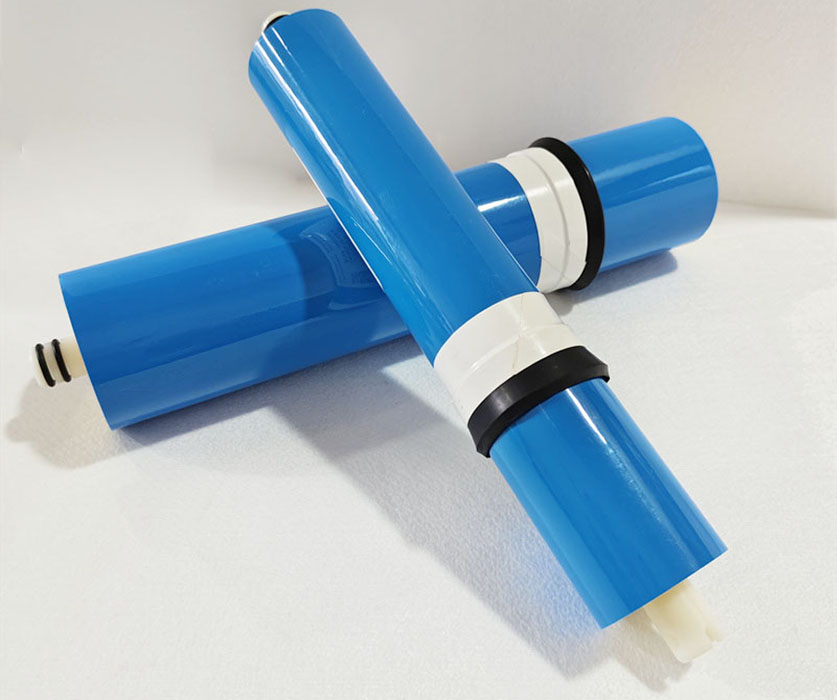
home master ro membrane replacement
home master ro membrane replacement
Is your once – clean – tasting water now lackluster? Do you notice scale buildup in your appliances more often? These are common issues when your Home Master RO membrane is past its prime. A worn – out membrane fails to filter contaminants effectively. Chlorine, lead, and other harmful substances may sneak through, endangering your family’s health. High levels of dissolved solids can also cause hard water problems. This not only affects the taste of your drinks but also clogs pipes and damages appliances like kettles and dishwashers. Moreover, a deteriorating membrane can slow water flow. Filling a pot or taking a shower becomes a time – consuming task. So, how can you address these issues? The answer often lies in replacing the Home Master RO membrane.
Solutions for Home Master RO Membrane Replacement
Recognizing the Need for Replacement
The first step is to identify when replacement is necessary. One way is to monitor water taste and odor. If your water has a metallic, salty, or foul smell, it’s a strong indication. For example, if your coffee suddenly tastes off, the membrane may not be removing impurities. Another method is checking the water flow rate. A significant decrease in the amount of water from your faucet or RO system’s spout is a red flag. You can measure this by timing how long it takes to fill a known – volume container. If it used to take a couple of minutes to fill a gallon jug but now takes five minutes or more, the membrane might be clogged. Additionally, water quality testing can provide clear evidence. Test strips can detect an increase in contaminants like chlorine, lead, or nitrates in your RO – treated water, signaling a need for membrane replacement.
The Replacement Process
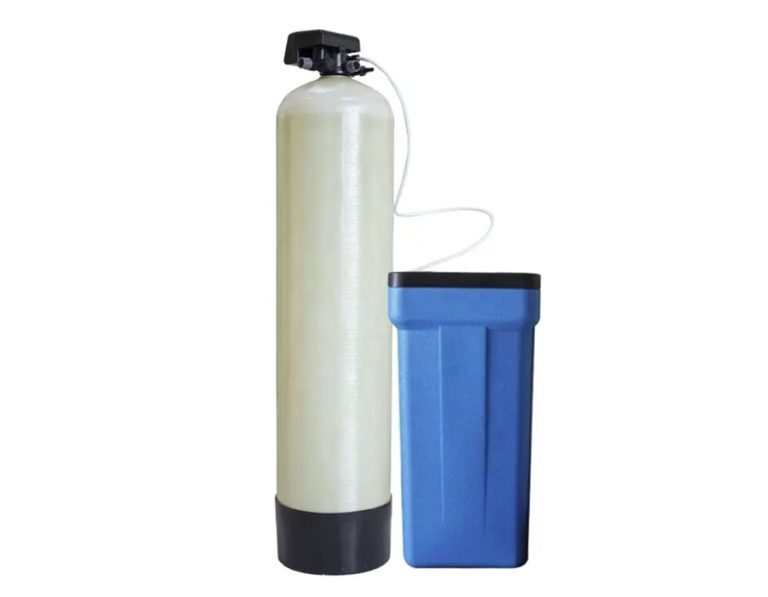
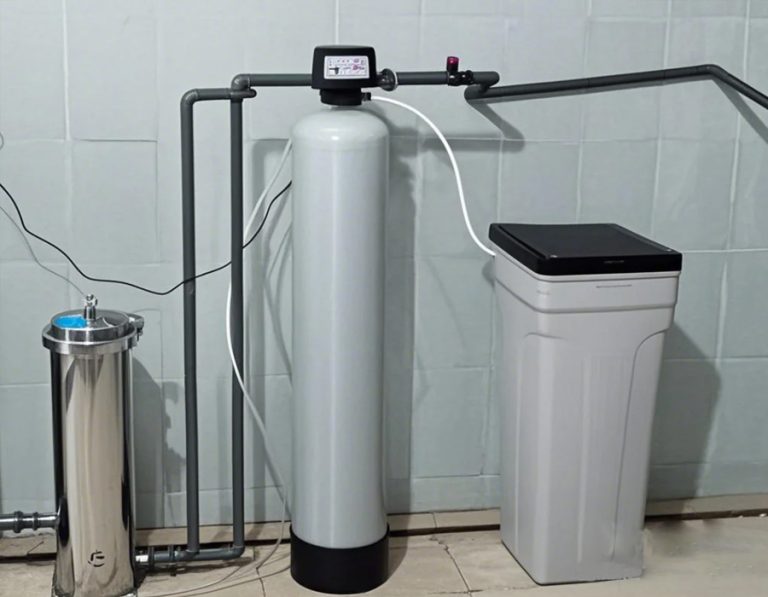
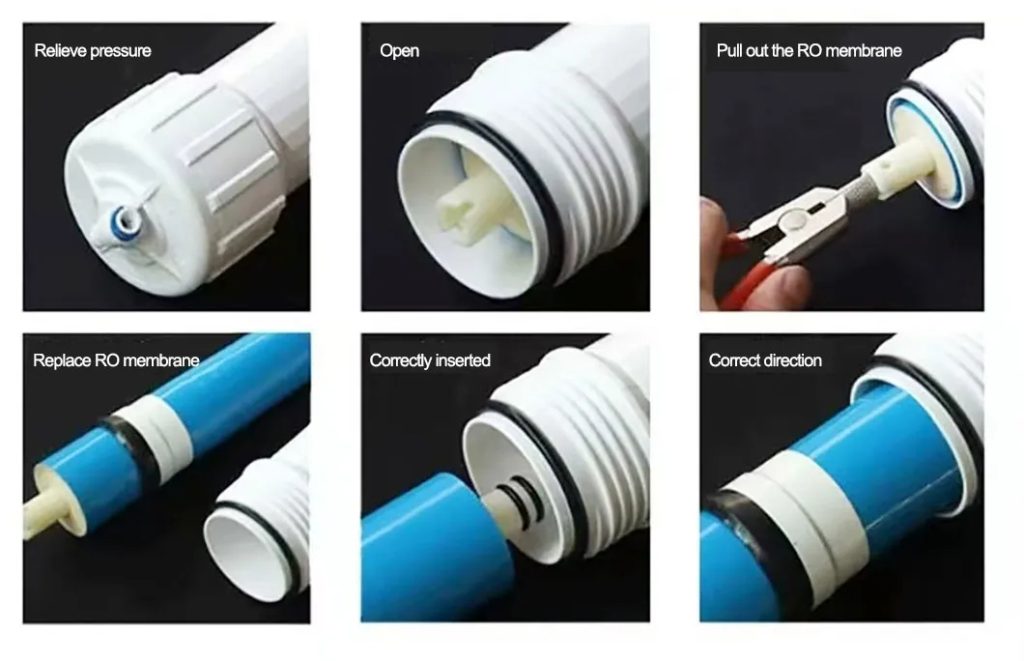
Once you’ve determined it’s time for a change, gather the necessary tools. You’ll need a screwdriver, pliers, and of course, a new Home Master RO membrane. First, turn off the water supply to your RO system. Then, locate the membrane housing. It’s usually a cylindrical container. Use the appropriate tools to open the housing. For instance, if it has a locking ring, pliers can help loosen it. Next, carefully remove the old membrane. Be gentle as the membrane is delicate. Insert the new membrane into the housing, ensuring proper alignment. Finally, close the housing and turn the water supply back on. However, if you’re unsure about any step, it might be wise to consult the manufacturer’s instructions or hire a professional.
Technical Parameters of Home Master RO Membrane Replacement
Home Master RO membranes are designed to function optimally for a specific period. Generally, a well – maintained membrane in a home setting can last 1 to 3 years. But this lifespan depends on several factors. Water quality is a major determinant. If your water source has high levels of contaminants, the membrane will foul more quickly. In areas with lots of sediment or high – mineral water, the membrane may need replacement every 12 months. The membrane’s flow rate also matters. A higher – flow – rate membrane may degrade faster if the water quality is poor. Additionally, the operating pressure of the RO system affects the membrane’s lifespan. Too high or too low pressure can cause premature wear. When choosing a replacement membrane, consider its compatibility with your Home Master RO system model, as well as its flow rate and the types of contaminants it can filter.
The replacement cycle of household reverse osmosis membranes is usually between 2 and 5 years, but the specific time may vary due to factors such as water quality, frequency of use, equipment maintenance, and membrane quality.
To determine the optimal replacement cycle for household reverse osmosis membranes, it is necessary to make judgments based on the actual situation. I’ll transform the passive – voice sentence into an active – voice one, making it more direct and engaging.
At the same time, you can observe the water outlet of the water purifier. Notice if there’s a decrease in water output, an increase in wastewater volume, or a deterioration in the taste of the effluent. These may all be signs of a decrease in the performance of the reverse osmosis membrane, indicating the need for timely replacement.
Detailed steps and precautions for replacing household reverse osmosis membranes:
Prepare tools and materials
- New reverse osmosis membrane components
- Dismantling tools such as wrenches, pliers, screwdrivers, etc
- Cleaning tools such as buckets and towels
- Glycerol or other water-soluble lubricants (optional for lubrication during installation)
Turn off the water and power sources
- Close the inlet valve and disconnect the power supply of the reverse osmosis equipment to ensure safety.
- The residual water in the system can be drained by opening the flushing valve or drainage valve.
Dismantle the old film
- Use tools such as wrenches to remove the fixing screws or buckles on the membrane housing.
- Carefully remove the membrane housing from the device to avoid damaging other components.
- Use pliers or other tools to clamp the old reverse osmosis membrane and pull it out of the membrane shell. Pay attention to moderate force to avoid damaging the membrane shell or membrane components.
RO Membrane Replacement
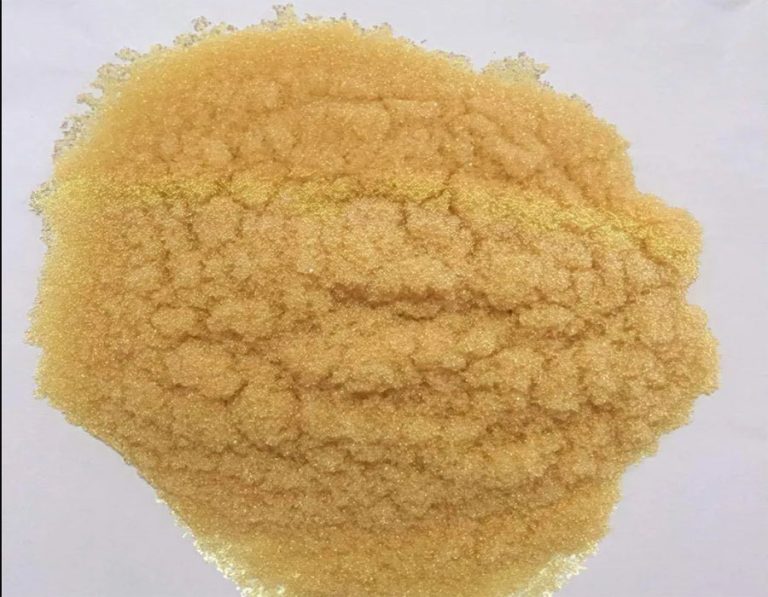
- Check the integrity of the new membrane components to ensure that there is no damage or breakage.
- Insert the new membrane element into the membrane housing in the correct direction, ensuring that the saltwater seal ring is in the correct position and orientation. The opening direction of the saltwater seal ring must face the water inlet direction.
- If necessary, a small amount of glycerin or other water-soluble lubricant can be applied to the O-ring to reduce friction and resistance.
- Reinstall the membrane housing onto the device and tighten the fixing screws or buckles.
System inspection and flushing
- Check if all connections are securely fastened to ensure there is no water leakage.
- Open the inlet valve, start the reverse osmosis equipment, and perform the flushing procedure. The flushing time is usually several hours according to the requirements of the equipment manual.
- During the flushing process, observe the operating status of the equipment and the quality of the effluent. If there is any abnormality, stop the machine in time for inspection.
Precautions
When replacing reverse osmosis membranes, it is essential to choose membrane components that are compatible with the original equipment. Reverse osmosis membranes of different brands and models may have different performance and parameters, so they cannot be replaced arbitrarily.
During the replacement process, attention should be paid to protecting the membrane components and membrane housing to avoid scratches or damage.
After the replacement is completed, a comprehensive inspection and flushing of the system should be carried out to ensure the normal operation of the equipment and the quality of the effluent meets the standards.
Regular maintenance and upkeep of reverse osmosis equipment can extend its lifespan and ensure the quality of the effluent.