One stop supplier of water treatment parts&accessories


How Long to Run Water After Changing RO Filter: A Definitive Guide
Introduction
When maintaining a reverse osmosis (RO) water purification system, a common query is: how long to run water after changing ro filter? This question is crucial as it directly impacts the quality of your drinking water. Let’s delve into this topic in detail.
The Significance of Flushing After Filter Change
Removing Manufacturing Residues
New RO filters often have manufacturing residues. For example, carbon filters may have loose carbon particles. Flushing water through the filter gets rid of these residues. A study by the Water Quality Association shows that around 90% of new filters have some form of manufacturing – related contaminants before flushing (Water Quality Association, 2024).
Settling the Filter Media
Proper flushing helps the filter media to settle. In sediment filters, for instance, this ensures even distribution of the filtering material. When the media is well – settled, the filter can effectively trap particles. This, in turn, improves the overall performance of the RO system.
Factors Influencing the Flushing Duration
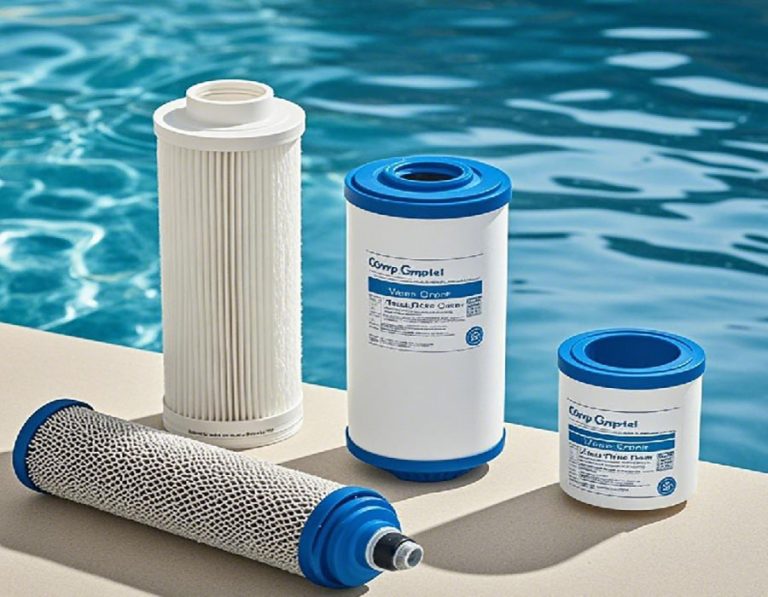
Filter Type
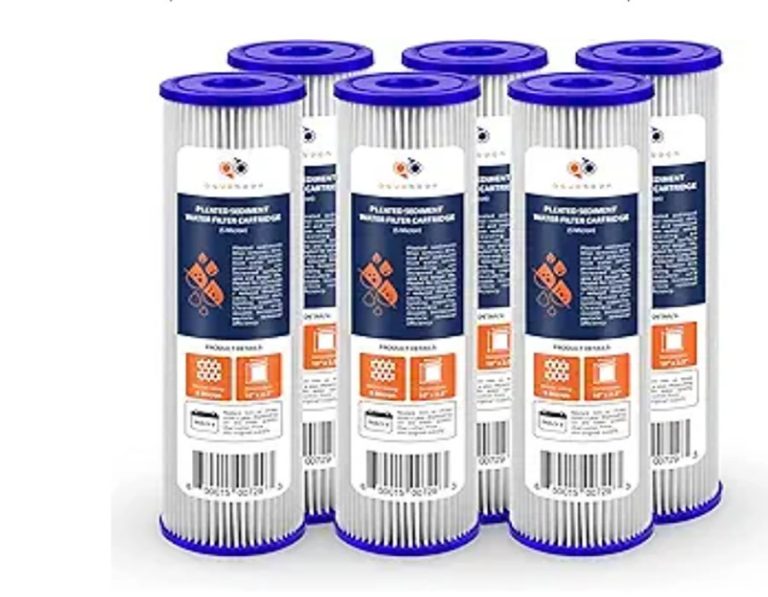
- Sediment Filters
Sediment filters are designed to trap large particles. They usually require a shorter flushing time, about 5 – 10 minutes. Their simple structure means they can be cleared of debris relatively quickly.
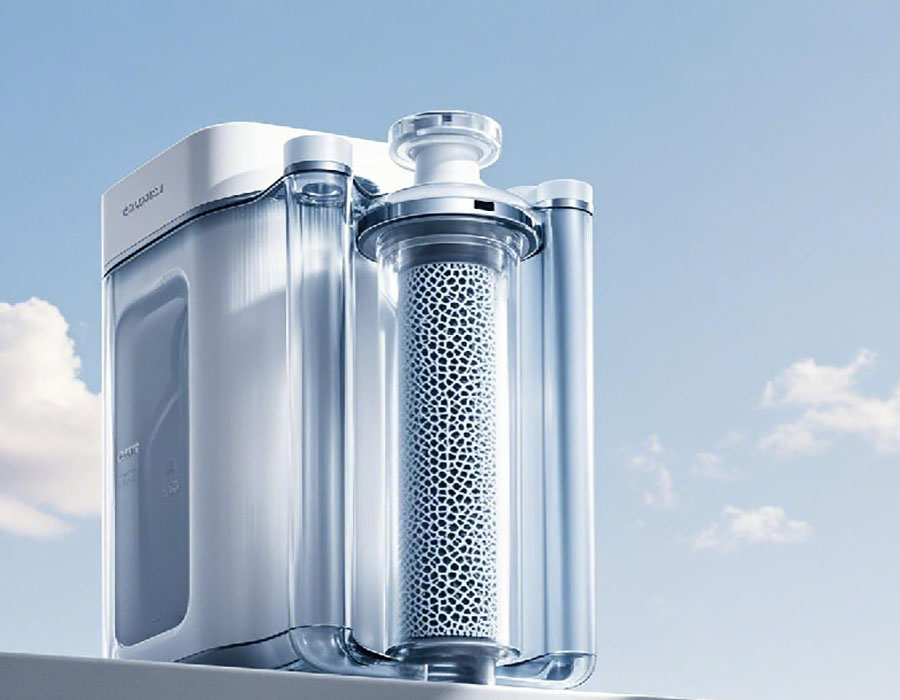
- Carbon Filters
Carbon filters absorb chemicals and chlorine. Due to their function and the potential for loose carbon fines, they need 15 – 30 minutes of flushing. A longer flush time ensures that the filter is free of any particles that could affect water taste or quality.
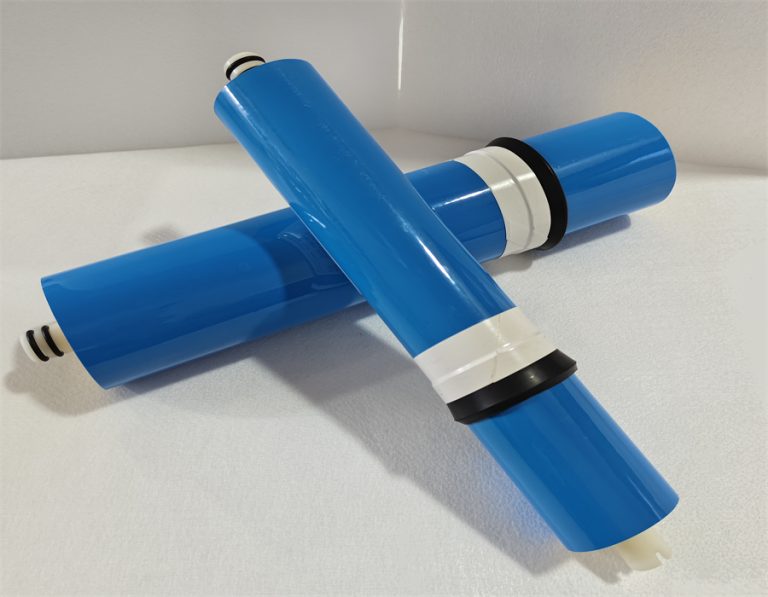
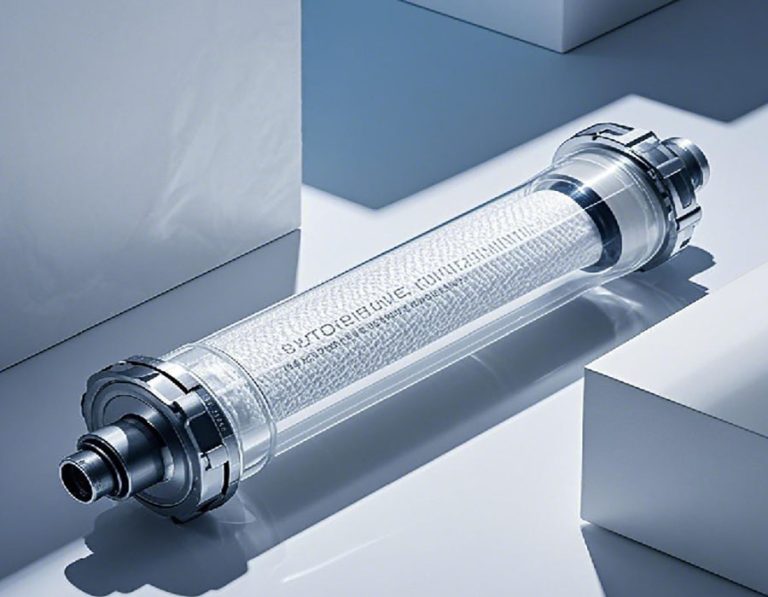
- RO Membrane Filters
RO membrane filters are highly sensitive and complex. They typically need 30 – 60 minutes of flushing. The membrane pores are tiny, and a thorough flush is necessary to remove any contaminants that could clog or damage them.
The following table compares the flushing times for different filter types:
| Filter Type | Flushing Time Range | Reason for Duration |
| Sediment Filter | 5 – 10 minutes | Simple structure, quick to clear large particles |
| Carbon Filter | 15 – 30 minutes | Absorbs chemicals, needs to remove loose carbon fines |
| RO Membrane Filter | 30 – 60 minutes | Sensitive and complex, requires careful cleaning |
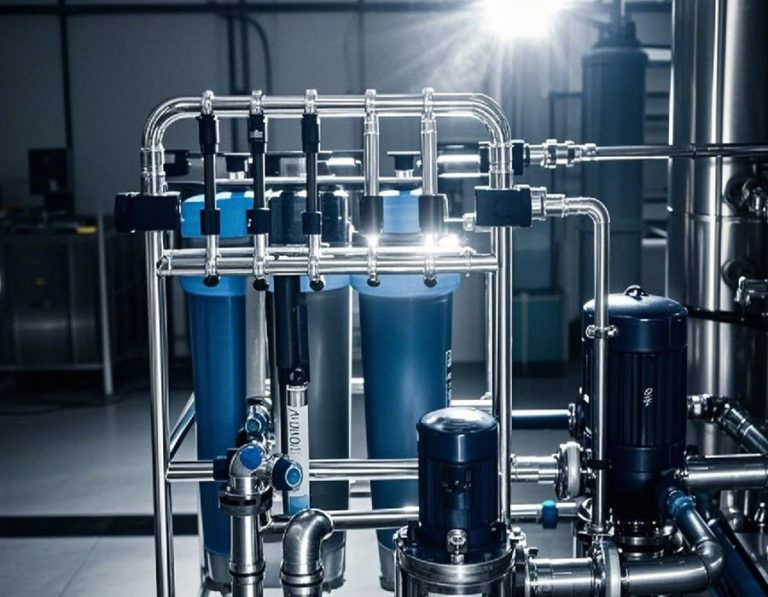
System Configuration
Larger RO systems with multiple filters and bigger filter housings need more time to flush. The increased volume of water in the system takes longer to circulate and clean the filters. For example, a whole – house RO system may need 60 – 90 minutes of flushing, while a small under – sink unit might be sufficient with 30 – 45 minutes.
Water Source Quality
If the incoming water has a high level of contaminants, the filters will accumulate dirt faster during the initial flush. In such cases, you may need to extend the flushing time. However, if the water source is relatively clean, the flush time can be on the shorter side of the recommended range.
How Long Should You Run Water After Changing RO Filter?
On average, for a standard home RO system with sediment, carbon, and RO membrane filters, you should run water for 30 – 60 minutes. But this can vary. In areas with excellent water quality and a small, well – maintained system, 20 – 30 minutes could be enough. Conversely, in regions with poor water quality and large – scale RO systems, up to 90 minutes of flushing might be required.
Common Misconceptions About Flushing RO Filters
⚠ Warning: A common myth is that clear – looking water after a few minutes of running means the filter is properly flushed. In fact, many contaminants are invisible. Another false belief is that longer flushing is always better. Over – flushing can waste water and may damage some filter components if the pressure is too high.
Step – by – Step Guide to Flushing RO Filters
- Power Down the System
Before starting the filter change, turn off the power or water supply to the RO system. This ensures safety during the process.
- Replace the Filter
Follow the manufacturer’s instructions precisely to remove the old filter and install the new one. Make sure the new filter is correctly seated in its housing.
- Gradually Re – introduce Water
Slowly turn on the water supply to the RO system. This helps prevent sudden pressure surges that could harm the filters.
- Open the Faucet
Open the faucet connected to the RO system. Start with a low – flow setting and gradually increase the flow as the flushing progresses.
- Monitor the Water
Keep an eye on the water coming out of the faucet. Look for signs of discoloration, cloudiness, or unusual odors. If present, continue flushing until the water appears normal.
- Test the Water Quality
After the recommended flushing time, use a water quality test kit to check for contaminants such as chlorine, heavy metals, or bacteria.

Real – World Example
Our team, in a 2025 project at a community center, noticed that the RO – filtered water had a strange smell. After investigation, we found that the maintenance staff was not flushing the filters long enough after replacement. Once we implemented a proper flushing procedure, running the water for 45 minutes after each filter change, the water quality improved significantly, and the unpleasant smell disappeared.
Conclusion
In conclusion, determining how long to run water after changing ro filter is essential for a clean and efficient RO system. By considering factors like filter type, system configuration, and water source quality, you can ensure proper flushing. Here’s a checklist to help you:
- Identify the filter type before flushing
- Consider the size and complexity of your RO system
- Evaluate the quality of your water source
- Follow the recommended flushing times
- Monitor the water during flushing
- Test the water quality after flushing
Remember, proper flushing not only gives you clean and great – tasting water but also extends the lifespan of your RO system. So, take the time to do it right.