One stop supplier of water treatment parts&accessories


How to Change 4040 RO Membrane at Home: A Quick and Easy Way
Okay, so I noticed my water filter acting up, giving me less water than usual. Figured it was time to swap out the RO membrane. Let me tell you how I did it.
How to Change a 4040 RO Membrane
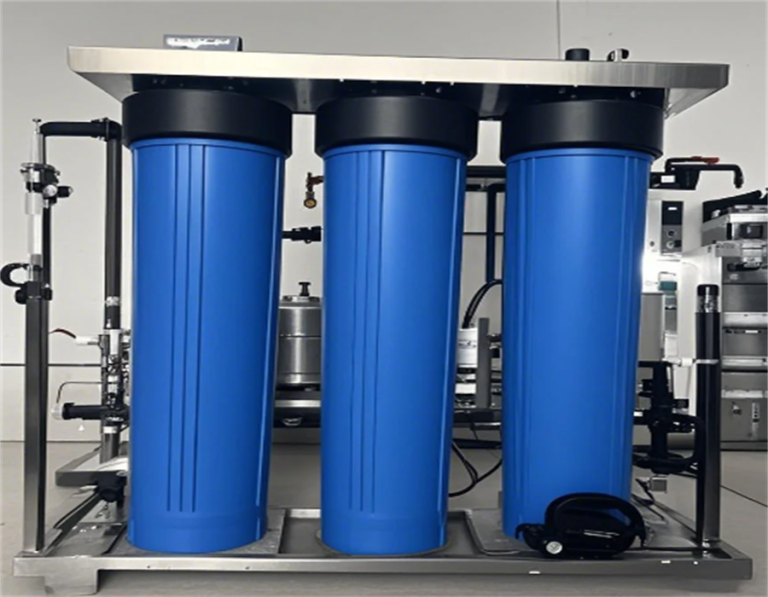
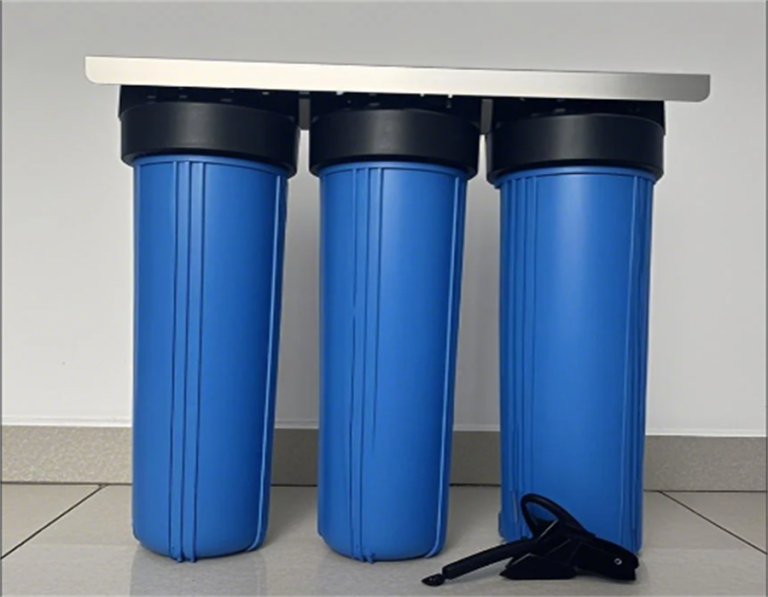
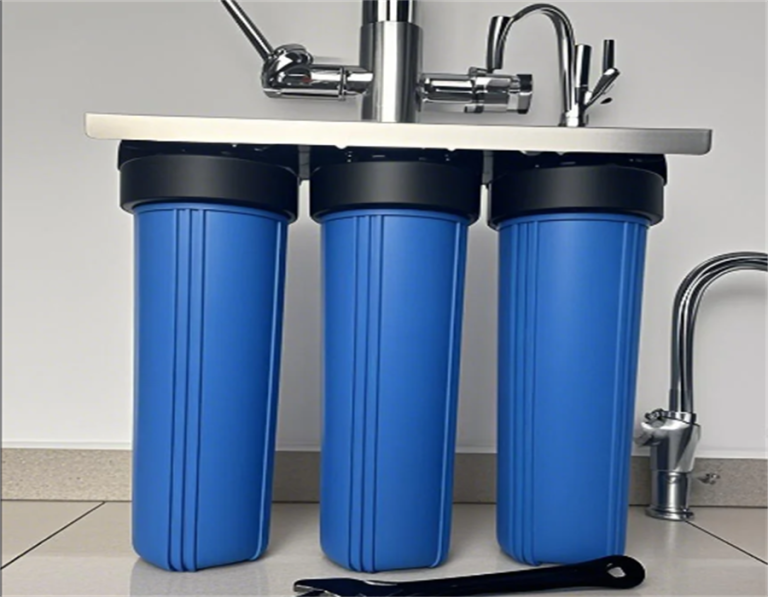
First things first, I went to find the RO system in my house. It wasn’t hard – just a bunch of filter containers hanging out where the water pipes come in. I made sure to shut off the main water supply to avoid a mess.
I looked closely at the setup and noticed the membrane housing was the biggest container of the bunch. It usually has a couple of tubes connected, so I carefully detached them, remembering where each one went. Sometimes there are markings or colors to help, but taking a quick photo with my phone did the trick for me.
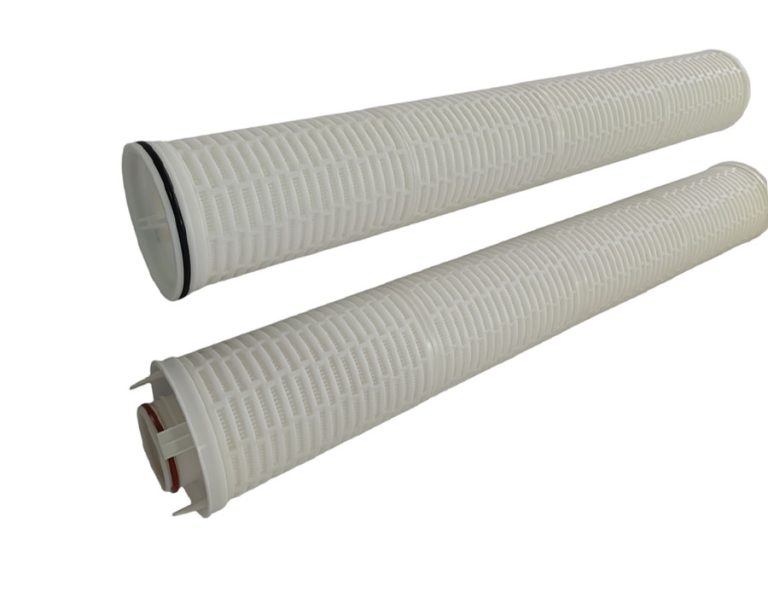
Next, I grabbed a wrench and unscrewed the end cap of the membrane housing. Be careful at this part. There is probably some water left inside, so I had a bucket ready to catch any spills. After the cap was off, I saw the old membrane inside. It looked kinda gunky, which confirmed I was doing the right thing.
I gently pulled out the old membrane. Sometimes they are stuck, so I had to wiggle it a bit, but it eventually came loose. With the old one out, I took the new 4040 RO membrane and slid it into the housing. Made sure it went in the right direction – there are usually arrows or instructions on the membrane itself to guide you.
Once the new membrane was snugly in place, I screwed the end cap back on. Tightened it up good with the wrench, but not too hard. Just enough to make sure it wouldn’t leak. Then, I reconnected the tubes to the housing, referring back to the photo I took earlier to get them in the right spots.
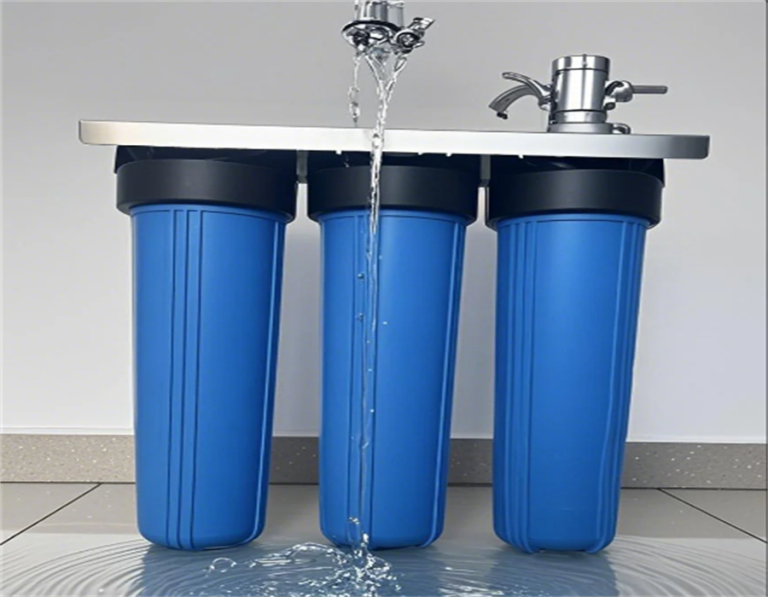
With everything hooked up again, I slowly turned the water supply back on. I kept an eye out for any leaks around the housing, but everything looked good. I remember reading somewhere to open the flush valve for 2-3 minutes each time, so I did that to help the new membrane settle in and clear out any air or loose stuff inside.
- Shut off the main water supply.
- Detach tubes from the membrane housing.
- Unscrew the end cap of the housing.
- Remove the old membrane.
- Insert the new membrane.
- Screw the end cap back on.
- Reconnect the tubes.
- Turn the water supply back on.
- Flush the system for 2-3 minutes.
After that, I let the system run for a few hours, filling up the storage tank. The water pressure was back to normal, and the water tasted clean and fresh. It’s not a hard job, really. Just gotta be patient and careful. And honestly, I felt pretty accomplished doing it myself instead of calling a plumber.