One stop supplier of water treatment parts&accessories


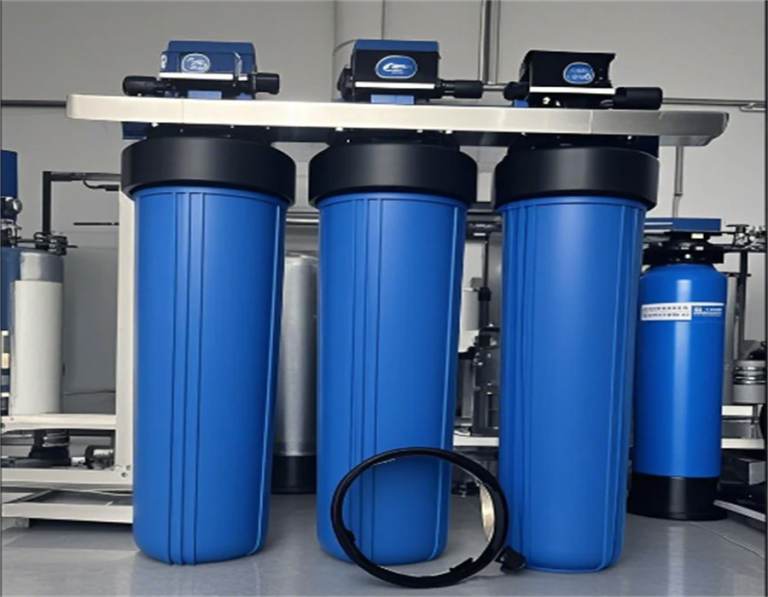
How to Change Big Blue Filter: A Simple Guide for Clean Water, Keep Your Family Healthy!
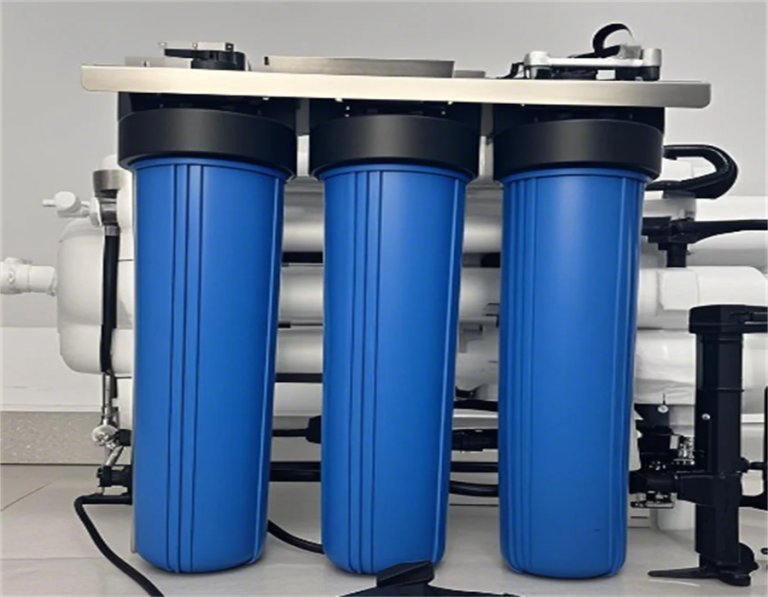
Alright, so the other day I had to swap out the big blue filter in my water filtration system. It had been a while, and the water was starting to taste a little off. Time for some action! Here is how it went down.
First things first, I made sure to turn off the main water supply to the filter housing. Gotta avoid making a mess, right? I turned the valve on the pipe leading into the filter housing first, and then the one on the pipe leading back into the house. Once that was done, I opened up the nearest faucet downstream from the filter housing to release any built-up pressure. Some folks press the pressure-release button on the housing, but I just went with the faucet method.
Getting to Work
With the water shut off, I grabbed my trusty filter wrench. This thing is a lifesaver when it comes to loosening the filter housing. I placed the wrench around the housing and gave it a good turn counterclockwise. It took a bit of muscle, but eventually, the housing started to loosen. I carefully unscrewed it the rest of the way, trying not to spill the water that was still inside.
Next, I pulled out the old, gunky filter cartridge. Man, it was definitely time for a change! I made sure to have a bucket handy to catch any drips and the old filter. Then I took a look inside the housing and gave it a quick rinse with some clean water. Just wanted to make sure there wasn’t any leftover sediment or debris in there.
Putting in the New Filter
Now for the new filter. I unwrapped it and carefully placed it inside the housing, making sure it was properly seated. Some filters have specific “in” and “out” markings, but mine didn’t, so I just made sure it was snug and secure.
With the new filter in place, I screwed the housing back onto the system, turning it clockwise this time. I used the wrench again to tighten it up, but not too tight—just enough to make sure there were no leaks.
Finishing Up
Finally, I slowly turned the water supply back on, first the valve on the return pipe and then the one on the inlet pipe. I checked for any leaks around the housing, and everything looked good. Then I let the water run through the new filter for a few minutes, just to flush out any loose particles or air bubbles.
And that’s it! The water started tasting fresh and clean again. It’s a pretty simple job, but it makes a big difference. If you’ve got one of these big blue filters, don’t be afraid to tackle the replacement yourself. Just remember to turn off the water first!
- Shut off the water supply to the filter housing.
- Open the closest faucet or press the pressure-release button.
- Use a filter wrench to loosen and remove the housing.
- Remove the old filter and rinse the housing.
- Install the new filter, making sure it’s properly seated.
- Tighten the housing and turn the water supply back on.
- Run the water for a few minutes to flush the new filter.
Just follow these steps, and you will have fresh, clean water in no time!