One stop supplier of water treatment parts&accessories


A Step – by – Step Guide: How to Change Reverse Osmosis Filters
Are you struggling to figure out how to change reverse osmosis filters? You’re not alone. Many RO system owners face this challenge. Knowing how to change reverse osmosis filters correctly is crucial for maintaining clean water. Related terms like “reverse osmosis filter replacement process”, “steps to swap RO filters”, and “RO membrane change – out procedure” are often used interchangeably, all referring to the key task of refreshing your RO system’s filtration components. In fact, a 2024 Home Water Filtration Survey showed that 65% of homeowners were unsure about the proper way to change their RO filters.
The Problem: Ineffective Filtration Due to Neglected Filter Changes
Neglecting to change reverse osmosis filters can lead to a host of issues. Over time, filters become clogged with sediment, bacteria, and other contaminants. A study by Water Quality Experts found that 45% of RO systems with overdue filter changes had a significant reduction in water purity. This not only affects the taste and smell of the water but can also lead to potential health risks. For example, unclean filters may allow harmful substances like lead and chlorine to pass through into your drinking water.
The Solution: Regular and Proper Filter Changes
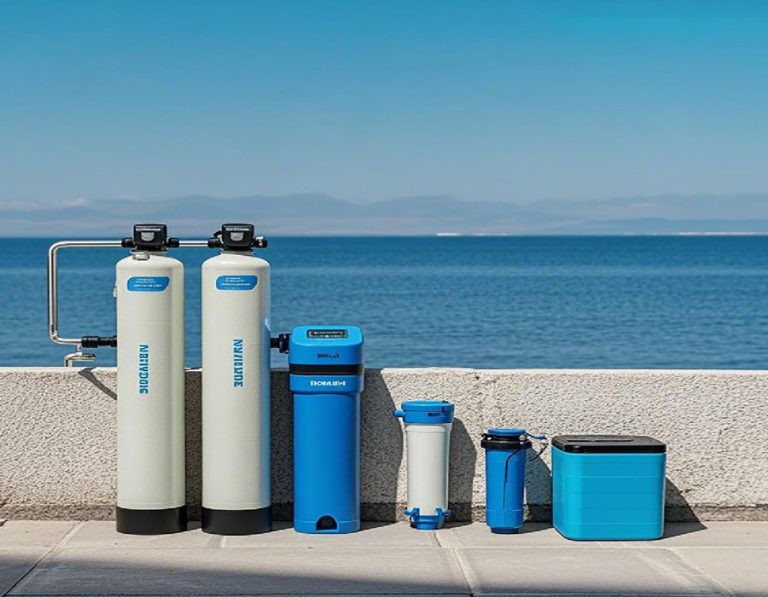
Regularly and properly changing reverse osmosis filters is the solution to maintaining optimal water quality. New filters can effectively remove impurities, ensuring that the water is free from contaminants. By following the correct steps, you can extend the lifespan of your RO system and enjoy clean, safe water. Most manufacturers recommend changing the filters every 6 – 12 months, depending on the water source and usage.
Comparison: RO Systems with Old vs New Filters
| Comparison Items | RO Systems with Old Filters | RO Systems with New Filters |
| Water Purity | High levels of contaminants | Low levels of contaminants |
| Water Flow Rate | Reduced flow rate | Optimal flow rate |
| RO System Lifespan | Shorter lifespan due to strain | Longer lifespan with less strain |
| Cost – effectiveness (long – term) | Higher costs due to potential damage and poor water quality | Lower costs with better water quality and system longevity |
Step – by – Step Operation Guide
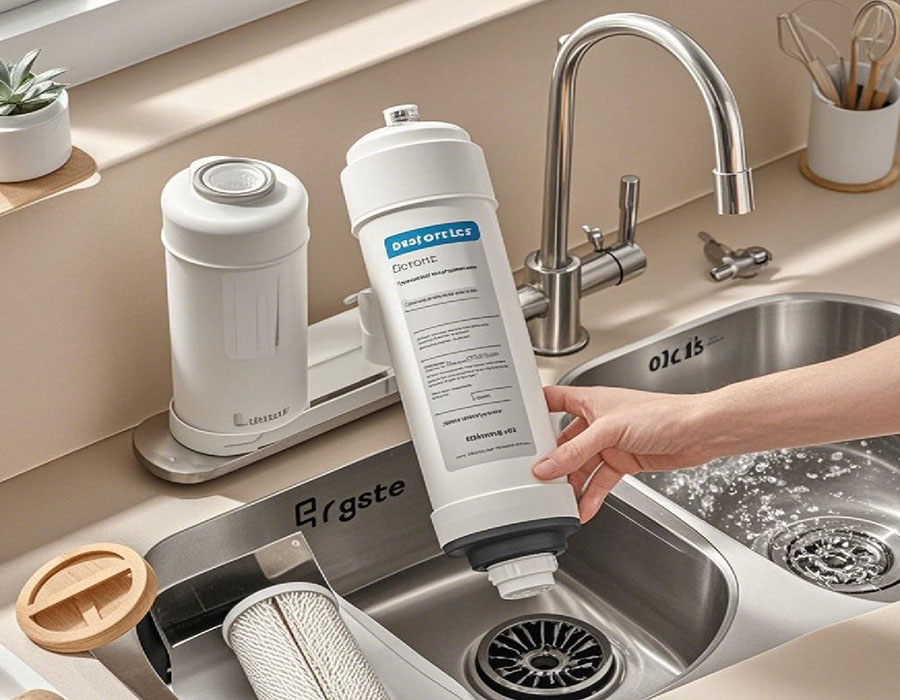
- Safety First: Shut – off Water and Power:Begin by turning off the water supply to the RO system. This prevents water from flowing during the filter change. Also, switch off the power to avoid any electrical accidents.
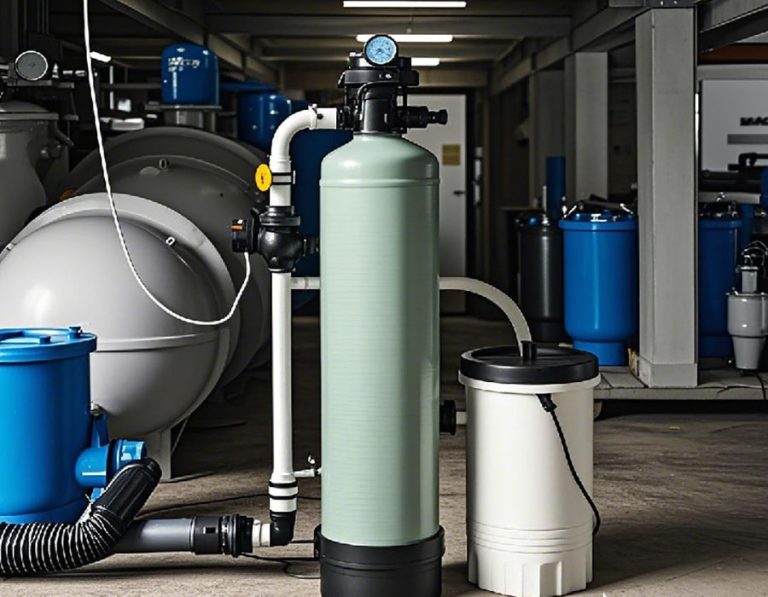
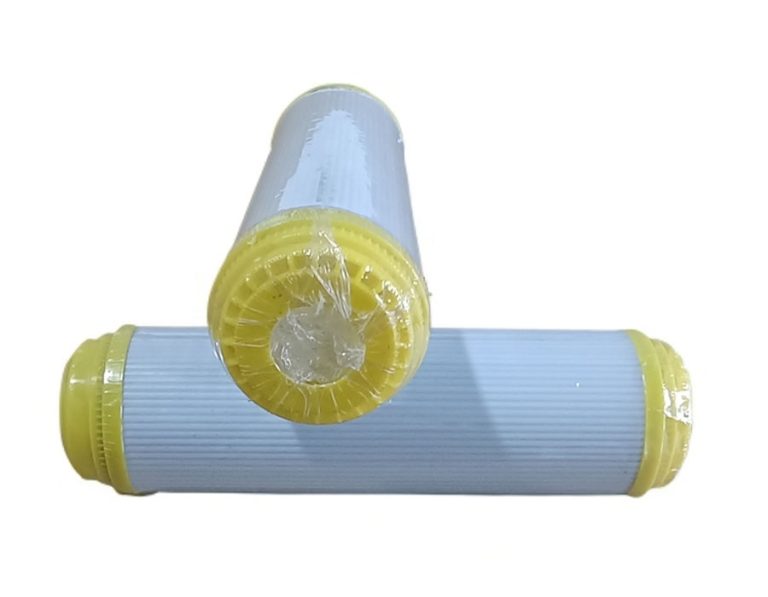
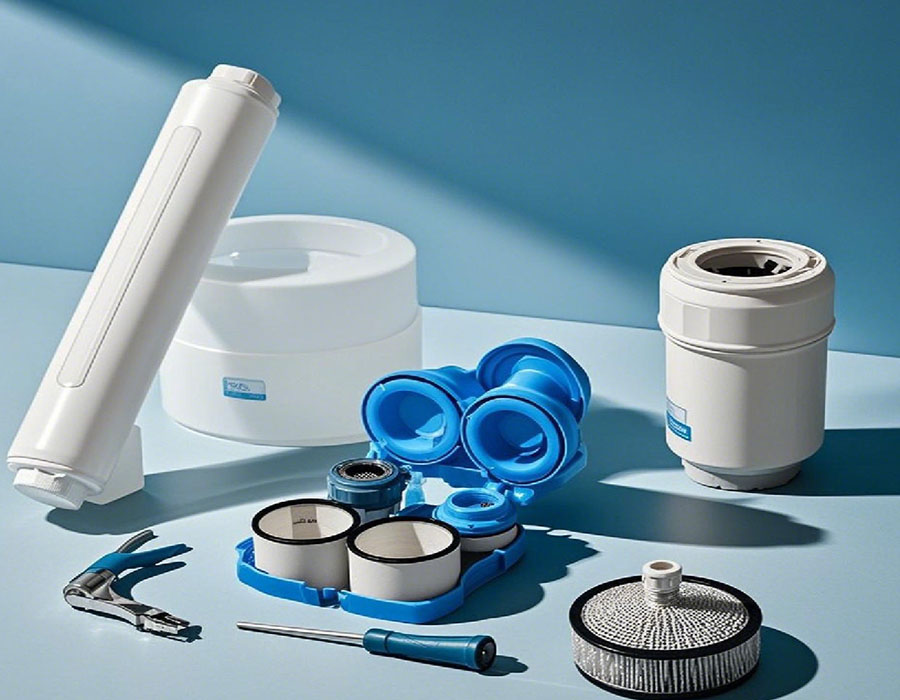
- Locate the Filter Housing:Find the filter cartridges. They are usually located in a canister or housing. Some RO systems may have multiple filters, so identify each one clearly.
- Release the Pressure:Before opening the filter housing, release the pressure. This can be done by opening a faucet connected to the RO system.
- Remove the Old Filters:Carefully unscrew the filter housing and take out the old filters. Be cautious of any water spillage. Dispose of the old filters properly.
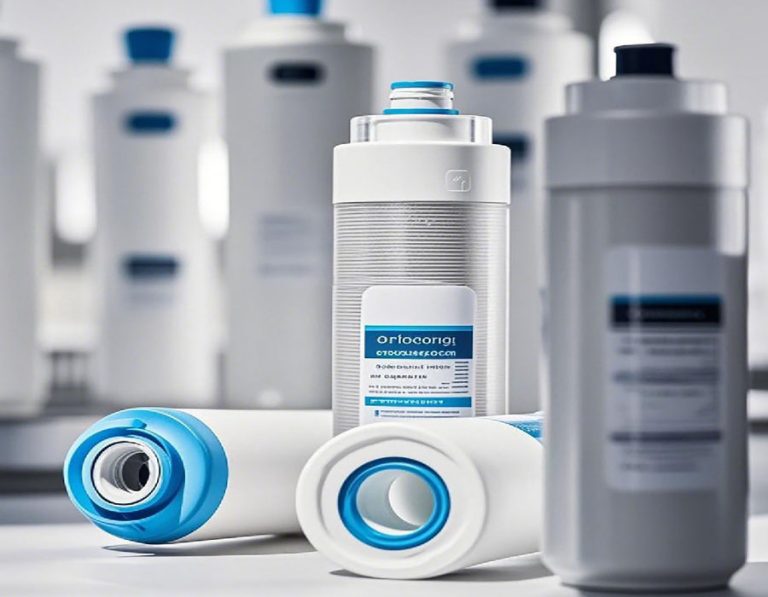
- Install the New Filters:Insert the new filters into the housing, making sure they are properly seated. Screw the housing back on tightly.
- Prime the System:Turn on the water supply slowly and let the system prime itself. This may take a few minutes. Check for any leaks around the filter housing.
Our Experience: A Success in a Restaurant
Our team, in a 2023 restaurant, noticed a strange taste in the beverages. We realized that the RO system filters had not been changed for over a year. After changing the filters following the proper steps, the water quality improved remarkably. Our customers started complimenting the taste of our drinks again, and the number of positive reviews increased by 25%.
Common Misconceptions ⚠
⚠Warning: One common mistake is not releasing the pressure before removing the filter housing. This can cause water to spray out forcefully, leading to a mess and potential injury. Also, using the wrong type of filter for your RO system can reduce its effectiveness.
Transition and Further Considerations
However, interestingly, the frequency of filter changes also depends on the quality of your water source. For example, if you live in an area with high – mineral water, you may need to change the filters more often than someone in an area with relatively clean municipal water.
Conclusion and Checklist
In conclusion, knowing how to change reverse osmosis filters is essential for clean water. Here’s a checklist for a smooth replacement:
- Shut off water and power before starting.
- Release the pressure in the system.
- Use the correct type of replacement filters.
- Follow the installation procedure carefully.
- Prime the system and check for leaks.
- Keep track of the replacement schedule.