One stop supplier of water treatment parts&accessories


How to change RO membrane filter? Easy steps for you.
Okay, here is the content about how to change the RO membrane filter:
Man, changing the reverse osmosis (RO) membrane filter in my water system was a pain, but I managed to get through it. I figured I’d share my experience so you can avoid some of the headaches I faced. I change my RO filters yearly and the membrane every three years, just like the pros recommend.
First things first, I turned off the water supply to the RO system. This is a must-do, unless you want a surprise shower. There’s usually a valve somewhere along the water line coming into your system. Just give it a twist until it’s off.
Cut Off the Tank
- Next, I closed the blue ball valve on top of the RO storage tank. It’s that blue thingy on top. I just turned it 90 degrees. Easy peasy.
Now, with a new dry membrane, the pros say to flush at least 5 gallons of water through it to get rid of preservatives. I did that, but make sure that water goes down the drain, not through the rest of your system. You don’t want that gunk in your drinking water.
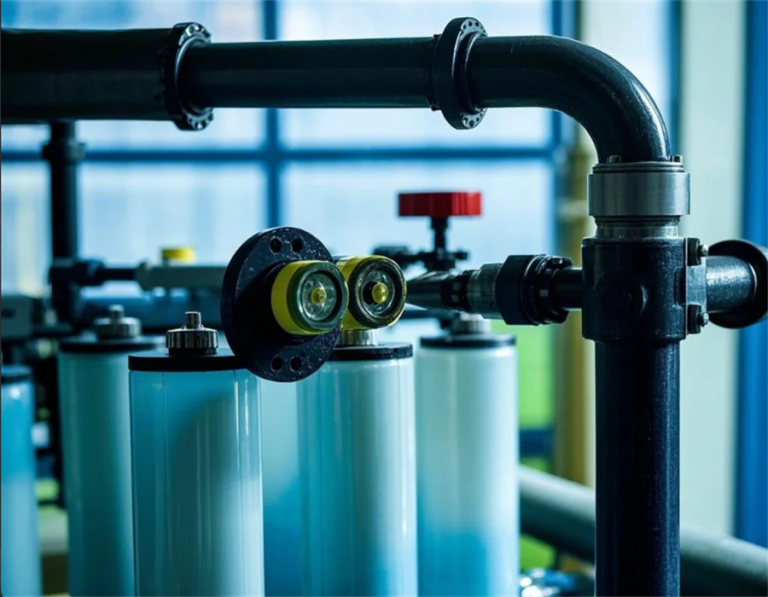
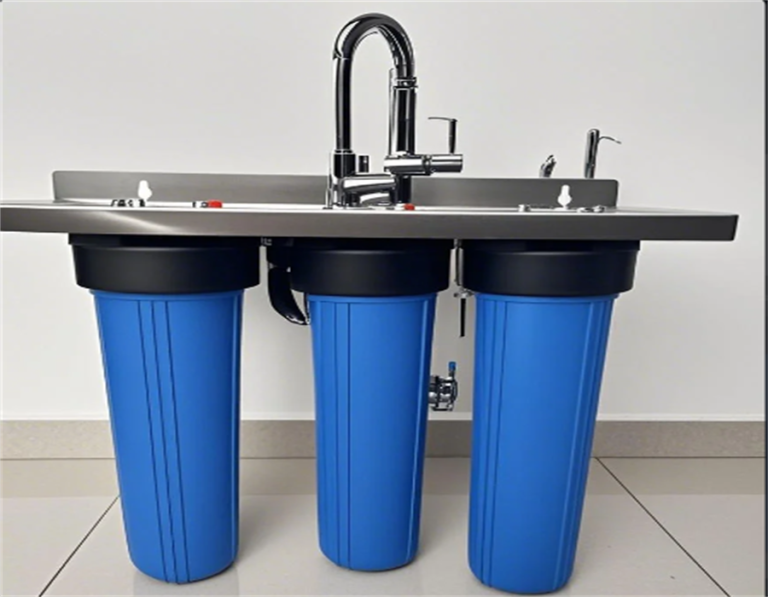
My RO system is a 4-stage one. It’s got a sediment pre-filter, a carbon pre-filter, the RO membrane, and a polishing carbon post-filter. The sediment filter catches all the big junk like dirt and rust. I usually find a bunch of stuff in there, which is kinda gross but satisfying. I took this out first and replaced it with a new one.
The carbon pre-filter is next. That one deals with chlorine and other chemicals. It makes the water taste better, or at least, less like a swimming pool. I replaced this one too.
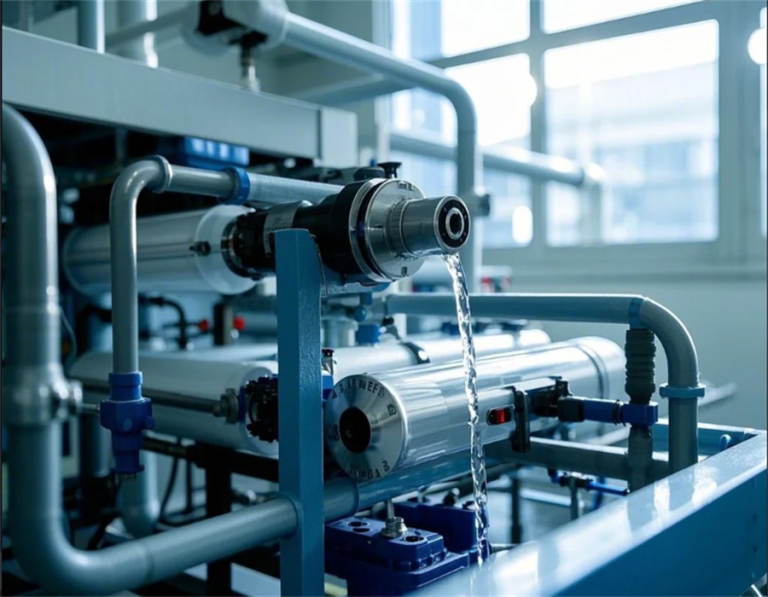
Then came the big one – the RO membrane. This is the heart of the whole system. It filters out most of the remaining impurities. Getting to it was a bit tricky. I had to unscrew the housing, which was on there pretty tight. After some wrestling, I got it off. The old membrane looked pretty nasty. I carefully pulled it out and slid the new one in, making sure it was snug. Then, I screwed the housing back on, making sure not to overtighten it.
Finally, there’s the polishing carbon post-filter. This one gives the water a final clean-up before it goes into the storage tank. I swapped that out as well.
Restart
With all the new filters in place, I turned the water supply back on and opened the valve on the storage tank. I let the system run for a while, filling up the tank. It’s a good idea to run a few gallons through the system to flush out any loose carbon or air bubbles.
After that, the water was good to go. It tasted clean and fresh, just like it should. The whole process took me a couple of hours, but it was worth it. Now I don’t have to worry about my water quality for another year, and the membrane is good for three!