One stop supplier of water treatment parts&accessories


How to Change RO Membrane: Simple Instructions for You.
Okay, folks, let’s dive into something I tackled recently – swapping out the RO membrane in my water filter system. Now, I ain’t no plumber, but I’m pretty handy around the house, and this is one of those things you can totally do yourself and save some bucks.
First off, I noticed my water was starting to taste a bit off, and the flow was getting slower than usual. That’s when I knew it was time to look at the RO membrane. These things are supposed to last a few years, but it depends on your water quality and how much you use them. I don’t want bacteria to accumulate, so I always keep an eye on the filter.
Getting Ready
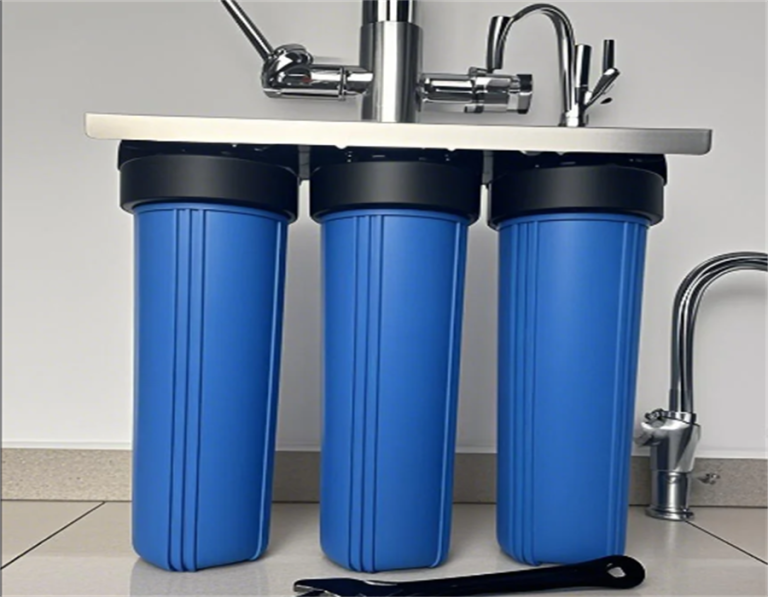
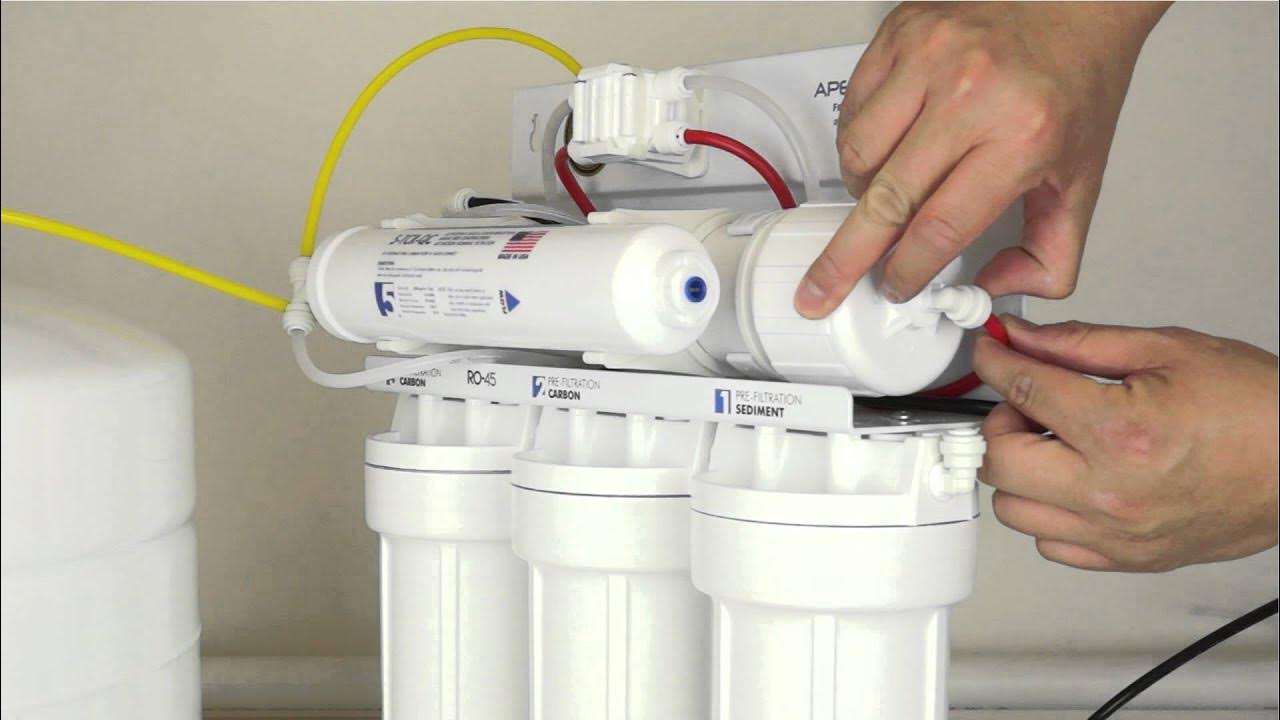
I started by clearing out the area under the sink where the system is. It’s usually just a bunch of canisters hooked up to your water line. No fancy tools are needed for this job, which is a relief.
Shutting Off the Water
Next, I turned off the water supply to the system. There’s usually a valve on the line that feeds into the RO unit. I gave it a twist to make sure the water was off. I closed the blue ball valve on the RO tank. Then I opened the RO faucet until the water stopped running, which released the pressure in the system.
Taking Out the Old Membrane
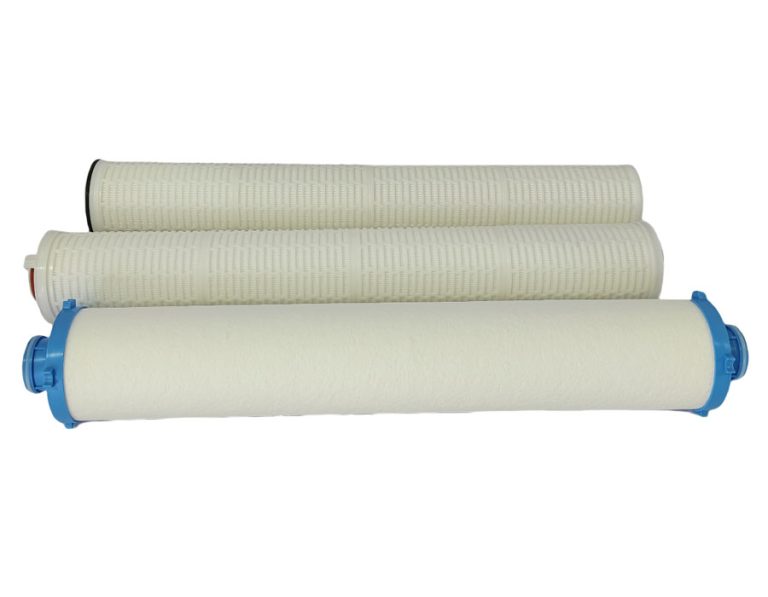
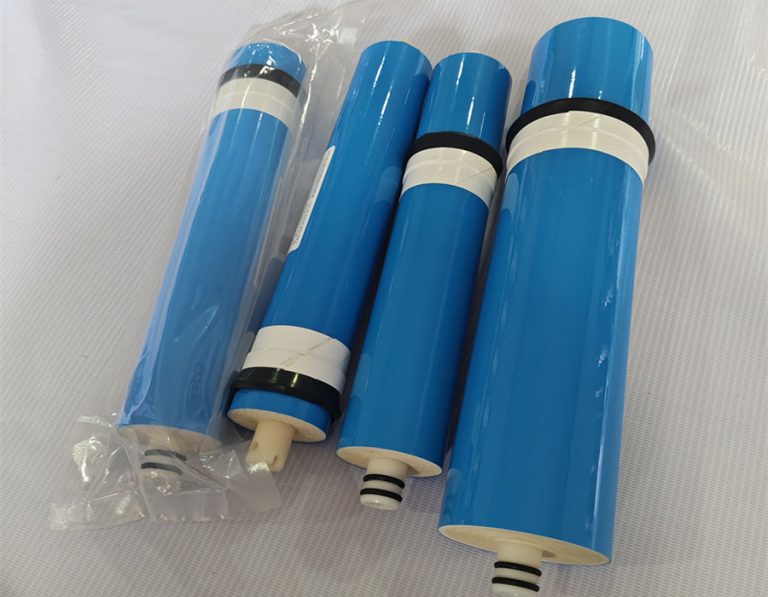
Now for the fun part. I found the housing for the RO membrane, unscrewed the cap and pulled out the old membrane. It looked pretty gunked up, so I was glad I decided to change it.
Putting in the New Membrane
I grabbed the new membrane and slipped it into the housing. Made sure it was snug and then screwed the cap back on. Easy peasy.
Flushing the System
After getting the new membrane in, I turned the water back on. Manufacturers usually recommend flushing a good amount of water through a new membrane to clear out any preservatives. I let it run for a while, sending all that initial water down the drain. I make sure that I did not run this water through the other filters. I ran it straight out of the membrane housing and down the drain.
Checking for Leaks
Once the flushing was done, I checked all the connections to make sure nothing was leaking. Everything looked good, so I closed up the RO faucet.
Enjoying Fresh Water
And that’s it! I let the system refill, and soon enough, I had fresh, clean water again. The flow was back to normal, and the taste was as good as new.
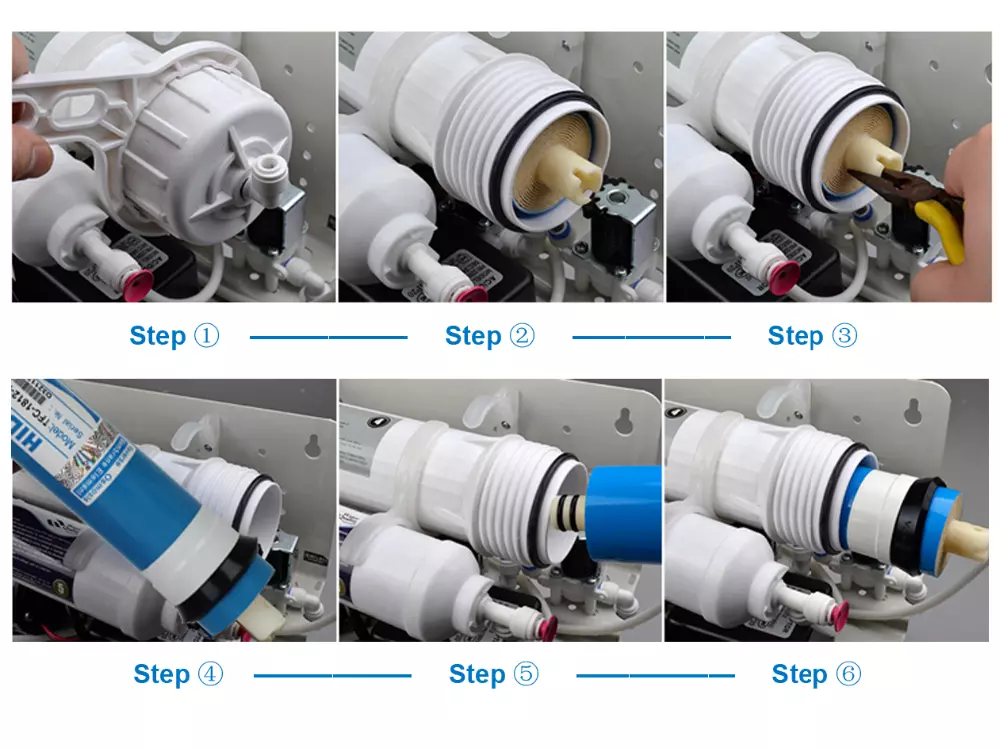
- Step 1: Turn off the water and open the RO faucet.
- Step 2: Remove the old membrane.
- Step 3: Insert the new membrane.
- Step 4: Flush the system.
- Step 5: Check for leaks and enjoy.
It is not too hard. If you are thinking about doing this yourself, go for it. Just remember to shut off the water first, and you will be fine. There are other filters in the RO system, like the sediment filter and carbon filter. These should be changed, too.
All in all, it was a successful DIY project. Saved some money, and now I’ve got great-tasting water again. Plus, I learned a bit more about how my RO system works. Win-win!