One stop supplier of water treatment parts&accessories


How to Choose the Right 4 x 40 RO Membrane Housing!
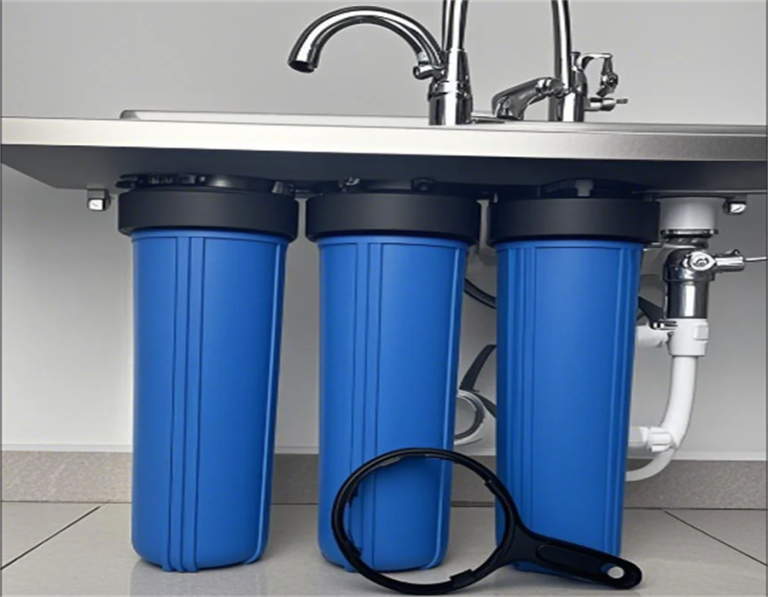
Okay, so, I recently got my hands on this 4 x 40 RO membrane housing, and let me tell you, it’s been quite a journey figuring this thing out. I’ve always been into these kinds of DIY projects, and I thought, why not share my experience with you all? I spent quite some time searching the internet for information before I started, and found that most of them were too obscure and difficult for me to understand, so I’m sharing my actual experience in the hope that it will help you guys who are as confused as I was!
First off, I had to choose the right size. Now, I read somewhere that there are these 12-inch housings with 1/8″ female threaded connections which are common for homes. But I needed something bigger for my project, which is why I went for the 4 x 40. I mean, they also mentioned that the best way to figure this out is by looking at the membrane design, and considering things like thickness for durability, or thinner ones for energy efficiency. I’m not gonna lie, it was a bit confusing at first, but I measured my existing system, and it turned out that 4 inches in diameter was what I needed.
Getting Started:
I started by making sure I had all the necessary tools. The last thing you want is to be halfway through and realize you’re missing something. Once I had everything laid out, I began with disassembling my old setup. Man, it’s always a bit nerve-wracking taking things apart, hoping you can put them back together!
The Actual Installation:
- First thing I did was to connect the water supply line to the inlet of the housing. It was a bit of a tight fit, but I managed.
- Then, I inserted the RO membrane into the housing. I made sure it was snug and secure. They say the 8040 membranes are twice the diameter of the 4040, which means a larger surface area and better filtration. Good to know, right?
- After that, I connected the outlet ports. One for the purified water and the other for the wastewater. It sounds simple, but getting the connections right took a bit of trial and error.
- Finally, I turned on the water supply slowly, checking for leaks. I had to tighten a few connections, but eventually, it was all good.
The Result:
After all the work, I finally got it running. Seeing the water flow through the new housing was so satisfying. I tested the water quality, and let me tell you, it was a noticeable improvement. This 4 x 40 housing really does the job. I read that choosing the right membrane depends on your system’s specs, water usage, and budget. I guess I made the right choice for my needs.
So, that’s my story of installing the 4 x 40 RO membrane housing. It was a bit of a challenge, but totally worth it. If you’re thinking of doing something similar, just remember to take your time, double-check everything, and don’t be afraid to get your hands dirty. It’s all part of the fun, right? If you are new to this and don’t know anything about it, I suggest you think twice before starting, I spent a lot of effort to get it done. But if you’re like me and determined to get it done, then I hope my experience can give you a little help!