One stop supplier of water treatment parts&accessories


How To Clean RO Membrane At Home (Your DIY Guide To Perfect Solution)
Alright, let’s get down to business. I needed to clean my reverse osmosis (RO) membrane at home because, you know, the water was starting to taste a bit off and the flow was getting really slow. I’ve done this a couple of times before, so I’m not a complete newbie, but it’s still a bit of a hassle. I’m going to share my whole process of cleaning RO membrane in this article.
Gather Supplies
First, I had to gather all my supplies. I made sure I had some basic cleaning solutions. That means a little bit of sodium hydroxide (NaOH) for the first part – about 0.1% solution, mixed it up real good. I planned to keep that solution at a pH of around 12. Then I got some hydrochloric acid (HCl) for the second part – about 0.2% solution, and I would keep that at a pH of 2. It’s important to get those measurements just right. And, of course, I needed some clean water to rinse everything out.
Shut Off the Water
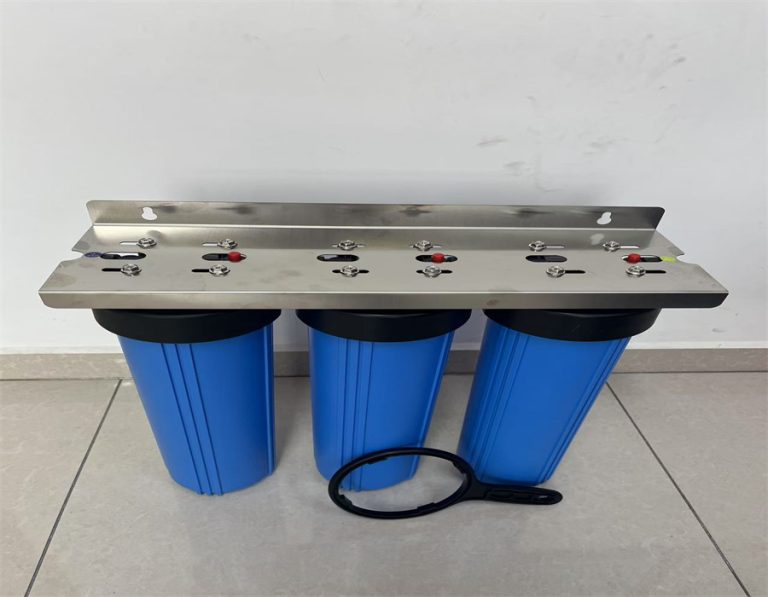
Then, I shut off the water supply to the RO system. This is important, you don’t want water gushing everywhere while you’re trying to work. I turned off the valve that feeds water into the system and made sure it was completely shut.
Remove the Membrane
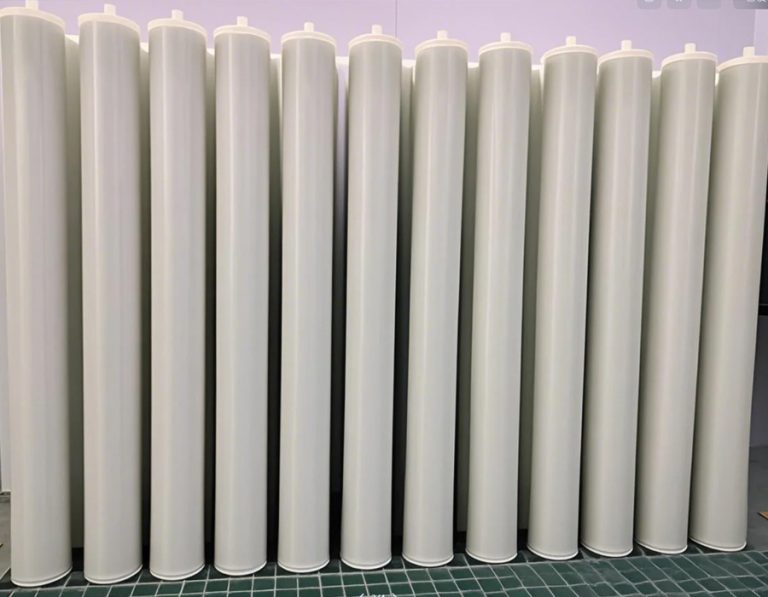
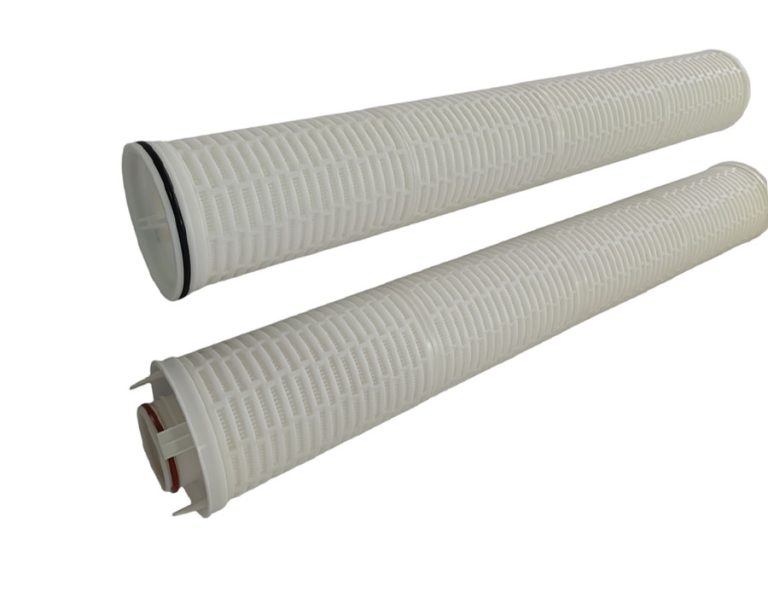
Next, I carefully removed the membrane from its housing. Now, I had to be gentle here, this thing is kind of delicate. I slowly unscrewed the housing and pulled the membrane out, trying not to damage it.
Clean with the Alkaline Solution
I started with the alkaline cleaning. I mixed up that 0.1% NaOH solution, making sure the pH was around 12, and the temperature didn’t go over 86 degrees Fahrenheit. I soaked the membrane in this solution, letting it sit for a while to loosen up all the gunk that had built up. This helps get rid of all the organic stuff that clogs it up. I circulated the solution for about an hour, keeping an eye on the temperature.
Rinse Thoroughly
After the alkaline soak, I rinsed the membrane thoroughly with clean water. I ran water through it for a good long while to make sure all the NaOH was gone. You don’t want any of that left in your drinking water, it would ruin the membrane for real.
Clean with the Acidic Solution
Then I did the acidic clean. I used that 0.2% HCl solution, keeping the pH at 2 and the temperature below 113 degrees Fahrenheit. I soaked the membrane in this solution to dissolve any mineral buildup. Again, I circulated the solution for about an hour, making sure the temperature stayed where it should.
Another Rinse
After the acid bath, I rinsed the membrane again, making sure all the HCl was washed away. I flushed it with plenty of clean water until I was sure it was all clear.
Reinstall the Membrane
Once it was all rinsed, I put the membrane back into its housing, taking care not to damage it. I made sure it was seated correctly and tightened everything up properly.
Turn the Water Back On
Finally, I turned the water supply back on, letting the system fill up. I checked for any leaks and made sure everything was running smoothly.
Flush the System
The last step was to flush the system for a while. I let the water run for a good hour to make sure any remaining cleaning solution was completely flushed out. This way, I know the water is safe to drink.
And there you have it, my whole process of cleaning my RO membrane at home. It took some time and effort, but I did it. Now, the water tastes better and the flow is much improved. If you follow these steps, you can do it too, but be careful and take your time.