One stop supplier of water treatment parts&accessories


How to Install Home Depot Big Blue Water Filter? (Easy DIY Installation Guide)
Okay, so I’ve been meaning to do something about my home water situation for a while now. You know how it is, you turn on the tap, and sometimes the water smells a bit off, or you see little specks floating around? Well, I finally decided to tackle that, and let me tell you, it wasn’t as bad as I thought it would be.
I did some digging around, and it seemed like a whole-house water filter was the way to go. Seemed like the best bang for your buck, you know? And after checking out a few options, I landed on this big blue water filter from Home Depot. It’s, well, big and blue!
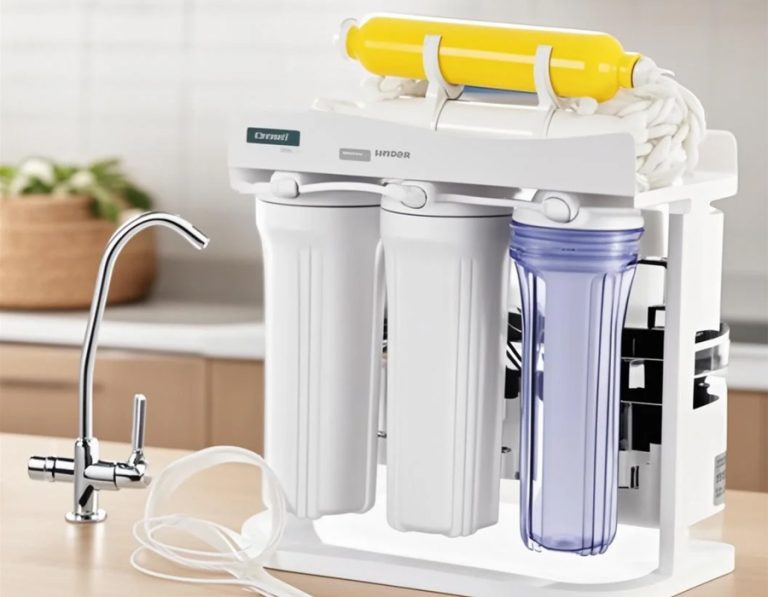
First, I had to gather my supplies. I grabbed the filter housing itself, which is this big blue cylinder thing. Then, I picked up a couple of filter cartridges. I went with a sediment filter to catch all the dirt and rust and a carbon filter to take care of any weird tastes or smells.
Next, I had to figure out where to put this thing. I decided to install it on the main water line coming into the house, right after the main shut-off valve. That way, all the water coming in would get filtered.
Now, for the fun part – the installation. First, I turned off the main water supply. Gotta remember that one! After making sure the water supply was completely closed, I needed to release some pressure of water inside the water line. So I just turned on the closest faucet in the house. This step was important so that I didn’t get sprayed water when cutting the water pipe.
- Turn off the water.
- Release the pressure by turning on the closest faucet.
- Cut the main water line with a pipe cutter.
- Used some sandpaper to polish the surface.
- Installed the filter housing.
- Put in the filter cartridges.
- Then turn the water back on.
- Check for leaks.
I cut the main water line with a pipe cutter where I planned to place the filter. Don’t forget to use some sandpaper to polish the cut surface so that it didn’t leak. I installed the filter housing with the provided mounts. Then I put in the filter cartridges. I made sure to follow the instructions for each filter, especially paying attention to the direction of the water flow. Then I slowly turned the water back on. I checked for leaks, tightened a few connections.
The Result
And that was it! Honestly, the hardest part was probably just making sure I had all the right parts and tools.
Now, when I turn on the tap, the water is crystal clear and tastes so much better. It’s such a relief knowing that I’m not drinking all that sediment and chlorine anymore. Plus, it should help protect my appliances from getting all gunked up. If you’re thinking about doing something about your water quality, I definitely recommend looking into a whole-house filter. It’s a pretty straightforward DIY project, and the results are totally worth it!