One stop supplier of water treatment parts&accessories


how to install ro membrane in housing
how to install ro membrane in housing?Okay, here’s my personal take on installing an RO membrane, presented as a blog post:
Alright, folks, today I tackled something I’ve been putting off – swapping out the RO membrane in my under-sink water filter system. It wasn’t as scary as I thought, so I figured I’d share my experience, step-by-step, for anyone else who’s a bit hesitant.
how to install ro membrane in housing?
Getting Started
First things first, I turned off the water supply to the filter system. Usually, there’s a little valve under the sink specifically for this. Don’t skip this step, or you’ll have a watery mess!
Then, I depressurized the system. My setup has a faucet just for the filtered water, so I opened that up until the water stopped flowing. This gets rid of any built-up pressure.
Out with the Old
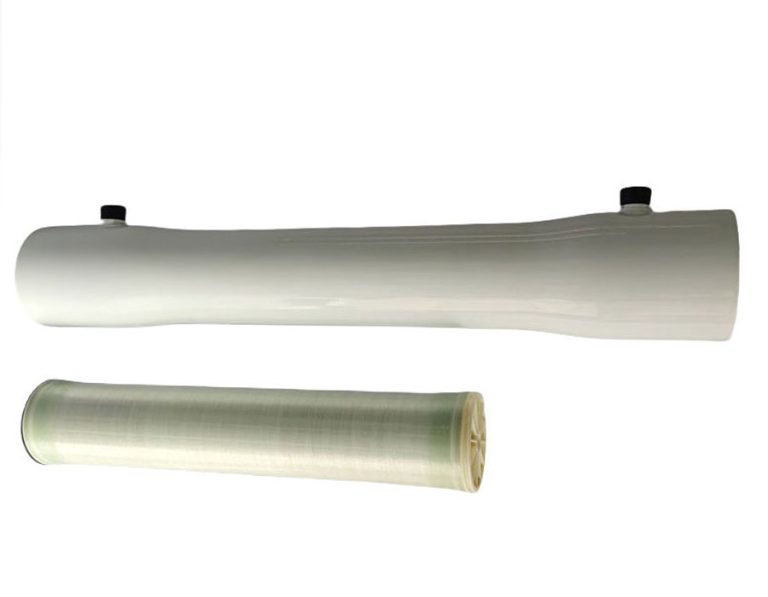
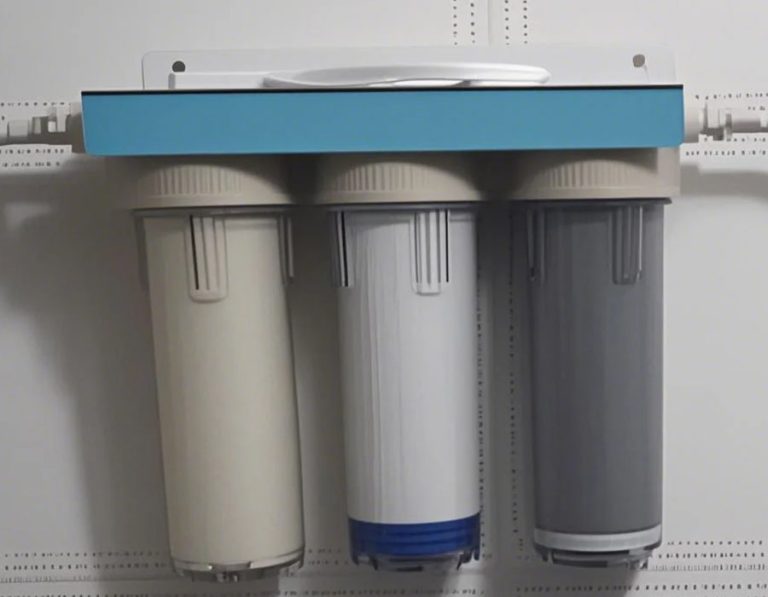
Next up, locating the membrane housing. It’s usually the biggest, longest canister in the system. Mine has these quick-connect fittings, so I just pushed in the little collar and pulled the tubing out. If yours has threaded connections, you’ll need a wrench.
With the housing free, I unscrewed the cap on one end. It might be a little tight, so I used a strap wrench for extra grip. Once the cap was off, I could see the old membrane. I used pliers to grab the end of the old membrane and pull it out. It was kinda slimy, which is, you know, gross but expected.
In with the New
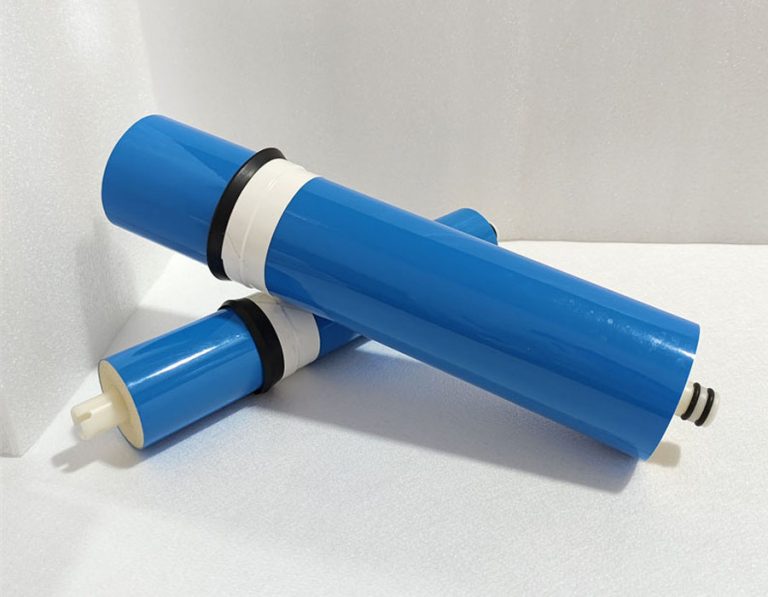
Now for the new membrane. I unwrapped it carefully, made it wet with filtered water. With reference to membrane direction, I put the end with double o-rings into housing first.
I pushed the new membrane all the way in until it was seated snugly. It should go in pretty easily; if you’re forcing it, something’s not right.
Next, I put some food grade silicone grease around new membrane o-rings, and then screwed the cap back onto the housing, making sure it was tight. Then, I reconnected the tubing to the housing, making sure those quick-connect fittings clicked into place securely.
Finishing Up
With everything reconnected, I slowly turned the water supply back on. I kept an eye out for any leaks around the housing and fittings. Everything looked good!
Finally, I opened up the filtered water faucet and let the water run for a good 5-10 minutes. This flushes out any air or loose particles from the new membrane. The water might look a little cloudy at first, but that’s normal.
And that’s it! My water tastes great, and I feel pretty good about doing it myself. It saved me a plumber’s fee, and honestly, it wasn’t that hard. If I can do it, you can too!