One stop supplier of water treatment parts&accessories


How to make RO membrane | Step-by-Step Guide for Beginners
Okay, guys, today I’m gonna tell you about my little adventure making an RO membrane. It was a bit of a wild ride, but hey, I got it done!
Getting Started
First off, I had to gather all my materials. It’s like when you’re baking a cake, you gotta have all your ingredients ready, right? I got some polymer stuff, some solvent, and a bunch of other things that I didn’t really understand but figured they were important. I also needed a clean space to work because this thing needs to be super clean.
Mixing and Casting
Next up, I mixed the polymer with the solvent. It felt like mixing flour and water, but way more precise. I stirred it real good until it was all smooth and there were no lumps. Then, I carefully poured this mix onto a flat surface. It’s called “casting” apparently. This part was kinda tricky because you gotta make sure it’s even. Think of it like spreading frosting on a cake, but you can’t lick your fingers after!
The Water Bath
Now, here’s where it gets interesting. I took that flat surface with the goopy mix and dipped it into a tub of water. The water is like a magic ingredient here. It makes the polymer do its thing and become solid. Most polymers used in such applications are hydrophobic, so water is the most common nonsolvent. Upon contact with water. After a while, I pulled it out, and boom, there it was, a thin film.
Checking It Out
I let the film dry for a bit. Then, I held it up to the light to see if I messed up anywhere. It looked pretty good, to be honest. I was pretty proud of myself at this point. It’s like when you finish a puzzle, and all the pieces fit perfectly.
Testing Time
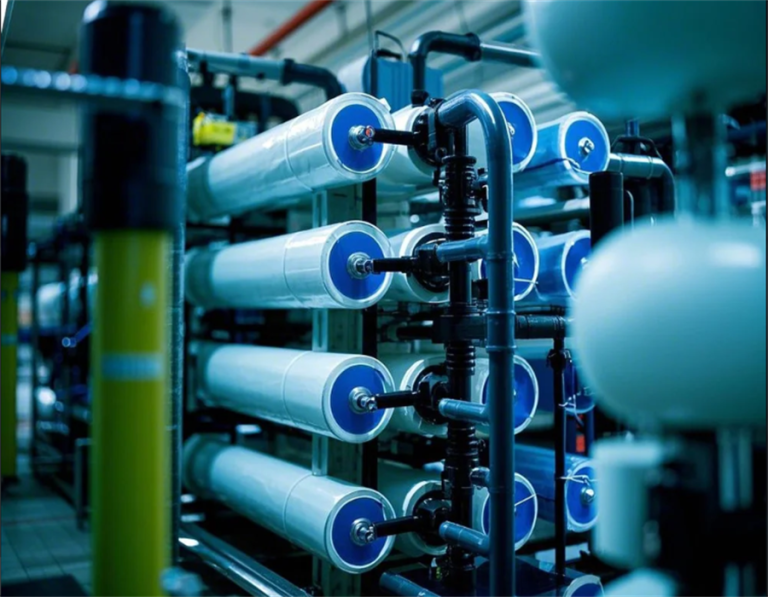
After letting it dry, I decided to test it out. I hooked it up to some tubes and ran some water through it. This part was a little nerve-wracking because I wasn’t sure if it would actually work. A 2 pass RO system is used if a very high permeate quality is required. But guess what? It did! I filtered water, just like those fancy store-bought ones.
Final Thoughts
So, yeah, that’s how I made an RO membrane. It was a bit of a challenge, but it was super satisfying to see it work. I mean, I basically made a water filter from scratch! It’s not something I’d do every day, but it was a cool project. If you’re into DIY stuff and like a good challenge, you should totally try it. Just be prepared for a bit of a mess and a lot of patience!
- Gather materials: polymer, solvent, etc.
- Mix and cast: combine polymer and solvent, pour onto a flat surface.
- Water bath: immerse the cast film in water to solidify it.
- Dry and inspect: let the film dry and check for imperfections.
- Test: connect to a water source and check if it filters properly.
Hope you guys enjoyed my little story. It’s not every day you get to play mad scientist in your own home!