One stop supplier of water treatment parts&accessories


how to open ro membrane housing
how to open ro membrane housing?Alright, guys, so the other day I had to swap out the membrane in my RO system. It’s not rocket science, but that housing can be a real pain to open if you don’t know the trick. I figured I’d share my little adventure, might save someone a headache.
how to open ro membrane housing?
Gathering My Tools
First things first, I got my stuff together. Needed a few basic things:
- Channel-lock pliers – the big, adjustable kind.
- A flathead screwdriver – just a regular one.
- Maybe some rubber gloves – if you don’t wanna get your hands all slimy.
Shutting Everything Down
Before I even touched the housing, I made sure the water supply was completely off. Turned off the valve going to the RO system. And, just to be safe, I shut off the valve on the storage tank too. No surprises, please!
Releasing the Pressure
Even with the water off, there’s still pressure in the system. So, I opened the RO faucet on my sink to let the water drain out. Once it stopped dripping, I knew the pressure was gone.
Locating the Housing
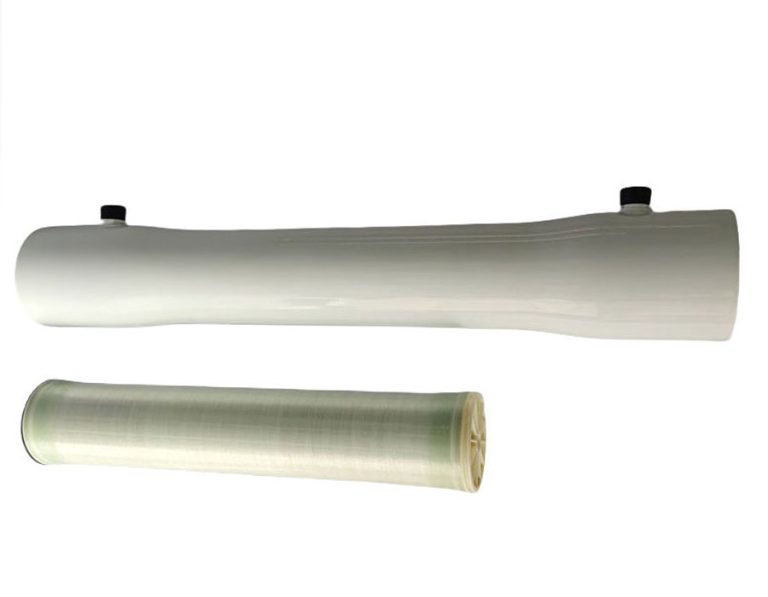
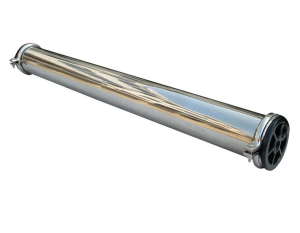
My RO membrane housing is this long, white cylinder-shaped thing. It’s usually mounted with clips or brackets. Yours might look a bit different, but it’ll be the biggest part of the system besides the tank.
Getting a Grip
Here’s where the fun begins. I grabbed my channel-lock pliers and adjusted them so they’d fit snugly around the cap of the housing. The cap is the part that screws on and off. It usually has some ridges or bumps to help you grip it.
The Twist (and Shout!)
With the pliers firmly in place, I gave it a good, steady twist counterclockwise. It was pretty tight, so I had to put some muscle into it. Sometimes, these things get stuck from mineral buildup or just being on there for a long time.
Important: Go slow! Don’t force it too hard, or you might crack the housing. If it’s really stubborn, try tapping the cap gently with the screwdriver handle while you’re turning it with the pliers.
Dealing with Stubbornness
Mine was being a pain. So, I used the flathead screwdriver to carefully pry between the cap and the housing. I just wiggled it in a little bit, working my way around the cap to loosen things up. Don’t go crazy with the prying, you don’t want to damage anything.
Victory!
Finally, with a satisfying “pop,” the cap started to loosen. I unscrewed it the rest of the way by hand. Inside, I found the old membrane, looking all used up and ready to be replaced.
Putting It Back Together
After I swapped in the new membrane, I just reversed the process. Screwed the cap back on clockwise, making sure it was snug but not overtightened. Turned the water supply back on, checked for leaks, and that was it!
Hope this little walkthrough helps somebody out there. It’s not a tough job, but knowing how to get that darn housing open makes all the difference!