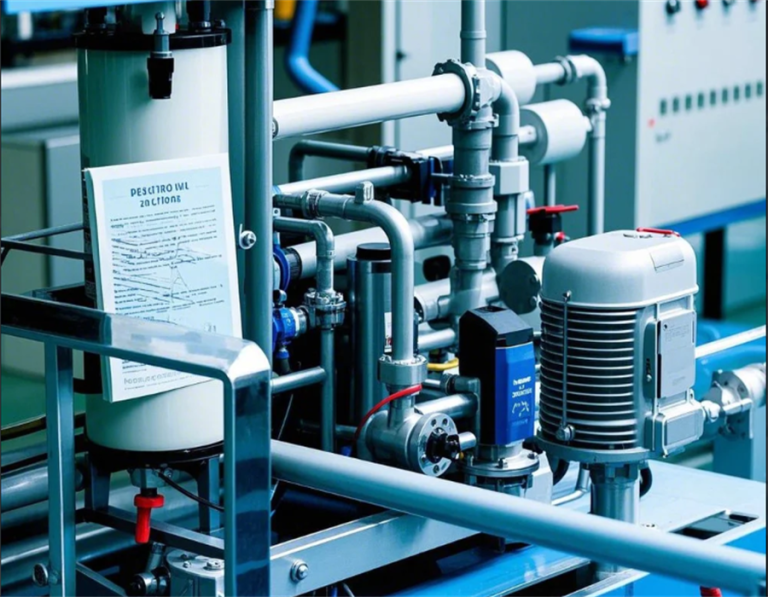
One stop supplier of water treatment parts&accessories


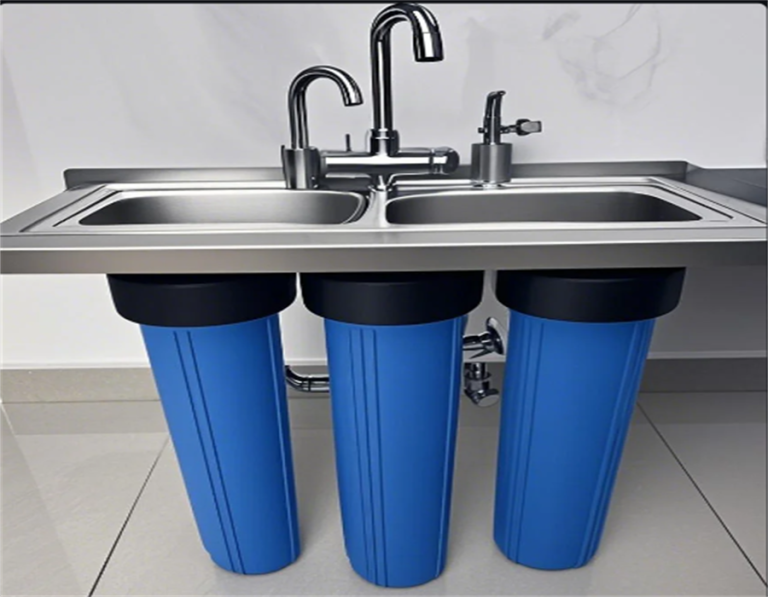
Install a 2 Stage Big Blue Water Filter: Easy Guide for Beginners!
Okay, here’s my experience with installing a 2-stage big blue water filter:
So, I finally got around to installing that 2-stage big blue water filter I bought a while back. I’m not gonna lie, I was a bit nervous, never really done anything like this before. But the water in my area ain’t great, and I figured it was time to take matters into my own hands. Plus, I figured it’d save me some cash in the long run instead of buying bottled water all the time.
First things first, I gathered all the stuff I needed. The filter housings, the filters themselves, some mounting brackets, and those self-tapping screws they provided. I also made sure I had my tools ready – a drill, a wrench, some screwdrivers, the usual stuff. I ain’t a handyman by any means, but I got the basics covered.
Installation Time
The instructions said to find a good spot to install the housings in my water system. It all seemed pretty straightforward. There are clear “IN” and “OUT” marks on the top of the housings. So, I picked a spot under the sink where the main water line comes in. Seemed like the logical choice. I used the supplied self-tapping screws to attach the housing to the bracket, being careful to line up the “IN” and “OUT” with the direction of water flow.
Next up, I mounted the housings to the brackets using those self-tapping screws. I made sure to get the flow direction right, didn’t want any mishaps there. I double-checked everything, making sure the housings were secure and aligned properly.
- First stage: I popped in the sediment filter. This one’s supposed to catch all the big junk like dirt and rust.
- Second stage: I put in the carbon filter. This one’s for getting rid of that nasty chlorine taste and smell, along with other chemicals.
With the filters in place, I tightened everything up, making sure there were no leaks. I turned the water back on slowly, holding my breath, and… no leaks! Success! I let the water run for a few minutes to flush out any air and loose stuff from the filters.
The Taste Test
Now for the moment of truth. I poured myself a glass of water and took a sip. Honestly, I was amazed at the difference. The water tasted so much cleaner and fresher. No more chlorine aftertaste, just pure, refreshing water. It actually felt good to drink water from the tap again!
All in all, the whole process wasn’t as bad as I thought it would be. It took me a couple of hours, mostly because I was taking my time and double-checking everything. I’m pretty proud of myself for tackling this project. Not only do I have better-tasting water, but I also feel a little more self-sufficient. And hey, saving money on bottled water is a nice bonus!
If you’re thinking about installing a water filter, I say go for it. It is not that hard. And the improvement in water quality is totally worth it. Just make sure you read the instructions, gather your tools, and take your time. You got this!