One stop supplier of water treatment parts&accessories


Is Your RO Water Membrane Dirty? Cleaning Guide Here
Okay, so I’ve been having this problem with my water filter at home. The water was starting to taste a bit off, and I figured it was time to give the RO membrane a good cleaning. Here’s how I tackled it.
Getting Ready
First off, I turned off the water supply to the system. Gotta make sure nothing’s flowing while you’re working on it, right? Then, I got my tools ready. Nothing fancy, just some basic stuff from my toolbox. I also made sure I had the cleaning solutions. After researching online, it seems like people use chlorine bleach, hydrochloric acid, or hydrogen peroxide.
Taking It Apart
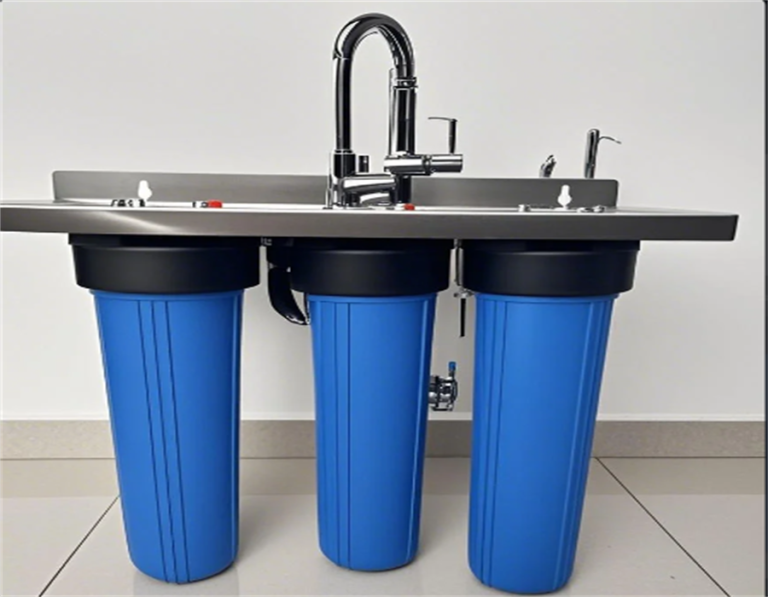
Next, I located the membrane housing. It’s usually this cylindrical thing that’s pretty easy to spot. I carefully unscrewed the housing. It’s kind of like opening a can, but way more important not to spill anything.
Cleaning the Membrane
I decided to do each stage of the RO membrane individually. I heard it is a good idea to do it that way. I had some RO permeate water on hand, so I used it to mix up a cleaning solution with chlorine bleach. I figured, why not start with something I already have? I soaked the membrane in this solution for about an hour, as recommended by some website. Some others say using hydrochloric acid or hydrogen peroxide. I will try them next time.
- Make the cleaning solution. I mixed the bleach with the RO permeate water, making sure it was the right concentration.
- Soak the membrane. I let the membrane sit in the cleaning solution, occasionally swirling it around to make sure every part of it got cleaned.
Rinsing
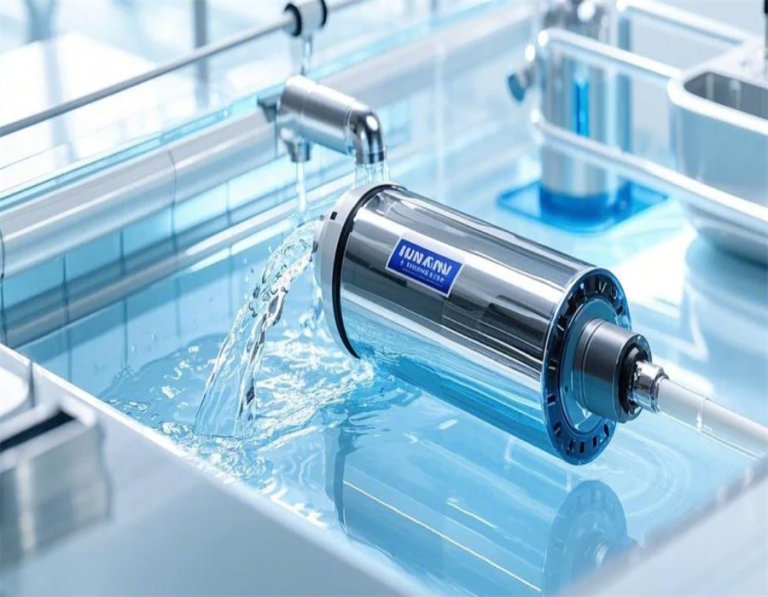
After the soak, I rinsed the membrane thoroughly with more of that RO permeate water. This part is super important because you don’t want any of that cleaning solution to end up in your drinking water. I rinsed it multiple times, just to be safe. No need to use tap water as it may introduce some impurities back to the membrane.

Putting It Back Together
Once the membrane was squeaky clean and rinsed, I put it back into the housing. I made sure to tighten everything up properly so there wouldn’t be any leaks. I find this part is actually quite satisfying.
Finishing Up
Finally, I turned the water supply back on. I let the system run for a few minutes, discarding the first batch of water, just in case there was any residual cleaner. It is like a final flush to make sure everything is perfect.
And that’s it! My water tastes great again, and I didn’t have to call a professional. It’s a pretty straightforward DIY job if you ask me. I read somewhere online that a rough rule is to clean it every 3 to 12 months. I probably should set a reminder on my phone or something.