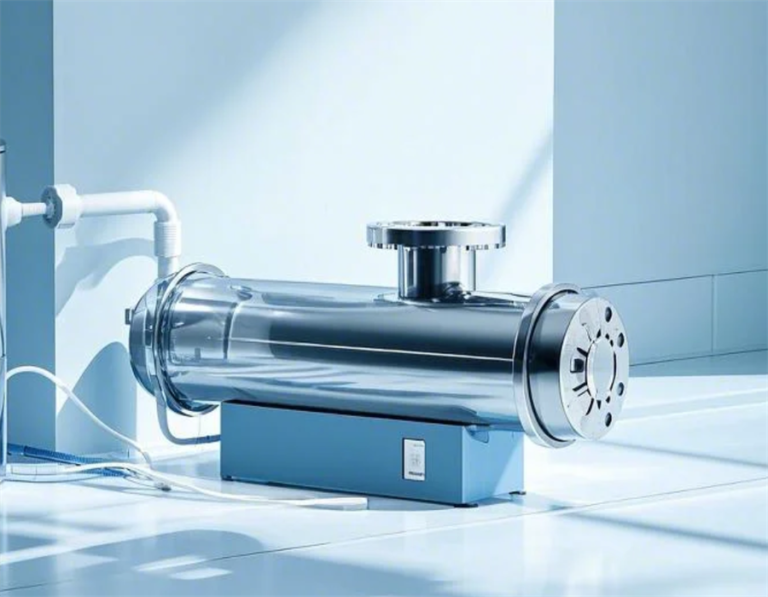
One stop supplier of water treatment parts&accessories


Kent RO Membrane Price: Heres What You Need to Know Before Buying
Alright, guys, let’s talk about my little adventure with the Kent RO membrane. I had to replace the darn thing, and man, it was something.
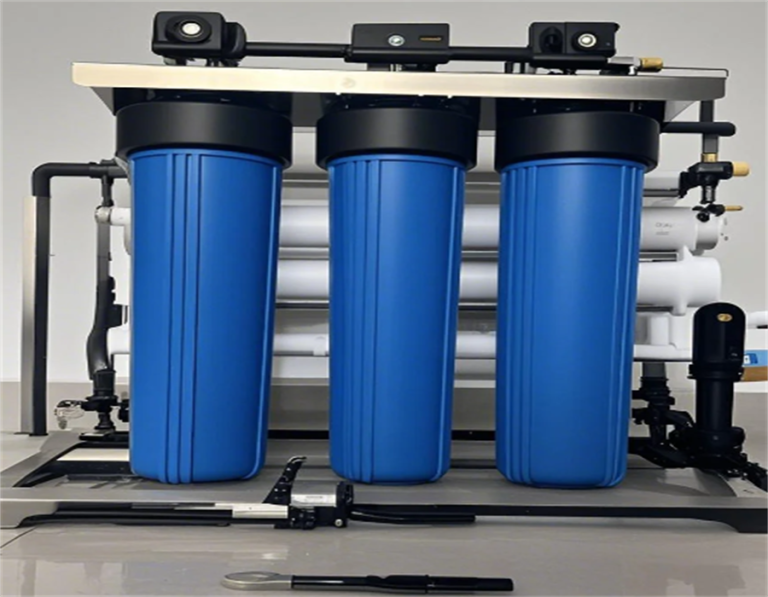
First off, I started noticing my water tasted kinda funny. I mean, not terrible, but definitely not as clean as it used to be. So, I did a little digging and figured out it was probably time to look at my RO system. And, of course, the first thing that came to mind was the membrane, because that’s the heart of the whole thing, right?
I went online, and started checking the prices for a new Kent RO membrane. Now, these things aren’t exactly cheap, but the prices varied quite a bit. Some were like, “Whoa, that’s a lot,” and others were a bit more reasonable. But I know better than to just go for the cheapest option – you get what you pay for, especially with something as important as your water filter.
So, I did a little more research, reading reviews, comparing different sellers. This took me a good while, I ain’t gonna lie. I wanted to make sure I was getting the real deal – an original Kent membrane, not some knock-off that’s gonna crap out on me in a few months. I finally settled on one that seemed like a good balance of price and quality. It had decent reviews, and the seller seemed legit.
When the membrane arrived, I was like, “Okay, time to get my hands dirty.” I watched a couple of videos online on how to replace it. It looked simple enough. Just open up the housing, take out the old membrane, and pop in the new one. Easy peasy, right? Well, not exactly.
First off, turning off the water supply and depressurizing the system took a bit longer than I thought. Then, getting the old membrane out was a bit of a struggle. It was stuck in there pretty good. But I finally managed to yank it out. Putting in the new membrane was a bit easier, but I had to make sure it was seated properly. And let me tell you, those small parts are not easy to handle.
- Shut off the water supply.
- Depressurize the system.
- Wrestle the old membrane out.
- Pop in the new one.
- Make sure it’s all sealed up tight.
After I got everything back together, I turned the water back on and, thankfully, no leaks! I ran the water for a while to flush out the system, just like the instructions said. It took a few hours for the water to start tasting normal again, but man, what a difference!
So yeah, replacing the Kent RO membrane was a bit of a pain, but definitely doable. And honestly, it’s worth it to have clean, good-tasting water again. Plus, I saved some money doing it myself instead of calling a professional. It’s a good feeling, you know, tackling something like this and having it work out.
My takeaways from this whole ordeal:
- Don’t wait too long to replace your membrane.
- Do your research and find a good quality original replacement.
- Watch some tutorials before you start.
- Be prepared for a little bit of a struggle.
- Enjoy your clean water!
Anyway, that’s my story. Hope it helps someone out there who’s thinking about replacing their Kent RO membrane. It’s not as scary as it might seem, and you’ll be glad you did it.