One stop supplier of water treatment parts&accessories


Learn How to Flush RO Membrane at Home: Get Rid of Contaminants Easily
Alright, guys, so I wanted to share a little DIY project I tackled at home – flushing my RO membrane. It’s one of those things that sounds complicated but is actually pretty doable once you get into it.
First off, I made sure to get all my stuff ready. This meant grabbing some basic tools, a bucket, and the cleaning solution I was gonna use. Oh, and I turned off the water supply to my RO system – don’t wanna forget that!
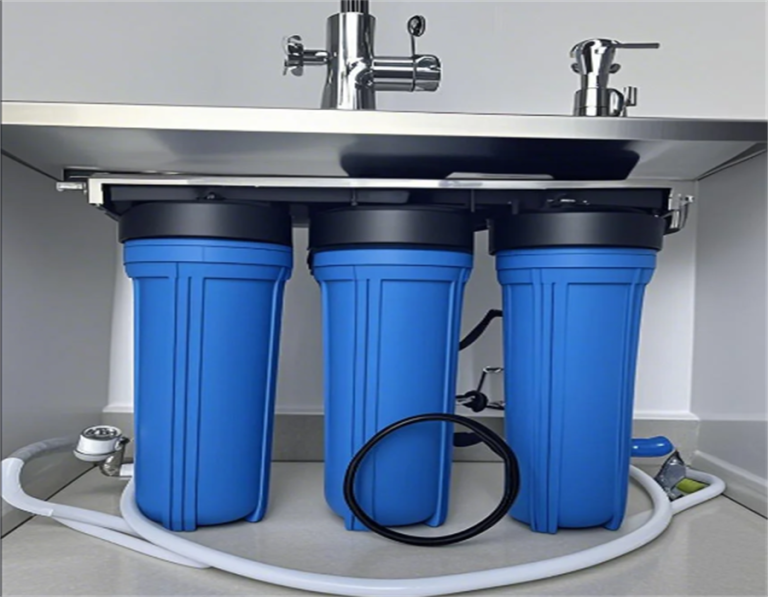
Next, I located the pre-filters and the RO membrane housing. Usually, they’re all under the sink or wherever your RO system is set up. I started by taking off the pre-filter housings. They just twist off, no biggie. Dumped the old filters, gave the housings a quick rinse.
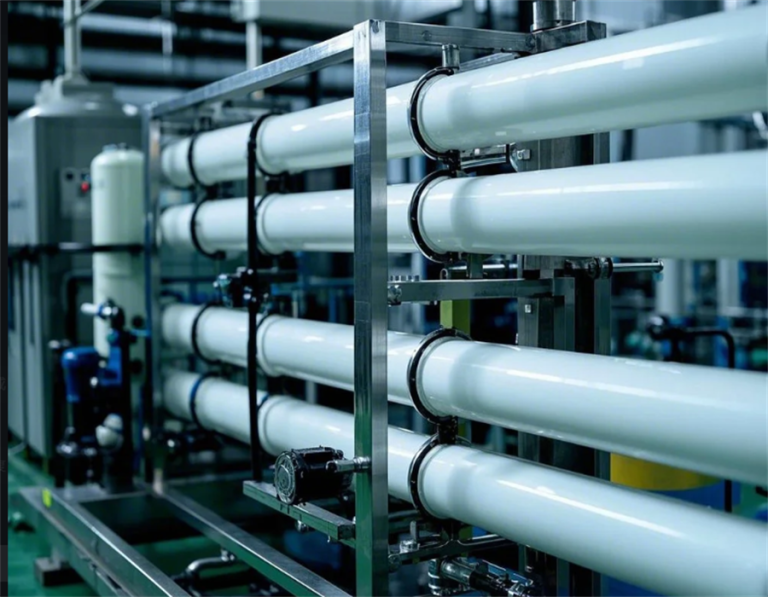
Then came the fun part – dealing with the RO membrane. I unscrewed the housing cap and pulled out the old membrane. It’s kinda like pulling out a big, weird-looking sausage. Noted down which way it was facing so I’d put the new one in the right way later.
- Preparing the Cleaning Solution:
I mixed up the cleaning solution according to the instructions. Some folks use a special RO cleaning solution, I added a quarter cup of regular household bleach into the first stage housing, which I figured would do the trick. Made sure to handle it carefully, though, used gloves and all that jazz.
I screwed the empty housing back onto the RO head. Slowly turned on the water supply.
- Flushing and Soaking:
Now, with the cleaning solution ready, I turned off the water valve that goes to the storage tank and opened the RO faucet to let the system run for a bit. This helps push the cleaning solution through the membrane. After a few minutes, I turned off the faucet and let the membrane soak in the solution for about an hour. Figured that’s enough time for it to get all nice and clean.
- Rinse and Reassemble:
After the hour was up, I turned the water supply back on and opened the RO faucet again to flush out the cleaning solution. Let it run for a good 5-10 minutes, just to make sure all the cleaner was out. Then, I put the new pre-filters in their housings and popped the new RO membrane into its place, making sure it was facing the right way.
Finally, I turned the water supply back on, closed the RO faucet, and opened the storage tank valve. Checked for leaks – none, thankfully! – and let the tank fill up. It took a few hours for the tank to fill completely, but once it did, I opened the RO faucet and let the water run for a bit. This helps get rid of any weird taste or smell from the new filters.
And that’s it! My RO system was all flushed and ready to go. Felt pretty good to get that done myself. Plus, the water tasted way better afterward, so definitely worth the effort!