One stop supplier of water treatment parts&accessories


Make More Syrup with the Right 4×40 RO Membrane for Maple Sap!
Okay, so, I’ve been messing around with this whole maple syrup thing for a while now, and let me tell you, it’s a lot of work to boil down all that sap. I mean, we’re talking hours and hours over a hot stove. So, I started looking into ways to make the process a little easier, and that’s when I stumbled upon reverse osmosis. I thought maybe that’s it.
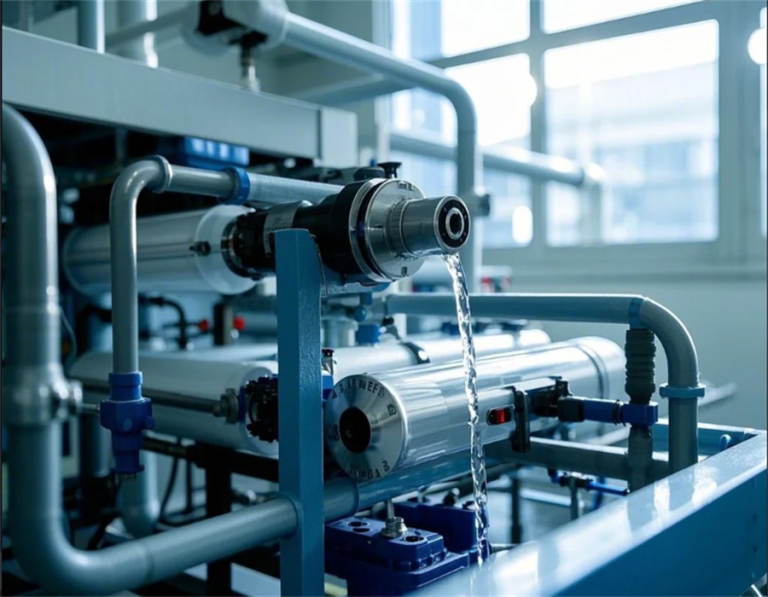
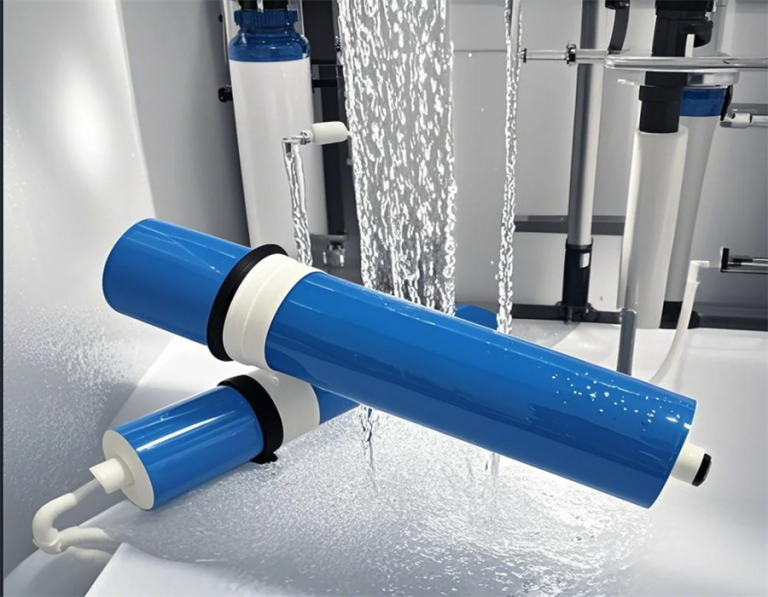
Basically, reverse osmosis, or RO for short, is a way to remove some of the water from the sap before you even start boiling. It’s like a super-powered filter. I did some research online, and watched many videos and finally made my mind. I decided to give it a shot. I figured if it could save me some time and fuel, it would be worth the investment. So, I went ahead and bought a 4×40 RO membrane. I heard good things about the Dow XLE 4040, which is a popular one in the maple syrup community, but really, any 4×40 membrane designed for maple sap should do the trick.
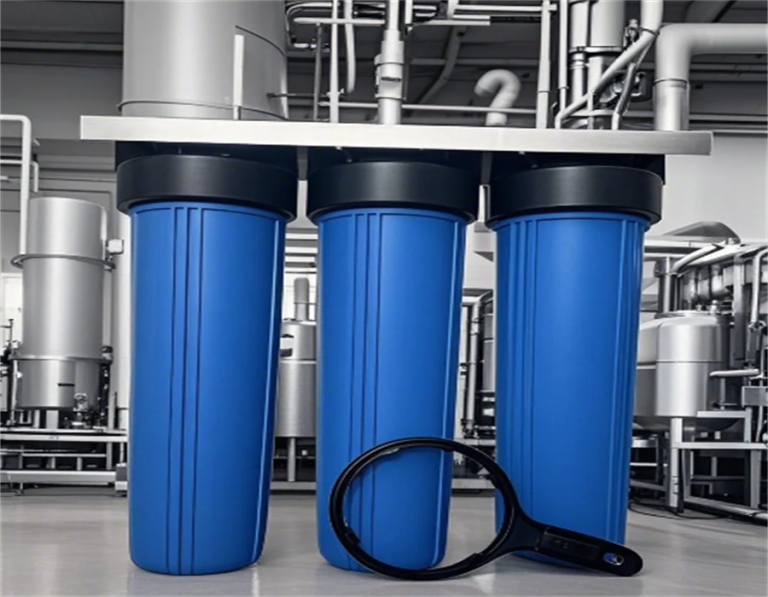
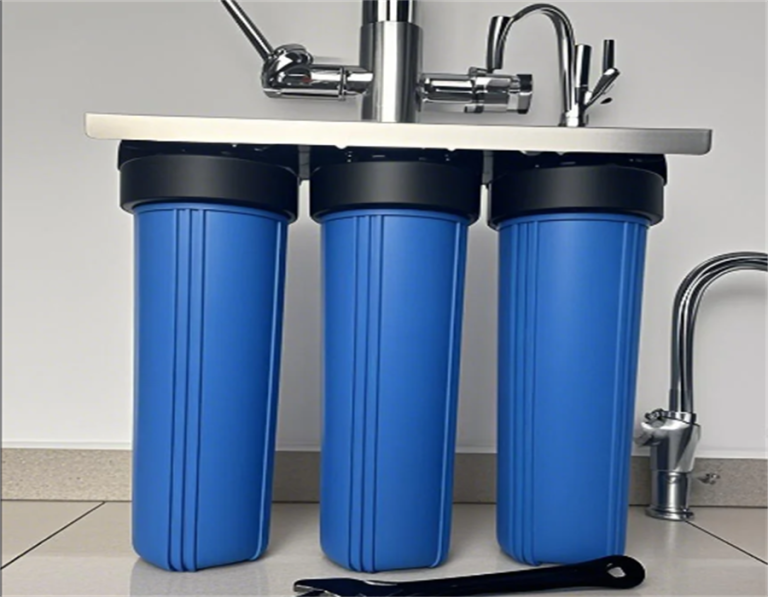
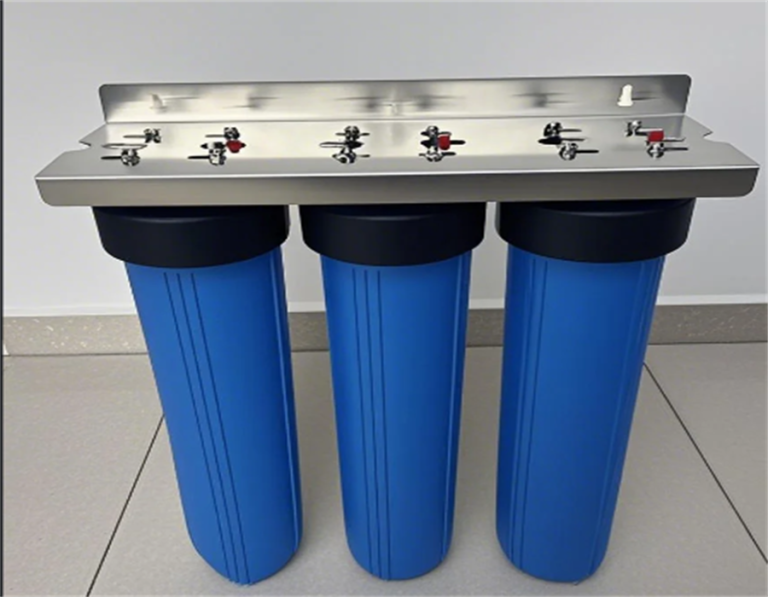
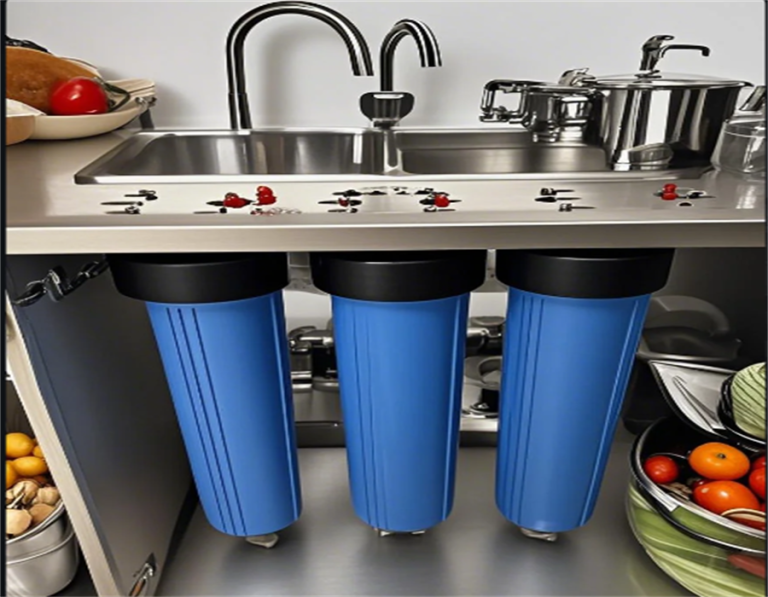
The first thing I did was gather all the supplies. Besides the membrane, I needed a housing for it, a pump, some tubing, and a few other odds and ends. I managed to find most of the stuff online, and then start to assemble them together.
Then I needed to find a vessel to store the sap. I bought a water tank from a local store. Then I hook everything together. It was a lot of trial and error, to be honest. I had to make a few adjustments to the setup, but eventually, I got it all working. It’s not rocket science, but it does take a bit of tinkering to get it right. I started with a simple setup, just to test things out. I ran some sap through the system, and it was amazing to see the water being separated out.
I was able to get the sugar concentration up to around 12%, which meant a lot less boiling time. I’m using a 24×36 evaporator pan, which has an evaporation rate of around 6 gallons per hour. With the RO system, I figured I could produce about a gallon of finished syrup per hour. To power the whole thing, I went with a 3/4 hp motor and a 240 gph pump, and they are working pretty well.
- First try: I ran a small batch of sap through the RO, and it worked like a charm.
- Second try: I upped the volume and ran a longer test. Still good!
- Third try: A full day of processing sap, and the system held up great.
I used to spend most of the day and even some of the night boiling, and it was exhausting. The RO process has made things so much easier. I still enjoy the boiling process, but now it is just way more manageable. I’m not stuck to the evaporator all day long. I can process a large amount of sap in a reasonable time, and I’m saving on fuel costs too.
For anyone who’s serious about making maple syrup, I’d say using an RO system is a game-changer. It might seem like a big investment at first, but trust me, it pays for itself pretty quickly. And it’s not just about the money, it’s about the time you save and the wear and tear on your body. Plus, there’s something really satisfying about building your own system and seeing it work. I got most of my trees are maples and box elder trees. So they are perfect to do this.
So yeah, that’s my story about diving into the world of reverse osmosis for maple syrup. It’s been a fun and rewarding experience, and I’m excited to keep using it in the future. If any of you are thinking about trying it out, feel free to ask me anything. I’m always happy to share what I’ve learned. Happy sugaring!