One stop supplier of water treatment parts&accessories


Need a New APEC RO Membrane? Heres How to Replace It in Minutes!
Okay, so my reverse osmosis system was acting up. The water flow had become seriously weak, like a trickle. I knew it was time to mess with the RO membrane. I ain’t no plumber, but I figured, how hard could it be? Turns out, not that hard if you just follow the steps.
First things first, I grabbed some basic tools. Nothing fancy, just a wrench and a pair of pliers, oh, and some towels ’cause you know, water and stuff. Then, I found the shut-off valve for the water supply to the system and turned that bad boy off. Gotta cut off the water before you start tinkering, right?

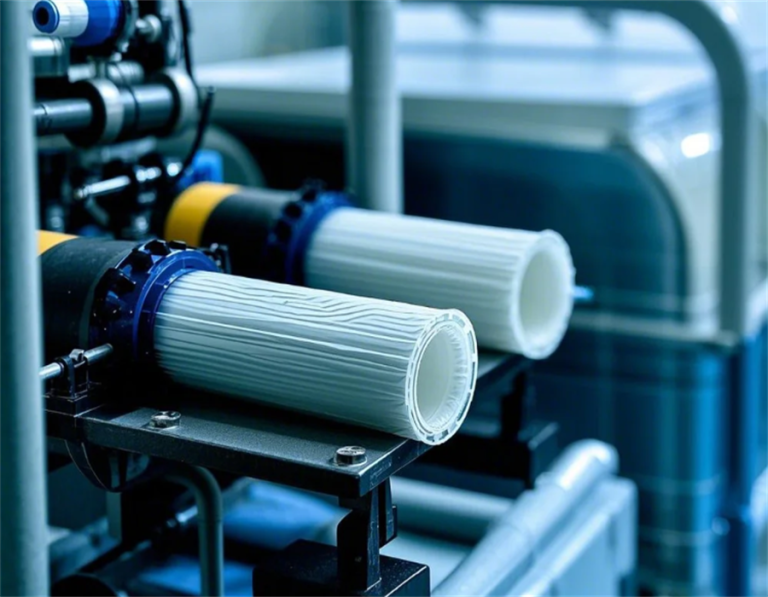
Next, I located the membrane housing. It’s usually on the top, and mine had this “Filmtec Membrane” sticker on it, so it was pretty easy to spot. There’s a tube connected to the cap of the housing, so I disconnected that. I used the wrench to carefully unscrew the cap, and boy, was there some pressure built up in there!
Once the cap was off, I could see the old membrane. It looked kinda gross, all discolored and whatnot. I used the pliers to gently pull it out. It was a bit stubborn, but I managed to yank it free. I made sure to check the inside of the housing for any gunk or debris, you know, give it a good once-over.
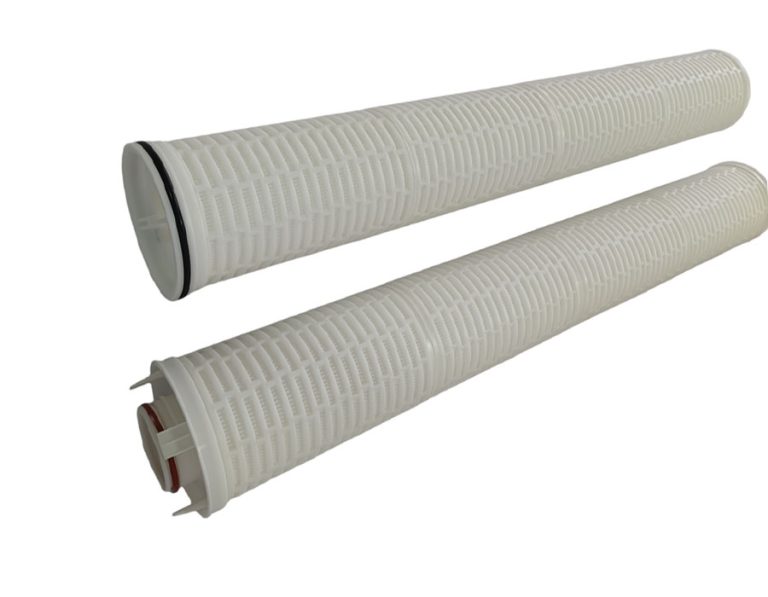
Now for the new membrane. I took it out of its packaging, making sure not to touch the actual membrane part with my bare hands – gotta keep it clean. I carefully slid it into the housing, pushing it all the way in until it was snug.
After that, I put the cap back on, tightening it with the wrench. Then, I reconnected the tubing. Easy peasy. Now, this is important: I slowly turned the water supply back on, checking for any leaks. I held my breath for a second, but hey, no leaks! Success!
I let the system run for a few minutes to flush out any air or loose stuff. It took a little while for the pressure to build back up, but soon enough, I had a strong, steady stream of water again. It tasted great, too! Way better than before.
Here are the key things I learned, which might help you out when you replace your RO membrane:
- Turn off the water: Seriously, don’t forget this step, unless you want a mini flood in your kitchen.
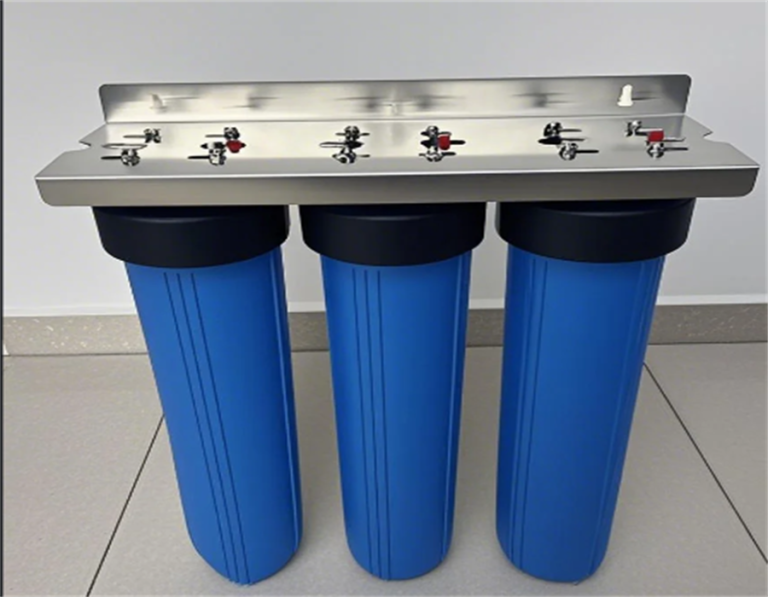
- Find the membrane housing: It’s usually easy to find, often marked with a label.
- Take it slow: Be gentle when removing the old membrane and putting in the new one.
- Check for leaks: After you’re done, always check for leaks before walking away.
Overall, I’m pretty proud of myself. I saved some cash by doing it myself, and my water tastes awesome. It was way easier than I thought it would be. If I can do it, you probably can, too! Just remember to take your time, and you will be fine. I heard that usually we should replace stages 1-3 pre-filters every 6-12 months, and stage 4 Reverse Osmosis filter and stage 5 Carbon filter every 2-4 years. This time I just replaced stage 4, I will see when I need to replace others. Anyway, it was a good experience.