One stop supplier of water treatment parts&accessories


Need Clean Water? Check Out the 1 Micron Big Blue Filter!
Alright, so I decided to give this whole 1 micron big blue filter thing a try. You know, to see if it really makes a difference in the water quality. I gotta say, the whole process was a bit more involved than I initially thought, but hey, it was a good learning experience.
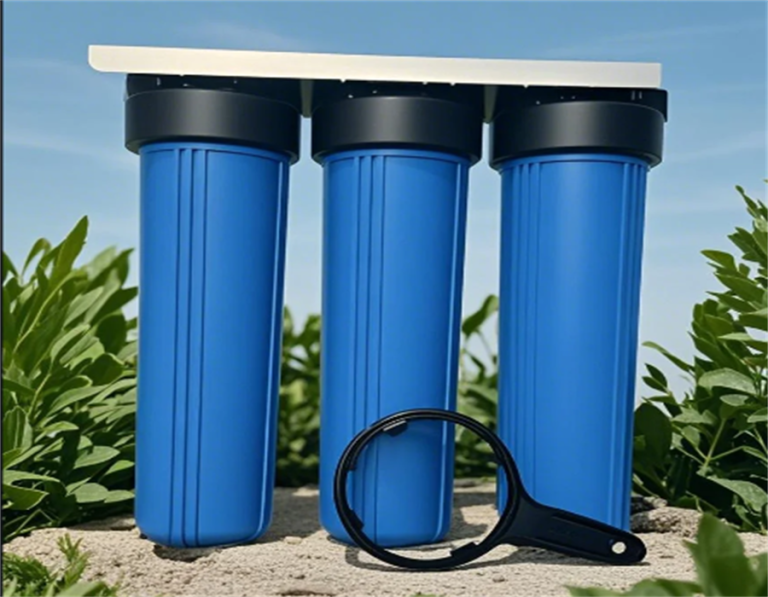
First off, I started by looking up some info online. I’m no plumber, so I needed to get a basic understanding of what I was dealing with. Found out that these filters are supposed to be pretty good at getting rid of the tiny stuff in the water, like sediment, rust, and other junk you don’t want to be drinking. Also, I need to make sure the filter matches the filter housing. There are 10 inch and 20 inch sizes, and I found mine was 20 inch “big blue.”
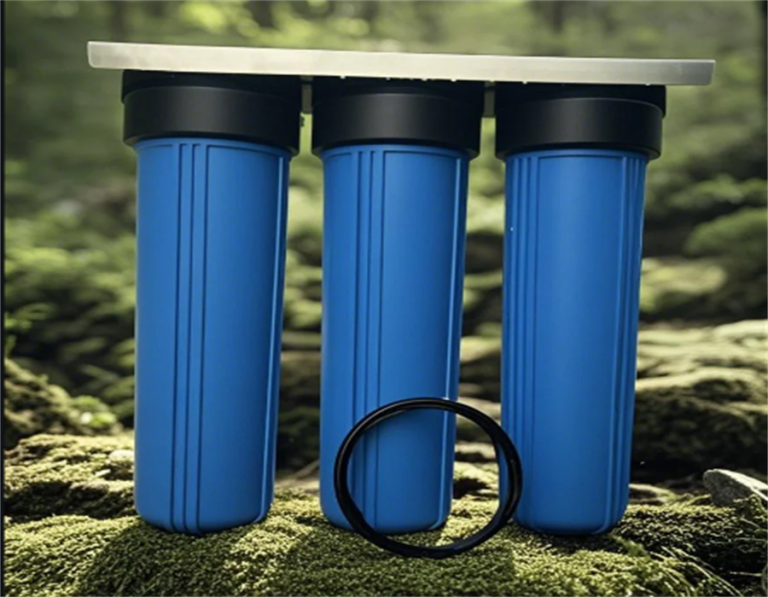
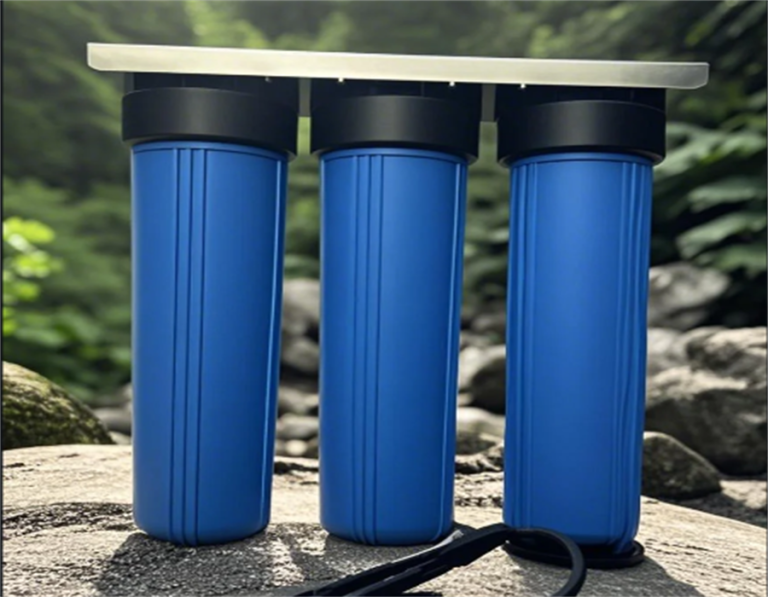
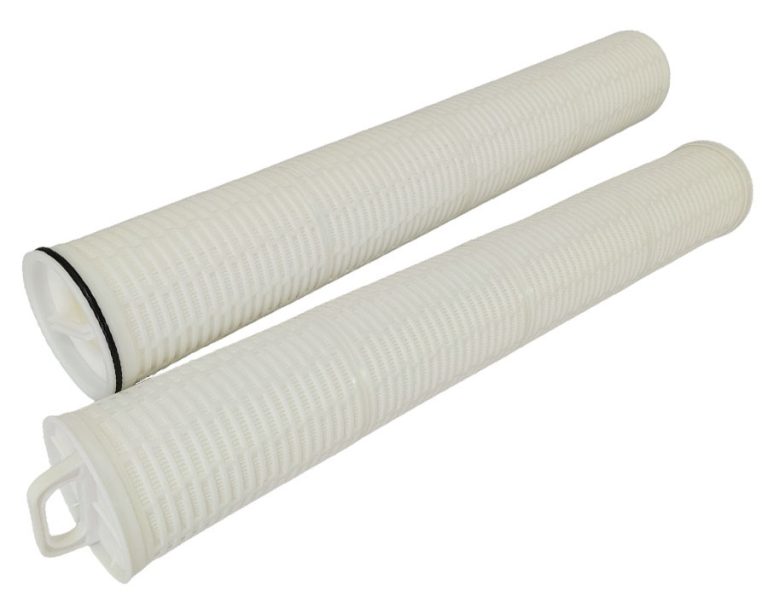
Then, I went out and got myself the filter and the 20 inch housing. It came with a wall mounting bracket, a filter wrench, and the filter itself, which was labeled as a 25/1 micron filter, which I’m guessing means it filters down to 1 micron. It also says “DGD-2501” on it. But, you know, they come in different sizes, so I had to make sure I got the right one, which is called “#20 BB”, to fit the big blue housing I had. Also, I learned that the filter was made from pure polypropylene, which is supposed to be better than other materials.
Next up, installation. I turned off the main water supply, just to be safe. It also said that the filter is able to filter 15 gallons of water per minute at most. I don’t think my home uses that much water, so I guess it’s enough for me. I don’t have a dedicated iron filter, so I guess I can’t remove iron from the water. Then, I tried to figure out where to install it. Finally, I decided to put it right after the main water line entered the house. I had to cut the pipe and connect the housing using some fittings. Not going to lie, I was a little nervous about messing up the plumbing, but it turned out okay.
Once the housing was in place, I put the filter inside. It was a bit tricky to get it lined up properly, but I managed. I also made sure to clean the bottom of the housing and the O-ring on top, just like the instructions said. After that, I tightened everything up with the filter wrench. I don’t know if I did it right, but I think it’s okay. Then, I slowly turned the water back on, holding my breath to see if there were any leaks. Luckily, no leaks.
Now, for the moment of truth. I ran the water for a few minutes to flush out the system, as recommended. I could see the water getting clearer, which was a good sign. Then, I filled up a glass and took a sip. I’m not sure if it’s just my imagination, but the water did seem to taste a bit better. Maybe a little less chlorine-y? I’m not sure.
What I learned
- It’s not as hard as it looks. I was pretty intimidated at first, but the installation was actually doable. Just take it step-by-step and don’t be afraid to ask for help if you need it.
- Read the instructions carefully. There’s a lot of useful information in there, like how to flush the system and how often to change the filter. The instruction says the filter can last long. I will have to see.
- The water does seem better. I’m not sure if it’s a huge difference, but I think the water quality has improved. I feel better knowing that I’m drinking cleaner water.
So, that’s my experience with the 1 micron big blue filter. It was a bit of work, but I think it was worth it. I’ll probably keep using it and see how it goes. Maybe I’ll even start drinking more water now that it tastes a bit better! It also helps to remove lead, which is good for my health.