One stop supplier of water treatment parts&accessories


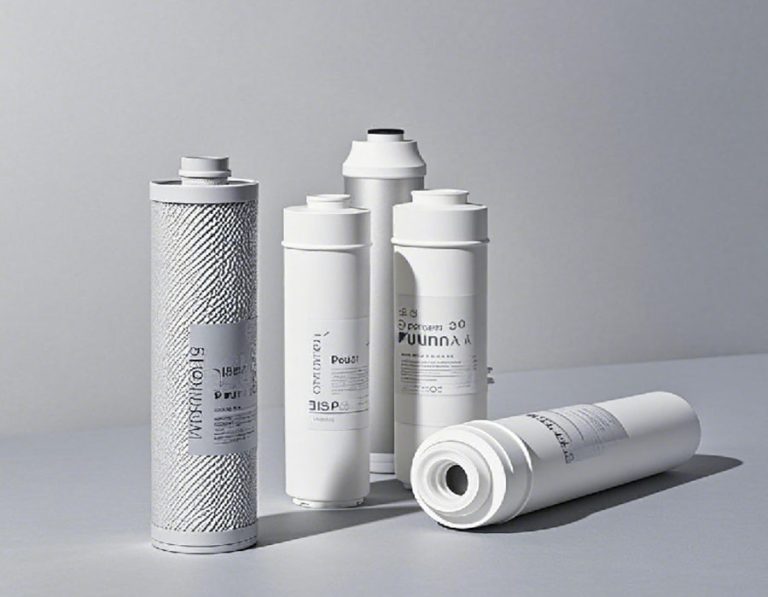
The Ultimate Guide to Osmosis Water Filter Replacement
Understanding the Need for Osmosis Water Filter Replacement
Water is essential for life, but not all water is created equal. Contaminants in water can pose health risks. Osmosis water filters are designed to remove these impurities. However, over time, these filters need replacement. Why? Well, as they trap contaminants, their effectiveness diminishes. For example, if not replaced, the filter might start releasing trapped pollutants back into the water.
How Often Should You Replace Your Osmosis Water Filter?
This depends on several factors. According to a study by the Water Quality Association (WQA), on average, most osmosis water filters need replacement every 6 – 12 months. However, if you have a high – volume water usage or live in an area with poor water quality, it could be as frequent as every 3 months.
The Problem with Ignoring Filter Replacement
When you ignore replacing your osmosis water filter, the water you’re drinking may no longer be as clean as you think. The filter can become clogged, reducing water flow. In fact, a study by NSF International found that 30% of households with water filters had filters that were overdue for replacement, leading to potential health risks from unfiltered contaminants.
What Are the Risks of Using an Old Filter?
Harmful substances like lead, bacteria, and pesticides can pass through an old filter. This can cause various health issues, from digestive problems to more serious long – term illnesses. For instance, lead exposure can affect the nervous system, especially in children.
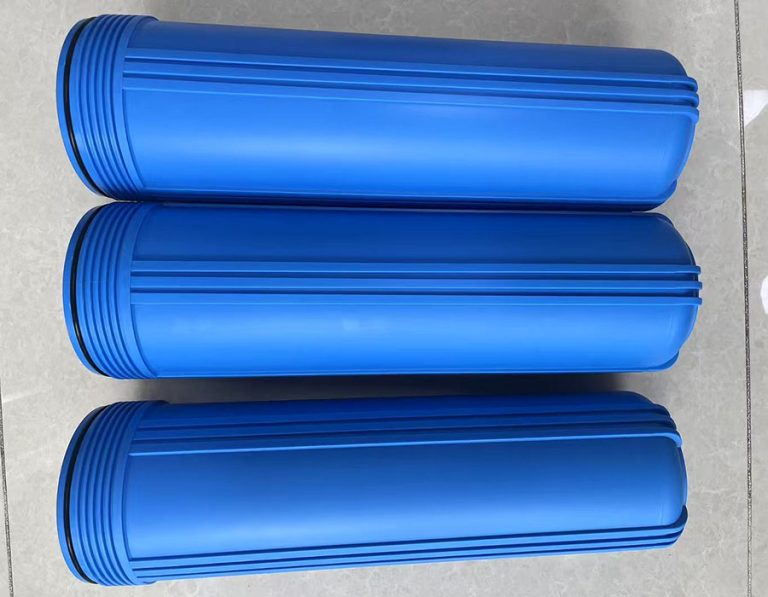
Solutions: Replacing Your Osmosis Water Filter
Replacing your osmosis water filter is the best solution to ensure clean and safe water. It’s not as complicated as it might seem. Here’s a step – by – step guide:
Step – by – Step Replacement Guide
- Turn off the water supply: Locate the shut – off valve and turn it clockwise to stop the water flow. This prevents water from spraying out during the replacement process.
- Relieve the pressure: Open a faucet connected to the osmosis system to release the pressure in the pipes. This makes it easier to remove the old filter.
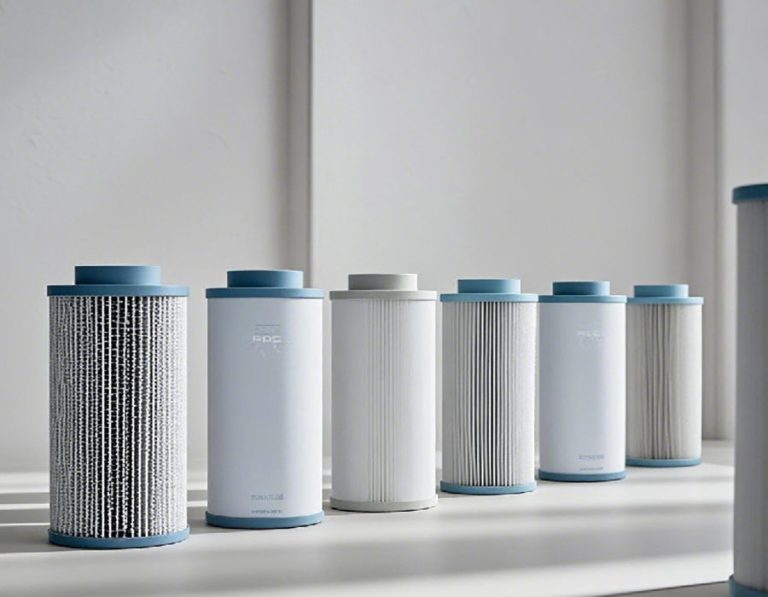
- Remove the old filter: Unscrew the filter housing. Some may require a special wrench, while others can be hand – tightened. Pull out the old filter cartridge.
- Install the new filter: Insert the new filter cartridge into the housing, making sure it’s properly aligned. Screw the housing back on tightly.
- Restore water flow: Turn the water supply back on. Check for any leaks around the filter housing. Then, let the water run for a few minutes to flush out any air or debris in the new filter.
Comparison of Different Osmosis Water Filter Brands
| Brand | Filtration Efficiency | Lifespan | Cost |
| Brand A | 99% | 12 months | $30 |
| Brand B | 95% | 6 months | $20 |
As you can see, Brand A offers higher filtration efficiency and a longer lifespan, but it comes at a slightly higher cost. However, in the long run, it might be a more cost – effective choice due to less frequent replacements.
Our Team’s Experience with Osmosis Water Filter Replacement
Our team in 2025 worked on a project in a small community. The residents were complaining about the taste and smell of their water. We found that their osmosis water filters had not been replaced for over 2 years. After replacing the filters, the water quality improved significantly. The residents reported that the water tasted cleaner and had no unpleasant odor. This experience taught us the importance of regular filter replacement.
Common Mistakes to Avoid When Replacing Osmosis Water Filters
⚠ Warning: One common mistake is not turning off the water supply before attempting to replace the filter. This can lead to water spraying everywhere, causing a mess and potential damage to the surrounding area. Another mistake is using the wrong type of filter cartridge. Always check the manufacturer’s specifications to ensure you’re using the correct replacement.
### 误区 2: Not Flushing the New Filter Properly
When you install a new filter, it’s crucial to flush it out. If you don’t, debris from the manufacturing process or air bubbles can be present in the water. Run the water for at least 5 – 10 minutes to ensure a clean start.
Conclusion and Checklist
In conclusion, replacing your osmosis water filter is vital for clean and safe water. Here’s a checklist to help you with the replacement process:
Replacement Checklist
- Turn off the water supply.
- Relieve the pressure in the system.
- Use the correct replacement filter.
- Install the new filter properly.
- Restore water flow and check for leaks.
- Flush the new filter for at least 5 – 10 minutes.
Remember, taking these steps will ensure your osmosis water filter continues to provide you with high – quality water. So, don’t put off filter replacement any longer!