One stop supplier of water treatment parts&accessories


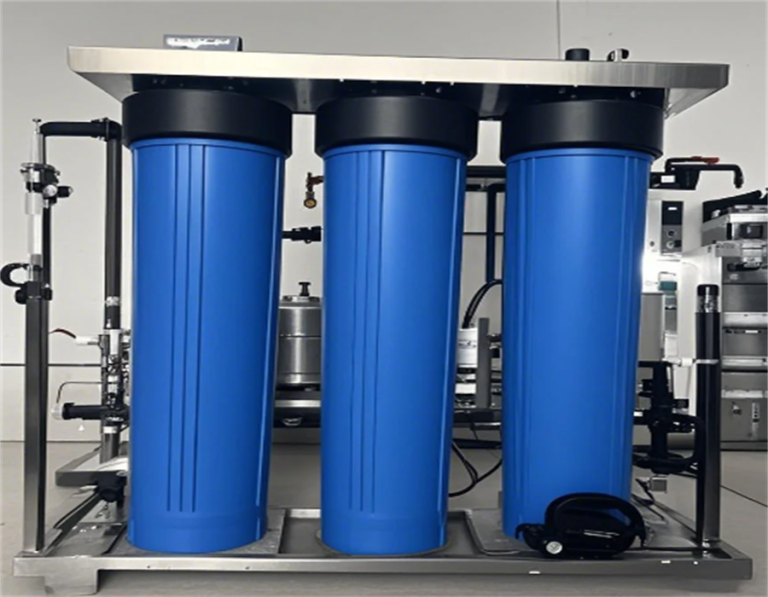
Pentek Big Blue Filter Housing: Simple Setup & Use Tips
So, I finally got around to installing this Pentek Big Blue filter housing, and let me tell you, it was quite the adventure. I’ve been meaning to get a whole-house water filter for ages, you know, to get rid of that nasty chlorine taste and all the other junk in our water.
First off, I gathered all my tools. I made sure I had the filter housing itself, the right size filter cartridge, a wrench, some Teflon tape, and a couple of fittings to connect it to my main water line. I felt like a real DIY pro, laying everything out on the garage floor. I’ve watched tons of videos to ensure I know what I should do.
Turning off the main water supply was the first real step. That was pretty straightforward—just had to locate the main valve and crank it shut. I double-checked to make sure no water was running in the house, just to be safe. Can’t be too careful with water, right?
Next, I picked the spot to install the housing. I wanted it somewhere accessible but not in the way. I ended up choosing a spot in my basement near the main water line. I measured everything out and marked where the mounting bracket needed to go. Then, I grabbed my drill and got to work, screwing the bracket into the wall studs. It felt good to get that part done, knowing it was securely in place.
Putting the filter cartridge into the housing was a piece of cake. I just followed the instructions that came with it, making sure it was seated properly. I wrapped some Teflon tape around the threads of the fittings to prevent leaks, then screwed them into the inlet and outlet ports of the housing. Tightening them with the wrench was a bit of a workout, but I managed to get them snug.
- Drill and bits for mounting
- Wrench for tightening fittings
- Teflon tape for sealing threads
- Screwdriver for various screws
Connecting the housing to the main water line was the trickiest part. I cut the line with a pipe cutter—that was kind of nerve-wracking, but I got a clean cut. I used some more fittings and connected the inlet of the housing to one end of the cut pipe and the outlet to the other end. Tightening everything up was a bit of a dance, making sure there were no leaks. I took my time, double-checking every connection.
Slowly Turning On the Water
Finally, it was time to turn the water back on. I opened the main valve very slowly, watching for any leaks. At first, there was a little drip, but I tightened the fitting a bit more, and it stopped. Success! I let the water run for a few minutes, flushing out the new filter as the instructions suggested.
I checked all the connections again, and everything looked good. No leaks, no drips. I have to say, I felt pretty proud of myself for getting it all done without any major issues. And the best part? The water tastes so much better now! No more chlorine smell or weird aftertaste. It was totally worth the effort. And now I have it. I love the taste of the water.