One stop supplier of water treatment parts&accessories


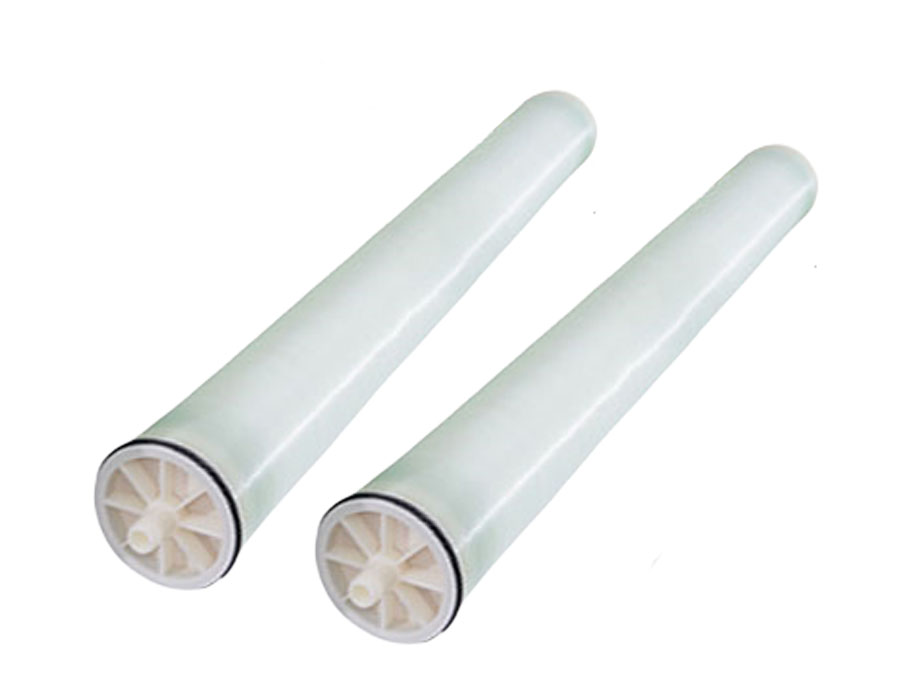
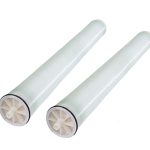
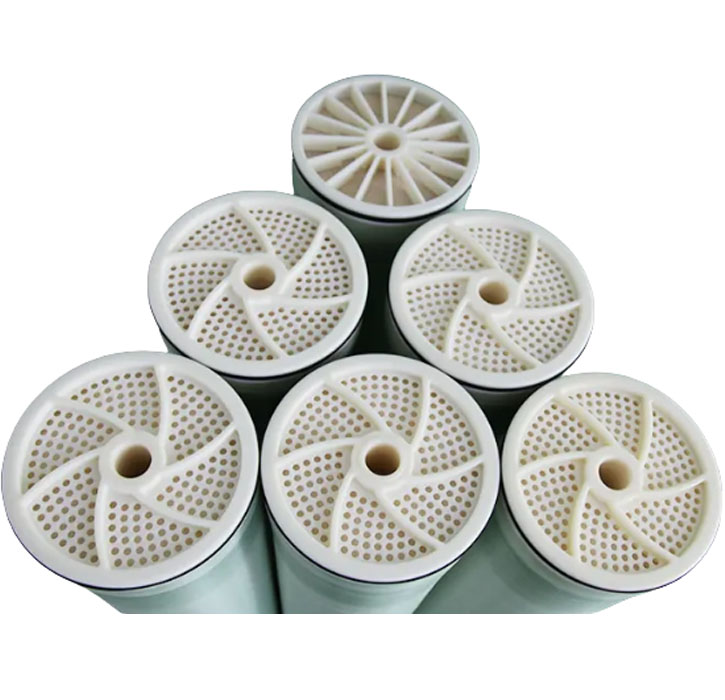
4040 reverse osmosis system ro water filter membrane


PRODUCT PARAMETERS
Description
Ro water filter membrane Introduction
In modern water treatment scenarios, the reverse osmosis (RO) water filter membrane has become an indispensable element. Notably, people widely use it in household, industrial, and commercial water treatment systems. Undoubtedly, it’s an efficient water – treatment membrane that plays a pivotal role in ensuring high – quality water for diverse applications.
The Working Mechanism of ro water filter membrane
Moving on to its working mechanism, the reverse osmosis membrane operates based on semi – permeable membrane characteristics. Specifically, under pressure, it filters water, effectively removing impurities, harmful substances, and dissolved salts to purify water. Evidently, it’s an efficient and eco – friendly water treatment technology that offers a sustainable solution for clean water production.
The Principle of Reverse Osmosis
The basic principle is reverse osmosis. Naturally, water molecules flow from a dilute solution to a concentrated one. But when sufficient pressure is applied on the concentrated – solution side, water molecules flow in the opposite direction, from the concentrated solution to the dilute one. You call this process, which is opposite to the original direction of permeation, reverse osmosis.

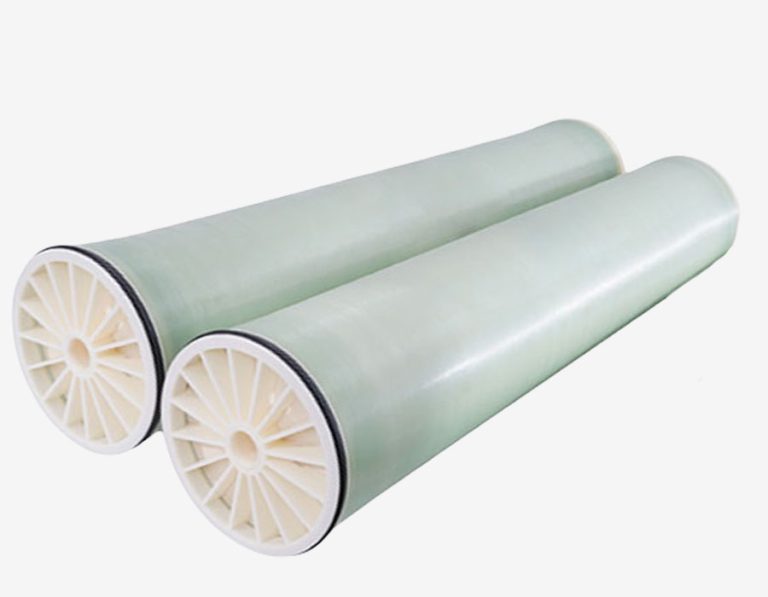
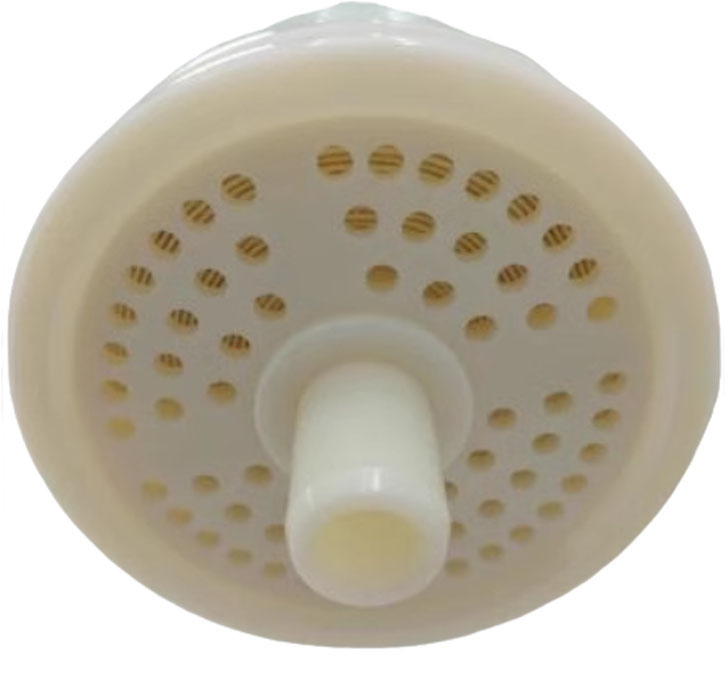
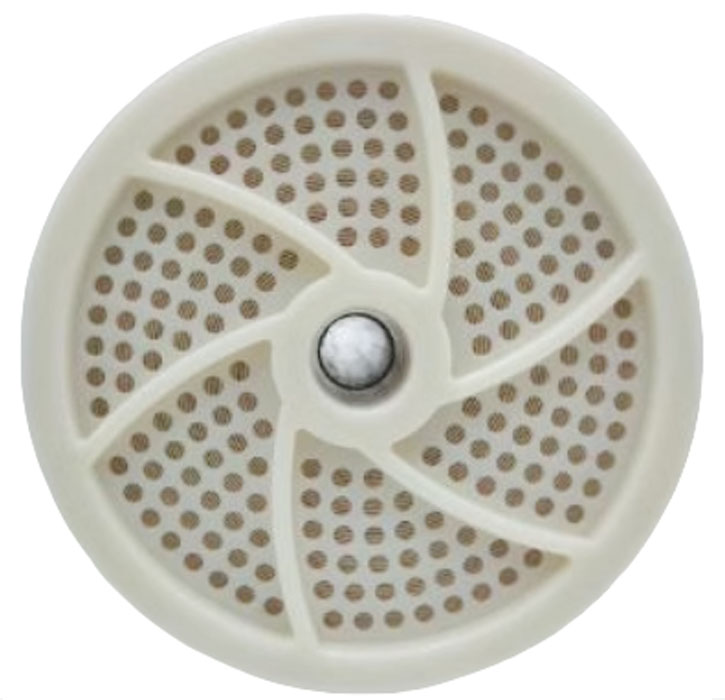
The Ingenious Design of Membrane Elements for High – Performance Filtration
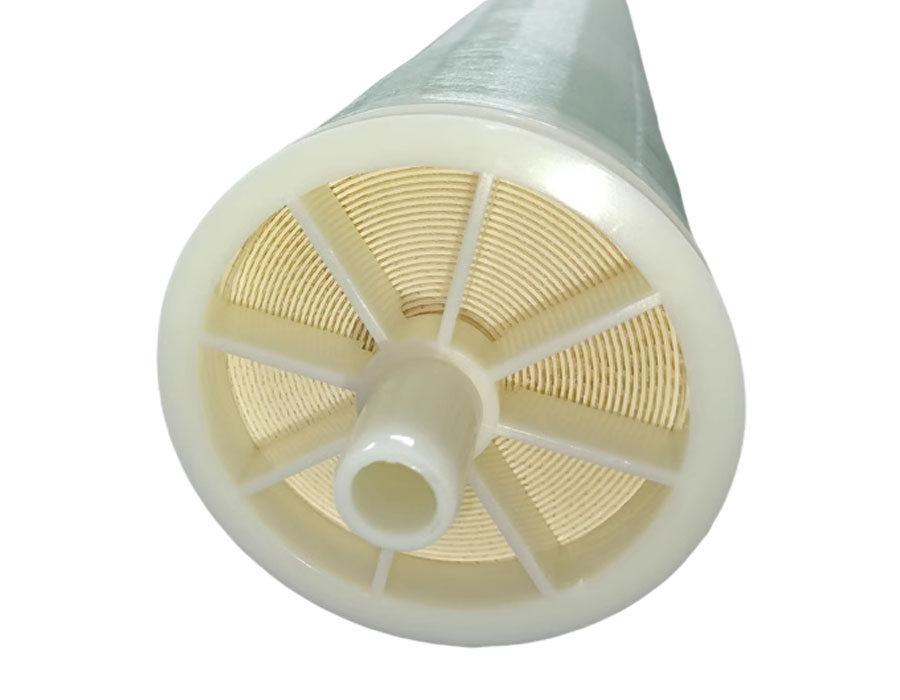
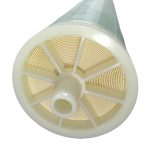
Engineers design a membrane element as a complex and precisely engineered component at the heart of filtration systems. They typically construct it with a semi – permeable membrane layer, which is the key part responsible for separating contaminants from the fluid being filtered. They often make this membrane from materials like polyamide or cellulose acetate, choosing these materials for their excellent selectivity and durability. To support the thin membrane and ensure proper flow distribution, they integrate a porous support structure. Additionally, they place spacer materials between membrane layers. These spacers maintain the necessary channels for the feed and permeate fluids, allowing for efficient operation. All these elements work in harmony to enable the membrane element to achieve high – performance filtration in applications such as water purification, desalination, and industrial separation processes.

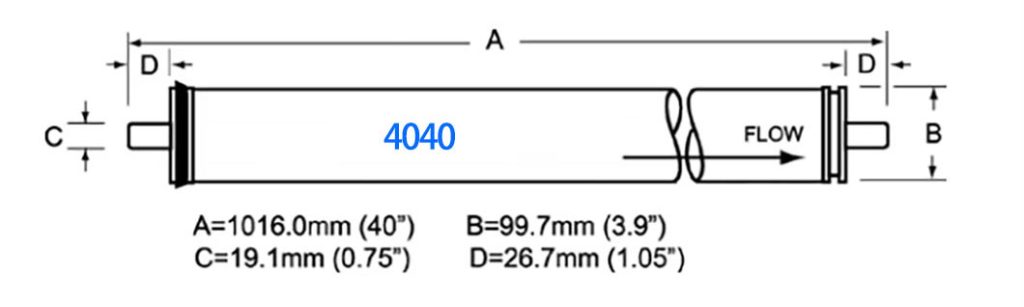
Dimensional schematic diagram
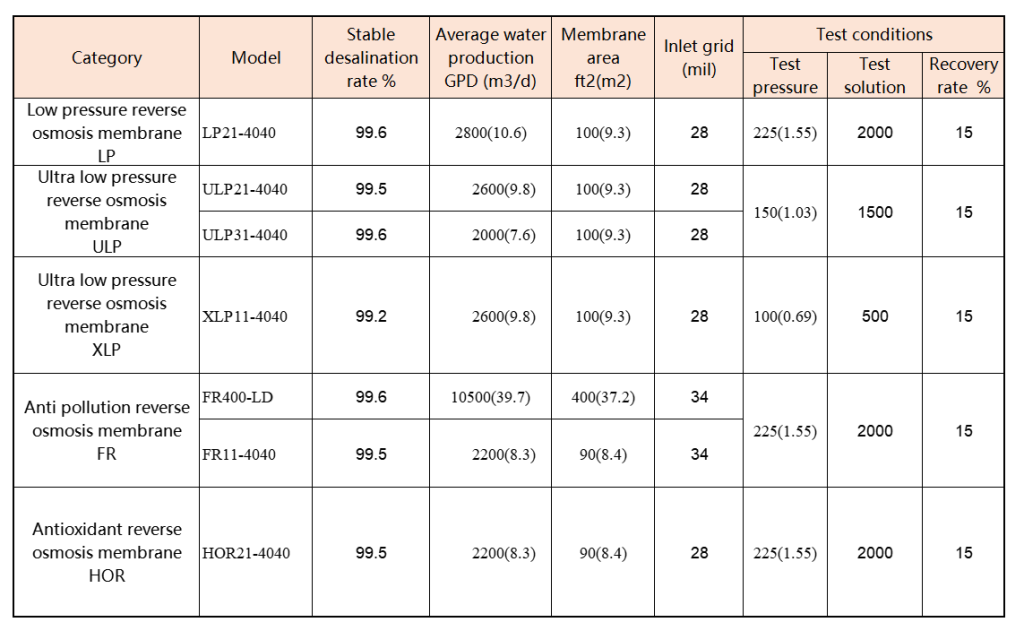
Performance Parameter
The Importance and Process of RO Membrane Change
Why RO Membrane Change is Essential
1. Maintaining Water Quality
To begin with, over time, as the RO membrane filters water, contaminants accumulate on its surface. These can clog the pores of the membrane, reducing its ability to effectively filter out impurities. For example, if you don’t change the membrane when it’s due, the water treatment system may produce water with an increase in total dissolved solids (TDS). This increase can make the water taste salty or metallic. In industrial applications, a decline in water quality can lead to problems such as equipment corrosion, reduced efficiency of manufacturing processes, and product quality issues.
2. Preventing System Damage
Moreover, a clogged or deteriorated RO membrane can cause an increase in pressure within the water treatment system. High – pressure conditions can put stress on other components like pumps, valves, and pipes. This can lead to premature wear and tear of these parts, resulting in costly repairs or even system failures. Regularly changing the RO membrane helps to maintain optimal system pressure, ensuring the smooth operation of the entire water treatment setup.
3. Cost – Efficiency in the Long Run
In addition, although replacing an ro water filter membrane incurs an upfront cost, it is a cost – effective measure in the long term. A well – maintained membrane with regular replacements ensures consistent water quality and system performance. This reduces the need for emergency repairs, expensive equipment replacements, and potential losses due to sub – standard water in industrial or commercial settings.

The Process of RO Membrane Change
1. Preparation
First and foremost, before starting the membrane replacement process, gather all the necessary tools and materials. This includes a new RO membrane of the correct size and type for your system, a membrane wrench (if required), safety gloves, goggles, and a clean, dry cloth. Also, make sure to turn off the water supply and the power to the water treatment system to avoid any accidents during the replacement.
2. Disassembly
Subsequently, carefully open the membrane housing. This may involve unscrewing the housing cap or using a specific tool to release the locking mechanism. Once the housing is open, gently remove the old membrane. Be cautious as the membrane may be wet and slippery. Inspect the inside of the housing for any signs of debris, scale, or corrosion. Use the clean, dry cloth to wipe down the housing to ensure it is clean before inserting the new membrane.
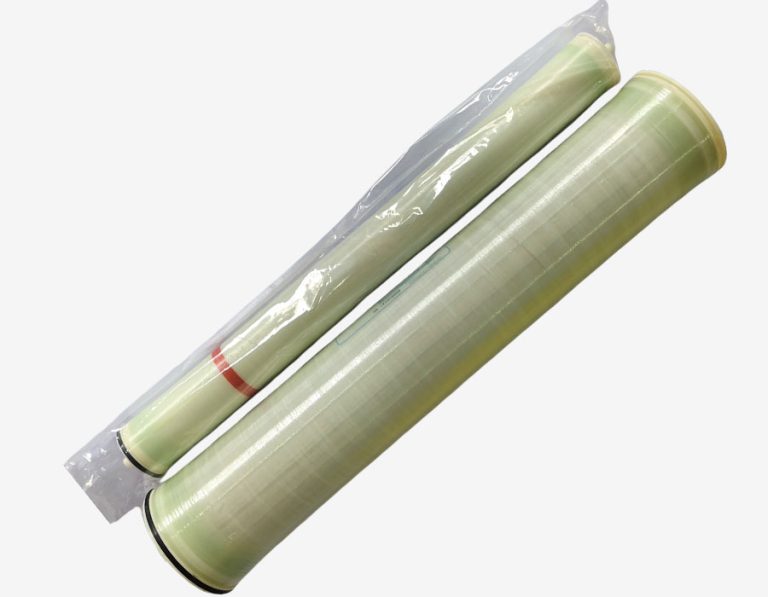
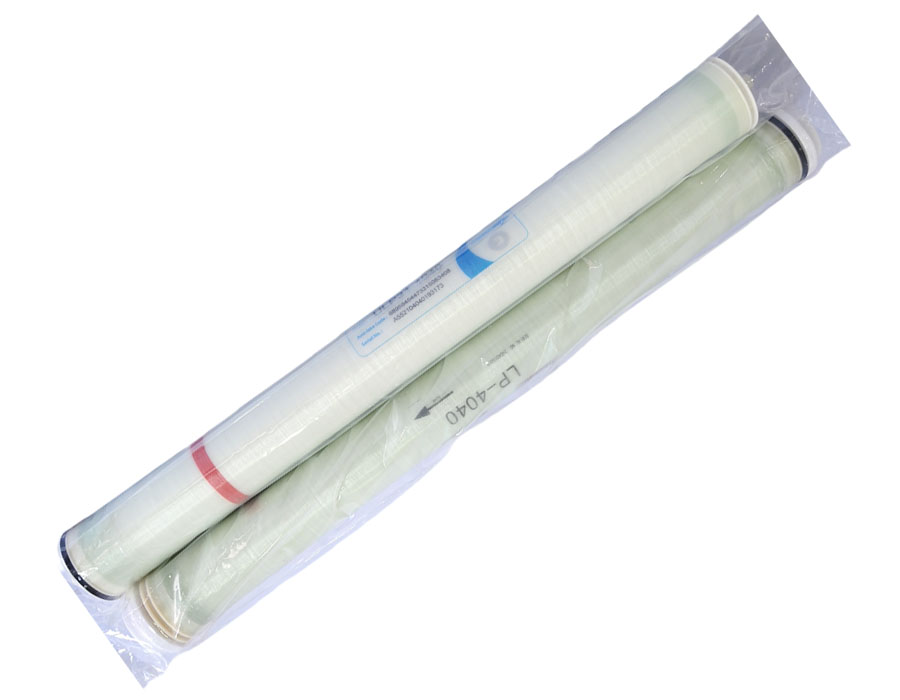
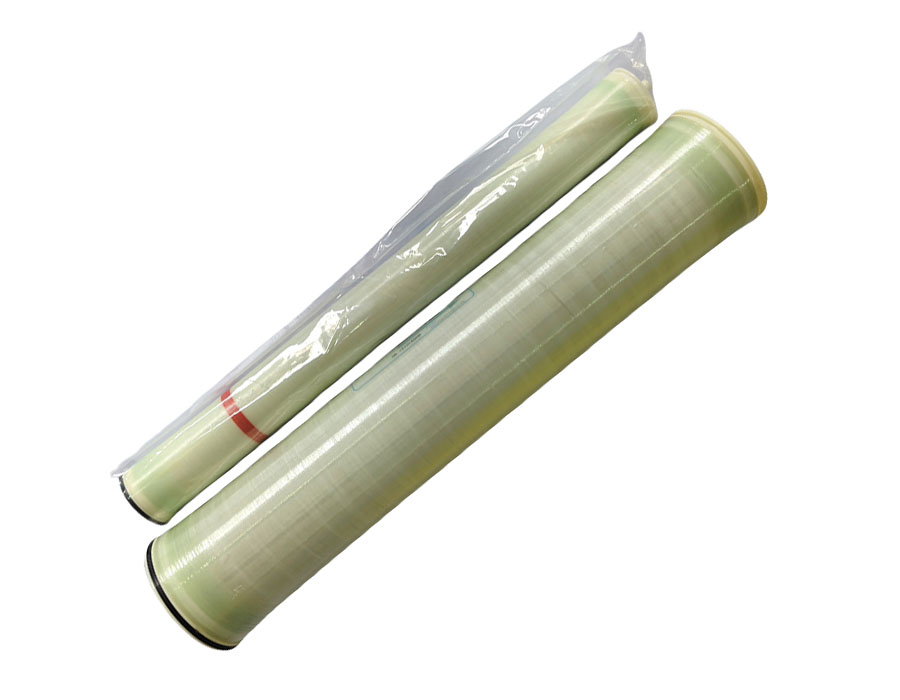
3. Insertion of the New ro water filter membrane
After you have completed the disassembly and cleaning of the membrane housing, it’s time to install the new component. Next, take the new ro water filter membrane out of its packaging. Above all, make sure not to touch the membrane surface with dirty hands to avoid contamination. Then, carefully align the membrane correctly and insert it into the housing. Finally, double – check to ensure that it is properly seated and that the O – rings are in place and not damaged. It should be noted that the O – rings are crucial for creating a tight seal and preventing leaks.
4. Reassembly
After that, after inserting the new ro water filter membrane, carefully close the membrane housing. Tighten the housing cap or re – engage the locking mechanism to secure the housing. Make sure it is properly sealed to prevent any water leakage.
5. System Start – Up and Testing
Finally, once you replace the ro water filter membrane and reassemble the system, turn on the water supply slowly to allow the system to fill with water. Check for any signs of leaks around the membrane housing and other connections. After the system fills, turn on the power and let the system run for a short period.Collect a sample of the treated water and test its quality using a TDS meter or other appropriate water – testing equipment. This will help you verify that the new membrane is functioning correctly and that the water quality meets the desired standards.
FAQs
What types of products can we offer?

What logistics do we ship through?


Can we customize packaging?

What is our ordering process?

How should I pay you?