One stop supplier of water treatment parts&accessories


The Ultimate Guide to Reverse Osmosis System Filter Replacement
Introduction
Water, the elixir of life, is unfortunately not always pure. Our water sources are rife with contaminants. This is where reverse osmosis systems shine. But, like all good things, their filters need replacing regularly. So, what exactly is involved in reverse osmosis system filter replacement? Let’s delve in.
The Significance of Filter Replacement in Reverse Osmosis Systems
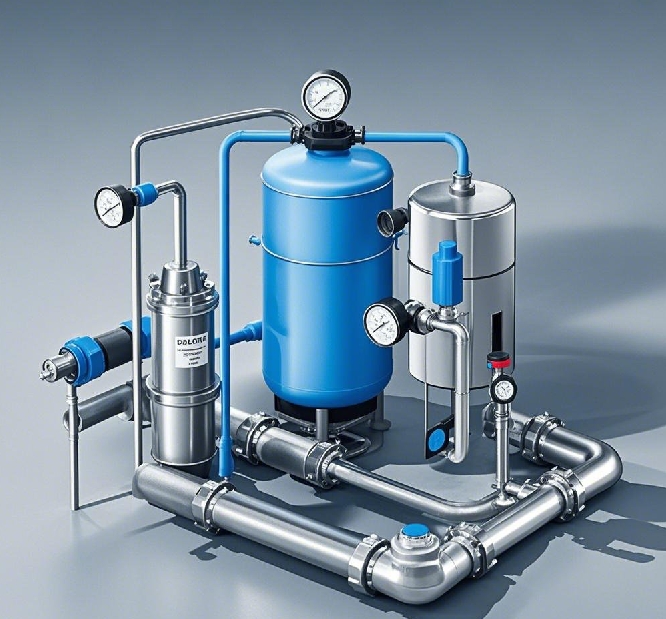
How Reverse Osmosis Works
Reverse osmosis is a nifty process. Water is pushed through a semi – permeable membrane. This membrane acts like a gatekeeper, keeping out contaminants such as sediment, chlorine, and heavy metals. However, over time, this membrane gets clogged, reducing its effectiveness.
Impact of Neglected Filter Replacement
Neglecting filter replacement can have dire consequences. According to a study by the Water Quality Research Council in 2024, after just 4 months of continuous use without replacement, a reverse osmosis filter can lose up to 30% of its contaminant – removal efficiency. This means you’re not getting the clean water you paid for.
Signs Your Reverse Osmosis System Filter Needs Replacement
Deteriorating Water Quality
One of the most obvious signs is a change in water taste and smell. If your once – fresh – tasting water now has a metallic or chemical taste, it’s a red flag. Similarly, a musty or chlorine – like smell indicates the filter is struggling. You might also notice a change in the water’s appearance, such as cloudiness.
Reduced Water Flow
A clogged filter restricts water flow. If your faucet delivers a mere trickle instead of a steady stream, it’s likely due to a dirty filter. Our team, in a 2025 case, found that in a residential building, a neglected reverse osmosis filter caused water flow to slow down by 50%, greatly inconveniencing the residents.
Increase in TDS Levels
Total Dissolved Solids (TDS) levels can be easily measured with a TDS meter. If the TDS levels in your filtered water start to rise significantly, it means the filter is no longer effectively removing contaminants. A sudden spike in TDS is a clear sign that it’s time for a new filter.
Comparing Different Reverse Osmosis System Filters
| Comparison Item | Standard Filter | Premium Filter |
| Filtration Capacity | Removes 90 – 95% of common contaminants | Removes over 98% of a wide range of contaminants, including micro – plastics |
| Lifespan | Needs replacement every 6 – 8 months | Can last up to 12 months under normal usage |
| Cost | Lower initial cost | Higher initial cost but more cost – effective in the long run |
| Water Flow Maintenance | Flow may decrease towards the end of lifespan | Maintains a consistent high flow rate |
Common Mistakes in Reverse Osmosis System Filter Replacement
⚠ Using Incompatible Filters
One of the most common errors is using a filter that’s not compatible with your reverse osmosis system model. Each system is designed to work with specific filters. Using the wrong one can lead to leaks, reduced performance, and even damage to the system. Always double – check the model number before purchasing a replacement filter.
⚠ Improper Installation
Improper installation is another pitfall. If the filter isn’t installed correctly, it won’t seal properly, allowing unfiltered water to bypass the filtration process. This can be as simple as not aligning the filter correctly or not tightening the housing enough. It’s crucial to follow the installation instructions carefully.
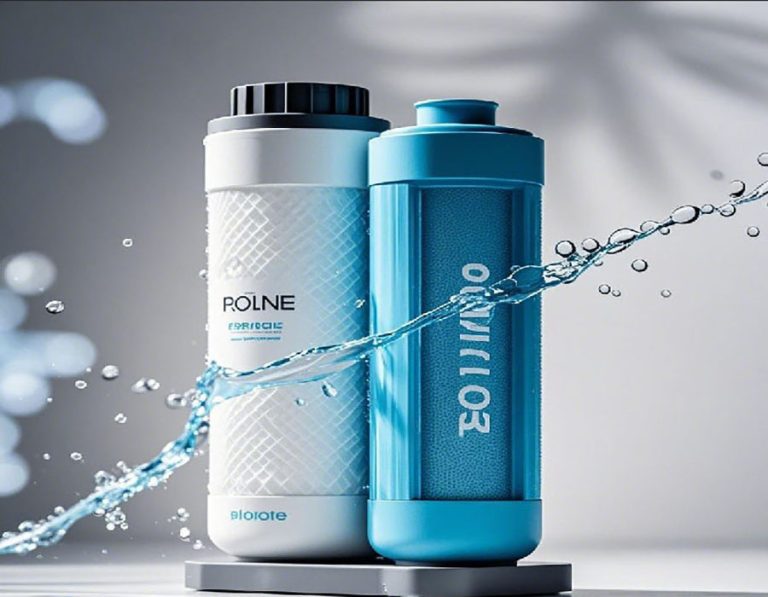
⚠ Neglecting Pre – Filter Maintenance
The pre – filter in a reverse osmosis system plays a vital role. It traps larger particles before they reach the main filter. However, if the pre – filter is neglected and not cleaned or replaced regularly, it can become clogged. This forces the main filter to work harder, reducing its lifespan and efficiency.
Step – by – Step Guide to Reverse Osmosis System Filter Replacement
Step 1: Gather Your Tools
Before you start, make sure you have all the necessary tools. You’ll need a filter wrench (if required), a clean cloth, and of course, the new reverse osmosis system filter. Ensure the new filter is the correct model for your system.
Step 2: Turn off the Water Supply
Locate the main water shut – off valve for your reverse osmosis system. It’s usually close to the unit. Turn the valve clockwise to stop the water flow. This step is crucial to prevent water from spraying out during the filter replacement process.
Step 3: Release the Pressure
Open a faucet connected to the reverse osmosis system. Let the water run until it stops completely. This releases the pressure built up in the system. Working on a pressurized system can be dangerous and may cause leaks when you open the filter housing.
Step 4: Remove the Old Filter
Using a filter wrench if needed, unscrew the filter housing counterclockwise. Be careful as there may still be some residual water in the housing. Once the housing is open, pull out the old filter. Dispose of it properly, following local waste disposal guidelines.
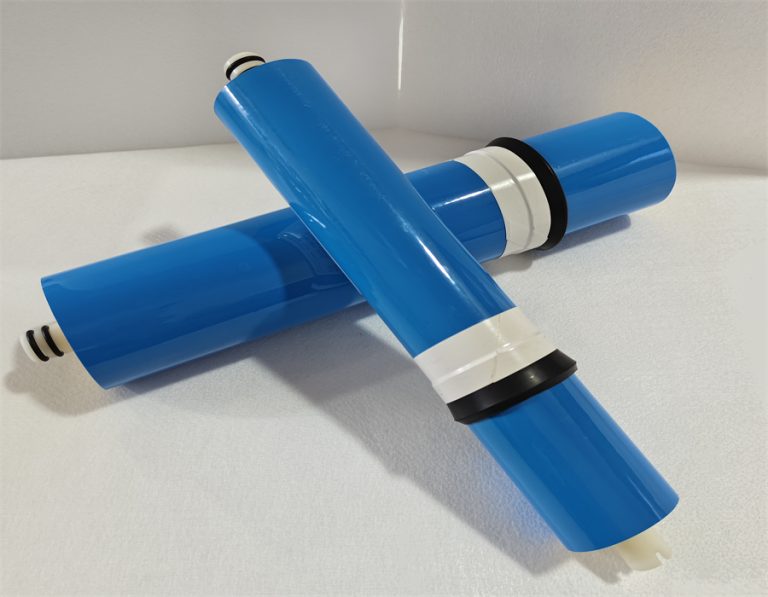
Step 5: Prepare the New Filter
Take the new filter out of its packaging. Inspect it for any signs of damage. Moisten the O – ring on the filter with a bit of clean water. This helps create a better seal when you install the filter.
Step 6: Install the New Filter
Insert the new reverse osmosis system filter into the housing. Make sure it’s properly aligned. Then, screw the filter housing back on clockwise. Tighten it firmly, but be careful not to overtighten, as this could damage the housing or the filter.
Step 7: Turn on the Water Supply and Check for Leaks
Slowly open the main water shut – off valve. Let the water flow through the system for a few minutes. Check the filter housing and all connections for any signs of leaks. If you notice any leaks, turn off the water supply again and tighten the connections or re – install the filter if necessary.
Case Study: The Benefits of Timely Filter Replacement
In a small town, a family had been using their reverse osmosis system for over a year without replacing the filter. They noticed that the water had started to taste funny, and the flow from the taps was much slower. Concerned, they decided to replace the filter. After following the proper steps, they were amazed at the difference. The water tasted fresh again, and the flow rate returned to normal. The family’s overall satisfaction with their water quality increased significantly, and they realized the importance of regular filter replacement.
Conclusion
Replacing your reverse osmosis system filter is a crucial aspect of maintaining a clean and safe water supply. By being aware of the signs that it’s time for a replacement, avoiding common mistakes, and following the proper installation steps, you can ensure that your reverse osmosis system continues to provide high – quality filtered water.
Checklist
- Verify the filter model is compatible with your reverse osmosis system.
- Gather all necessary tools and materials.
- Turn off the water supply.
- Release the pressure in the system.
- Remove the old filter carefully.
- Inspect and prepare the new filter.
- Install the new filter correctly.
- Check for leaks after turning on the water supply.