One stop supplier of water treatment parts&accessories


Reverse Osmosis Filter Membrane: Easy Replacement Guide!
So,the water at my place started tasting a bit off. You know, that kinda funky, not-so-fresh flavor? I figured it was time to do something about the RO reverse osmosis filter, specifically that main membrane. I’d been putting it off, but honestly, the water was getting bad enough that I couldn’t ignore it anymore.
Getting Started
First things first, I turned off the water supply to the whole system. No one wants a surprise shower in the kitchen, right? Then, I grabbed a bucket and some towels, because, let’s be real, there’s always gonna be some spillage. I located the filter housing – it’s that big, usually blue, canister thing under the sink.
The Dirty Work(RO Reverse Osmosis Membrane)
I slowly unscrewed the housing, and boy, was I greeted with some nasty-looking water. It was all murky and brown. I carefully pulled out the old membrane. It looked…well, let’s just say it had seen better days. All gunked up and discolored.
- Unscrewed the housing.
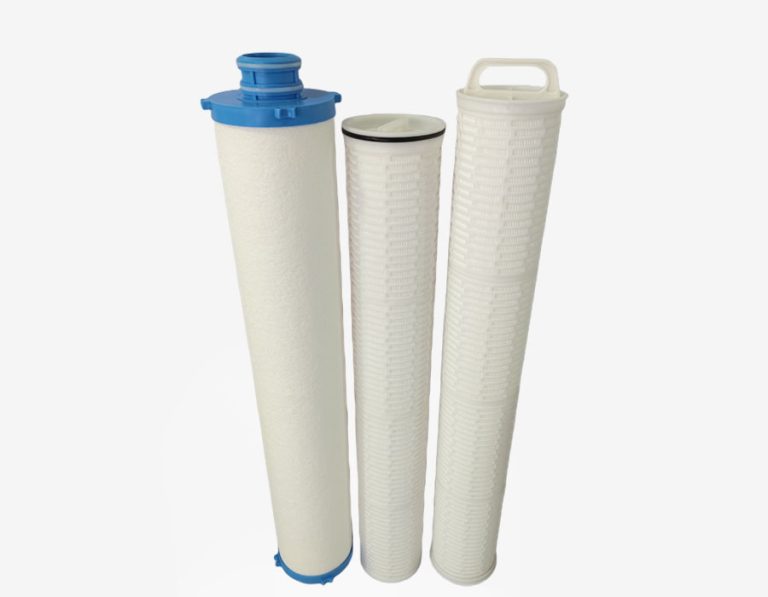
- Carefully removed the old RO Reverse Osmosis Membrane.
Putting in the New
Next,I got new RO Reverse Osmosis membrane and give a good place. I inserted the new membrane into the housing, making sure it was seated properly. There’s usually a little “click” or something to let you know it’s in all the way. I screwed the housing back on, nice and tight, but not so tight that I’d crack it.
Finishing Up
Lastly,I opened the water supply valve to the system, slowly.
I ran the water for a good five minutes, just to flush out any air or loose bits from the new membrane. It took a little while for the water to run clear, but eventually, it did. And the taste? So much better! Crisp, clean, and no more funky flavor. It was definitely worth the effort.