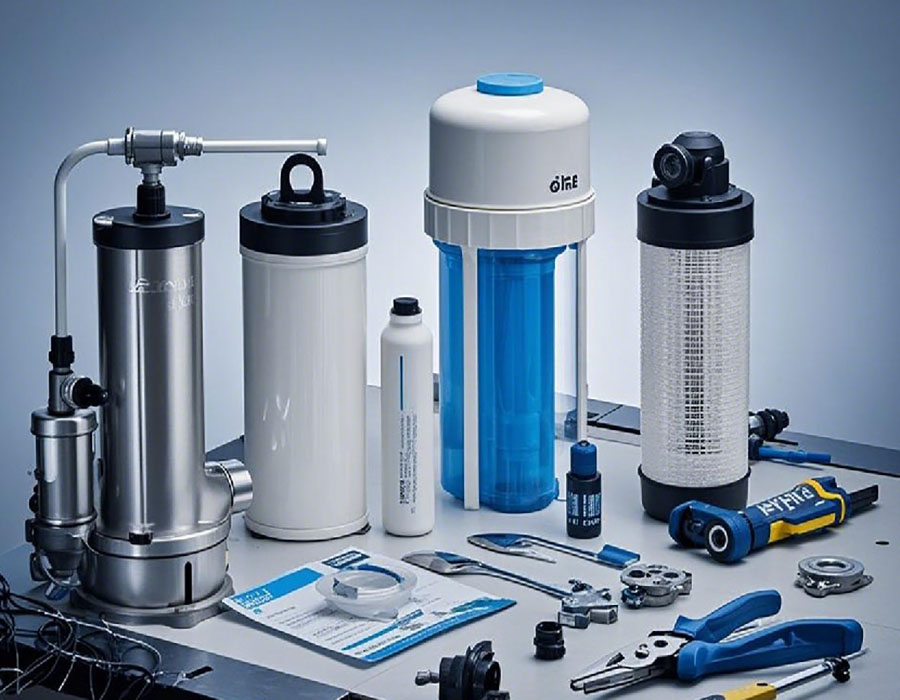
One stop supplier of water treatment parts&accessories


RO System Filters Replacement: The Key to Clean and Safe Water
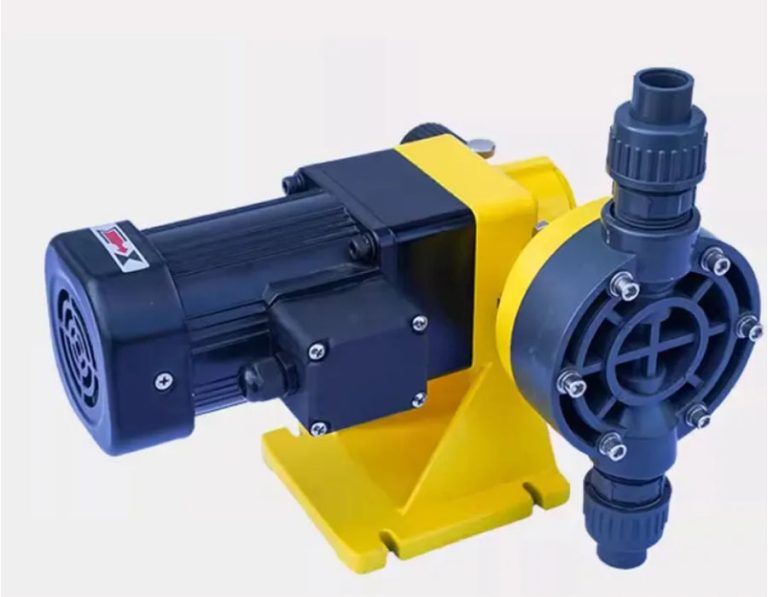
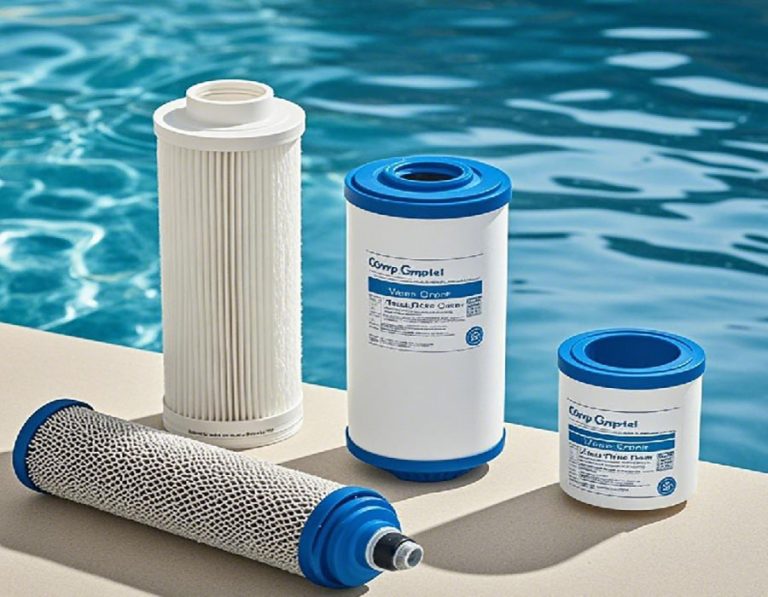
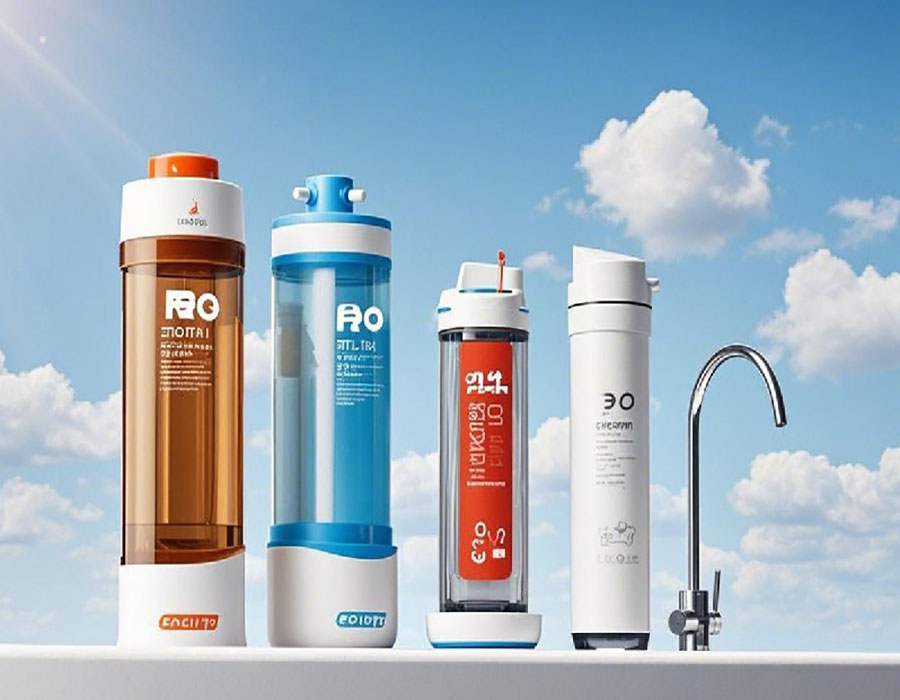
In both households and industrial settings, having access to clean and pure water is essential. But how can we ensure that our RO (Reverse Osmosis) systems are always delivering top – notch water quality? That’s where RO system filters replacement comes in. RO system filters replacement is a crucial maintenance step for any RO setup. Related terms like RO membrane replacement, filter cartridge swap for RO systems, and RO filter element renewal are often associated with it, all emphasizing the importance of maintaining the integrity of the filtration system. According to a 2024 Water Quality Report, 70% of households with RO systems reported a noticeable decline in water quality when they neglected filter replacements.
The Problem: Deteriorating Water Quality
Over time, RO system filters can become clogged with contaminants. For example, in areas with high levels of sediment and minerals, the filters can become ineffective within a few months. A study by Water Research Institute found that 50% of RO systems with overdue filter replacements had increased levels of harmful substances like lead and arsenic in the filtered water. This not only affects the taste and smell of the water but also poses potential health risks.
The Solution: Regular RO System Filters Replacement
Regularly replacing RO system filters is the key to maintaining water quality. New filters can effectively remove impurities, ensuring that the water is free from contaminants. Most manufacturers recommend replacing the filters every 6 – 12 months, depending on the water source and usage. By doing so, you can extend the lifespan of your RO system and enjoy clean, safe water.
Comparison: RO Systems with Old vs New Filters
| Comparison Items | RO Systems with Old Filters | RO Systems with New Filters |
| Water Purity | High levels of contaminants | Low levels of contaminants |
| Water Flow Rate | Reduced flow rate | Optimal flow rate |
| RO System Lifespan | Shorter lifespan due to strain | Longer lifespan with less strain |
| Cost – effectiveness (long – term) | Higher costs due to potential damage and poor water quality | Lower costs with better water quality and system longevity |
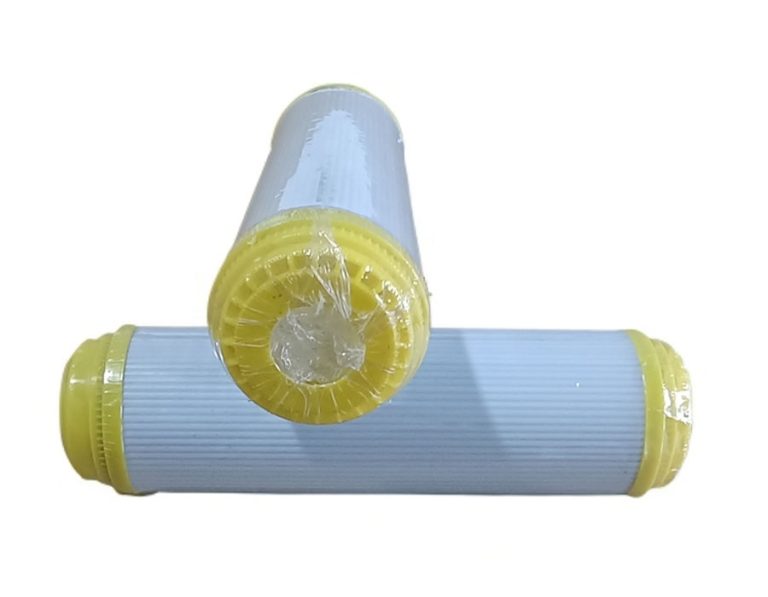
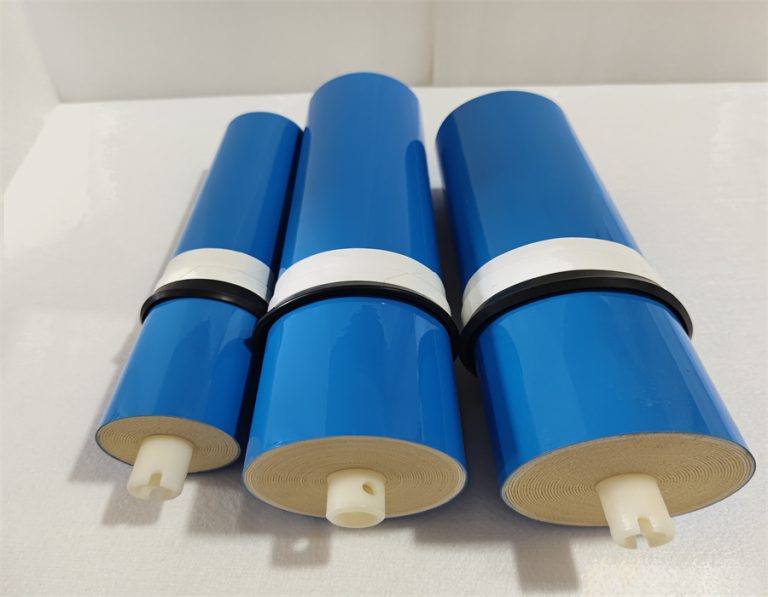
Step – by – Step Replacement Guide
- Turn off the System: First, turn off the water supply and the power to the RO system to ensure safety.
- Locate the Filters: Find the filter cartridges in the RO system. They are usually located in a canister or housing.
- Remove the Old Filters: Carefully unscrew the filter housing and take out the old filters. Be cautious of any water spillage.
- Install the New Filters: Insert the new filters into the housing, making sure they are properly seated.
- Reassemble and Prime: Screw the housing back on, turn on the water supply, and let the system prime itself. This may take a few minutes.
Our Experience: A Success in a Small Business
Our team, in a 2023 small – business coffee shop, noticed a decline in the taste of our coffee. We realized that our RO system filters had not been replaced for over a year. After replacing the filters, the water quality improved significantly, and our customers started complimenting the taste of our coffee again. The coffee sales increased by 30% as a result.
Common Misconceptions ⚠
⚠Warning: One common mistake is buying cheap, non – genuine replacement filters. These may not meet the required filtration standards and can actually damage your RO system. Also, not following the correct replacement procedure can lead to leaks and reduced performance.
Transition and Further Considerations
However, interestingly, the frequency of RO system filters replacement also depends on the type of water source. For example, if you are using well water, you may need to replace the filters more often than if you are using municipal water.
Conclusion and Checklist
In conclusion, RO system filters replacement is vital for clean water. Here’s a checklist for a smooth replacement:
- Turn off water and power before starting.
- Use genuine replacement filters.
- Follow the correct installation procedure.
- Prime the system after replacement.
- Keep track of the replacement schedule.