One stop supplier of water treatment parts&accessories


Step-by-Step Guide: How to Replace RO Membrane Quickly
So, I’ve been having this nagging feeling that the water from my RO system wasn’t quite up to snuff. You know that crisp, clean taste you expect? Well, it was starting to taste a little… off. Plus, the flow rate had slowed to a trickle. I knew something was up, and after poking around online, I figured it was probably time to replace the RO membrane.
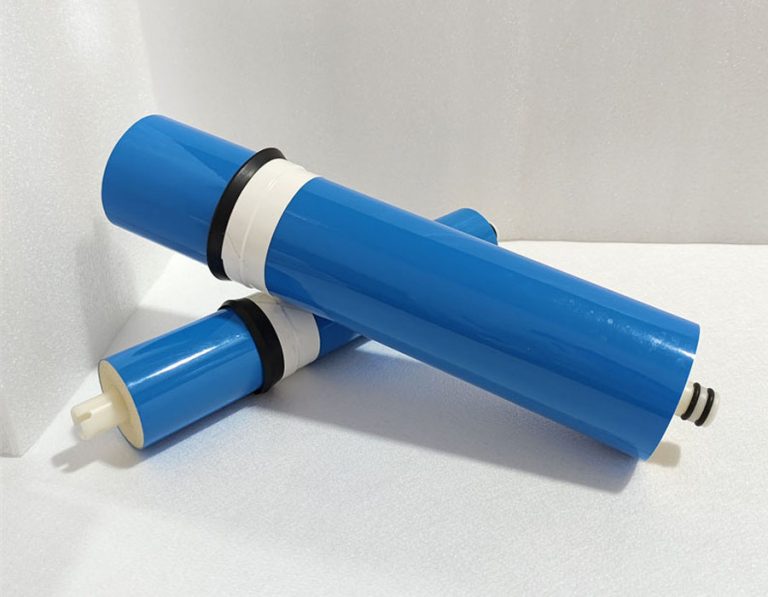
Now, I’m no plumber, but I like to think I’m pretty handy. I figured, “How hard could it be?” Famous last words, right? Anyway, first things first, I had to find the right membrane. It’s like the main part of the whole system, the thing that does most of the heavy lifting when it comes to filtering out the bad stuff. So I did some digging, making sure I got the right size and type.
Once I had the new membrane, I geared up for the job. I grabbed a wrench, some towels and a few random tools I use when I’m fixing stuff – just in case. Turned off the water supply valve leading to the RO system. This was surprisingly easy, just a little blue valve under the sink. Then, I closed off another valve on the tank – also blue, easy peasy.
- Turn off the feed water supply valve to the RO system.
- Close the blue ball valve on the tank.
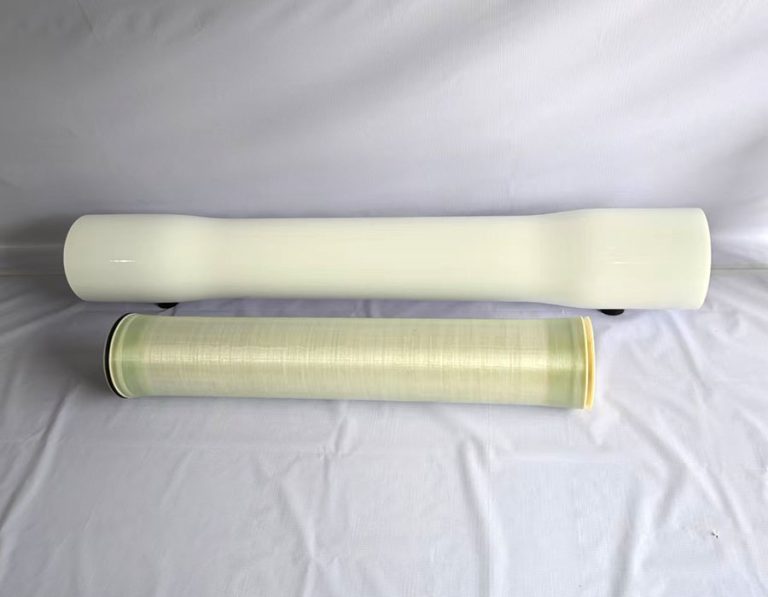
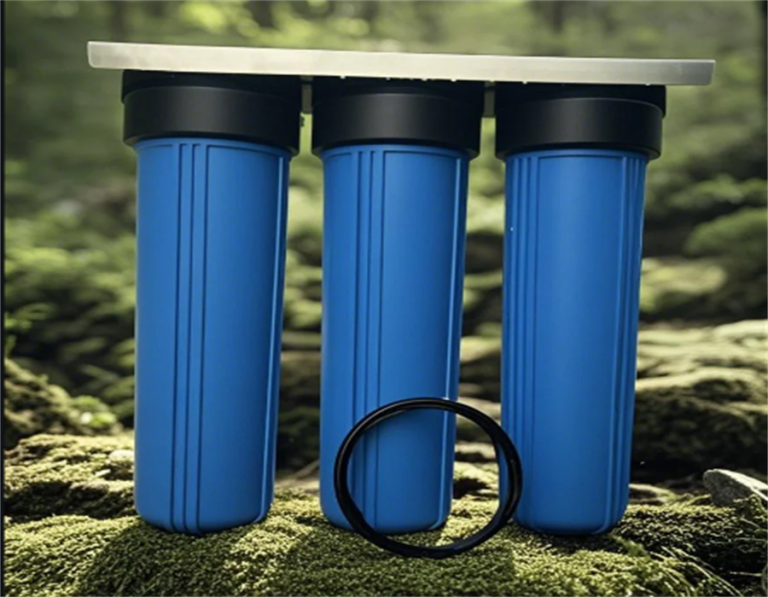
Now came the slightly trickier part. I had to locate the membrane housing. It’s usually a bigger, longer canister compared to the other filter housings. Once I found it, I used my wrench to carefully unscrew the cap. Let me tell you, there was a bit of water still in there, so those towels came in handy!
With the housing open, I could see the old membrane. It looked, well, pretty old. I carefully pulled it out. It was a bit of a snug fit, but I managed. Then, I took the new membrane and, after making sure it was oriented correctly (there’s usually an arrow or something to indicate the flow direction), I gently slid it into the housing. Screwed the cap back on, making sure it was nice and tight.
Last step! I slowly turned the water supply back on, and then the valve on the tank. Checked for leaks – none, thank goodness! I let the water run for a few minutes, just to flush out any air or loose particles.
The Results?
Well, I’m happy to report that the water tastes amazing now! Back to that crisp, clean deliciousness I was missing. And the flow rate? Like a fire hose compared to before! I gotta say, I’m pretty proud of myself. It wasn’t the easiest DIY project, but definitely doable. If you’re thinking about replacing your RO membrane, go for it! Just take your time, double-check everything, and you’ll be enjoying that sweet, sweet filtered water in no time. But really, it depends on the water quality where you live. I’ve heard for some people the membrane can last up to three years! Just gotta pay attention to how the water starts tasting or if the flow starts slowing down. That’s when you know it’s time for a change.