One stop supplier of water treatment parts&accessories


Top Tips: How to Wash RO Membrane for Optimal Performance
Okay, so I’ve been messing around with this RO (reverse osmosis) system for a while now, and let me tell you, the membrane can get pretty nasty. It’s supposed to filter out all the junk from the water, right? But over time, that junk builds up, and you gotta clean it out. I wanted to share my own experience of how I did it.
First, I turned off the water supply to the whole system. Safety first, people! You don’t want water spraying everywhere while you’re tinkering.
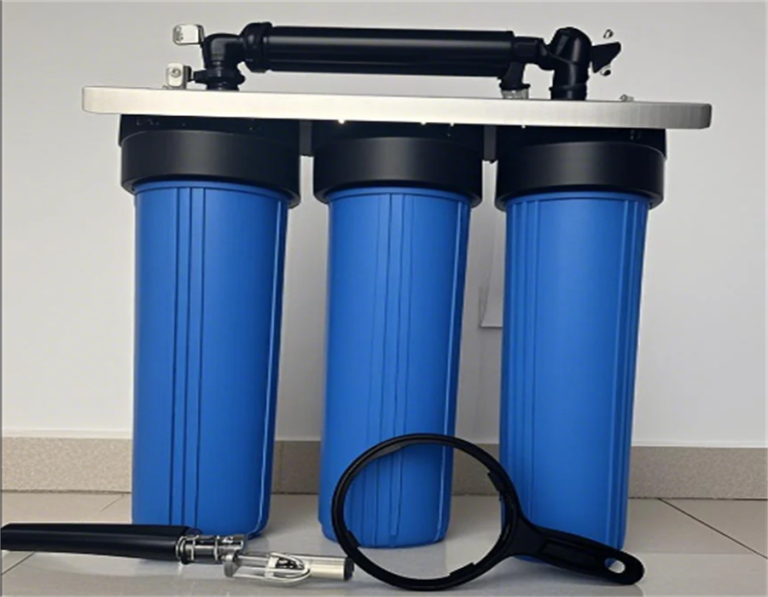
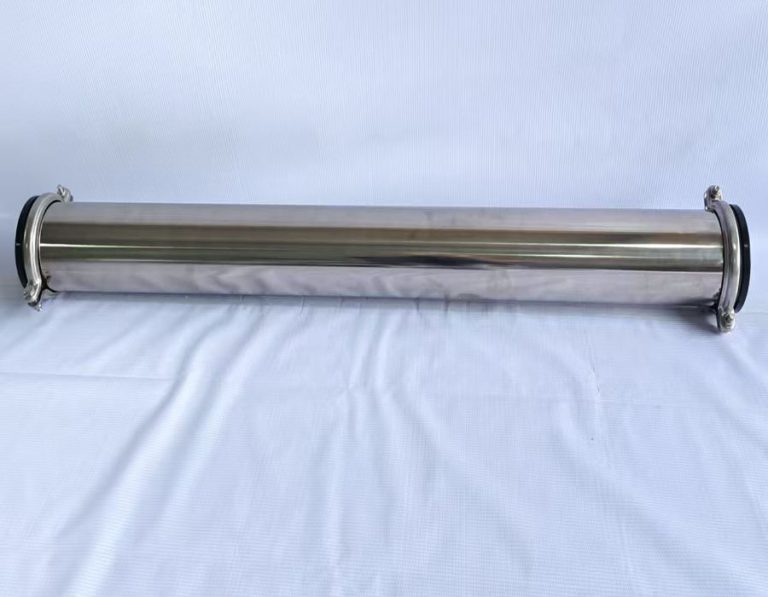
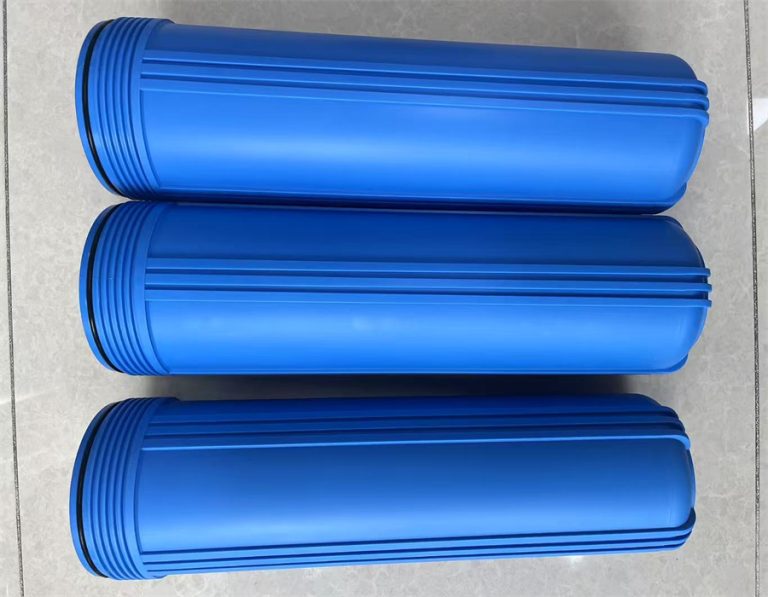
Then, I carefully disconnected the housing that holds the RO membrane. It’s usually this long, cylindrical thing. There are a few tubes connected to it, so I made a note of where each one went before I took them off. Believe me, you don’t want to get those mixed up later.
Once I got the housing off, I took out the old, gunky membrane. It was pretty gross, all discolored and stuff. I made sure to handle it carefully, ’cause you don’t want to damage it if it’s still somewhat usable. I have heard that there are some other people have mentioned that adding a second membrane can significantly increase efficiency. I did not take their suggestions.
Cleaning Steps
Now, for the cleaning part. Here are the detailed steps I followed:
- I used a soft brush and some mild soap to gently scrub the inside of the housing. No harsh chemicals here, just good old soap and water. I followed the manufacturer s recommended chemical list, dosage, pH.
- I rinsed the housing thoroughly to make sure all the soap was gone.
- For the membrane itself, I followed some advice I found online. You can actually soak it in a special cleaning solution. There are some chemicals out there specifically for cleaning RO membranes. Follow proper handling procedures to ensure a safe cleaning process. But like I said, mine was pretty far gone, so I just decided to replace it.
- I carefully put the new (or cleaned) membrane back into the housing.
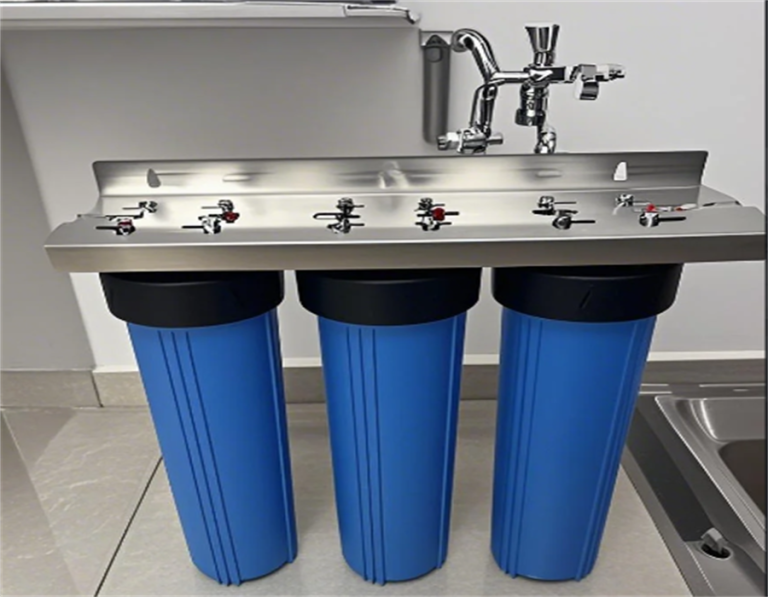
After that, I reconnected all the tubes, making sure they were in the right spots. Then, I slowly turned the water supply back on and checked for leaks. It’s a good idea to let the system run for a bit and discard the first few gallons of water, just to flush everything out. Also, I have heard that someone suggested using a booster pump. This can help increase water pressure. But I did not do that, maybe next time.
And that’s it! It’s not a super complicated process, but it does take a little time and elbow grease. My water is tasting much better now, and I’m saving money by not having to buy bottled water all the time. Hope this helps someone out there!