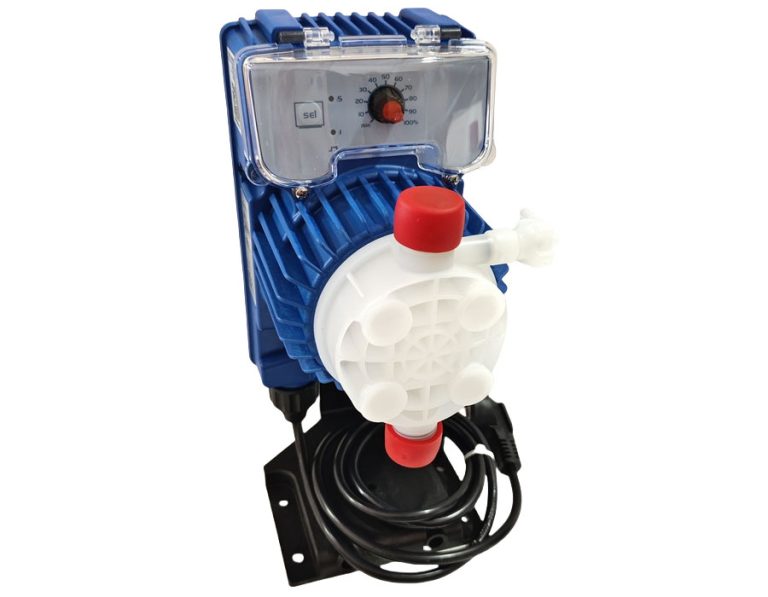
One stop supplier of water treatment parts&accessories


Top UV Sterilizer Machine for Hospital Reviews: Get the Best Disinfection Solution Today
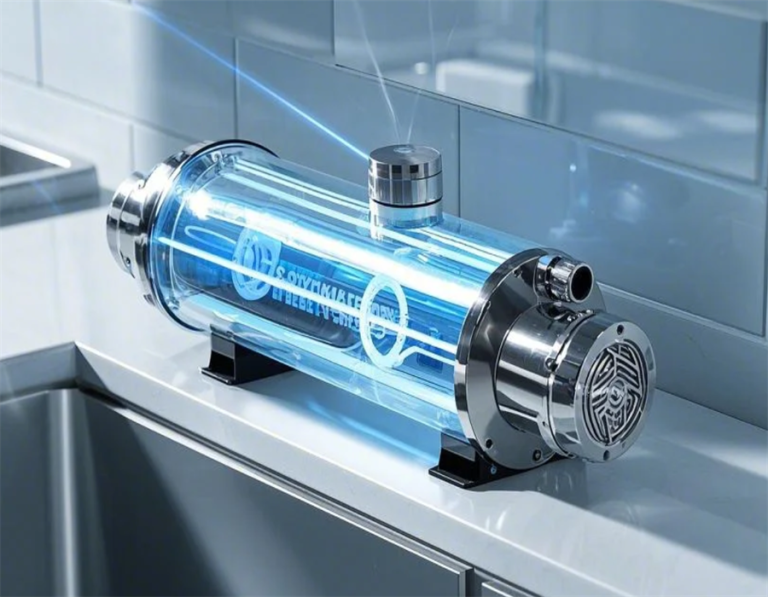
Okay, so, I’ve been meaning to share this for a while now. It’s about setting up a UV sterilizer in a hospital setting. You know, those machines that use ultraviolet light to zap germs and stuff? Yeah, those. I recently had the chance to get involved in this process, and let me tell you, it was quite the experience.
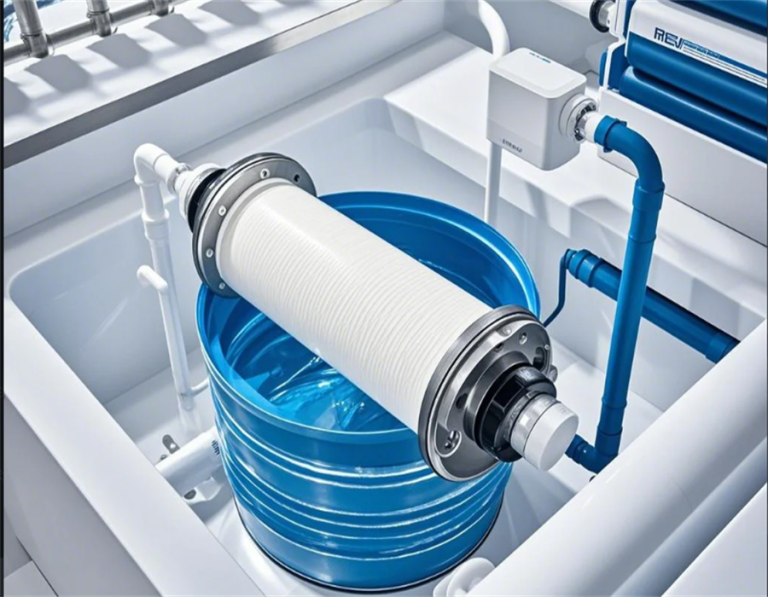
First off, we got this big, shiny machine delivered. It wasn’t huge, but definitely not something you could just tuck away in a corner. We had to figure out the best spot for it. The goal was to place it somewhere with high traffic, a place where lots of equipment and instruments pass through for sterilization. After some back and forth, we settled on a central location in the sterilization unit.
Setting it up
Getting the machine up and running was our next hurdle. We unwrapped everything, checked the parts, and started reading through the manual. It was one of those situations where you wish you’d paid more attention in science class. It was filled with warnings and instructions, you know, the usual safety stuff. We made sure the power supply was right and that we had enough space around the machine for proper ventilation.
- Unboxing and Inspection: We carefully unpacked the UV sterilizer and made sure all the parts listed in the manual were there.
- Checking the Power: This was crucial. We double-checked that the voltage matched what was required for the machine to avoid any electrical issues.
- Setting up the Space: We made sure the area around the sterilizer was clear to allow for good airflow, as recommended in the manual.
Then came the actual setup. We plugged it in, turned it on, and… nothing. Panic mode for a second, but then we realized we hadn’t flipped the main switch at the back. Rookie mistake, I know. Once we did that, it hummed to life, and the UV lights flickered on. It was kind of cool to see it in action.
Putting it to Work
Once it was all set, we started using it. We put in some surgical instruments first. Following the manual, we arranged them properly inside, closed the door, and set the timer. The machine did its thing, bathing everything in that eerie blue light. After the cycle finished, we took the instruments out. They felt… cleaner, if that makes sense. Even though you can’t see the germs, knowing they were being zapped away was satisfying.
We had to train the staff on how to use it properly. Some were a bit hesitant at first, worried about the UV light, but we showed them the safety features and how to operate it without any risk. Gradually, everyone got the hang of it, and it became a regular part of the sterilization routine.
- First Use: We placed surgical instruments inside, ensuring they were properly spaced.
- Running the Cycle: We set the timer according to the guidelines for effective sterilization.
- Training: We spent time showing the hospital staff how to use the machine safely and effectively.
Reflecting on it, setting up that UV sterilizer machine was more than just plugging in a new device. It was about improving hygiene standards, ensuring the safety of both patients and staff, and getting comfortable with new technology. And yeah, it felt pretty good to be a part of that.
So, that’s my little adventure with a UV sterilizer machine. It’s not every day you get to play with gadgets that fight germs with light, right? Hope you found this little story interesting or at least a bit informative. Catch you later!