One stop supplier of water treatment parts&accessories


Upgrade Your Fish Tank: Get a Canister Filter With UV Sterilizer Today!
Okay, let’s talk about setting up a canister filter with a UV sterilizer. I’ve been wanting to upgrade my aquarium setup for a while, and I finally took the plunge. I did some research, watched a bunch of videos, and decided to give it a shot myself.
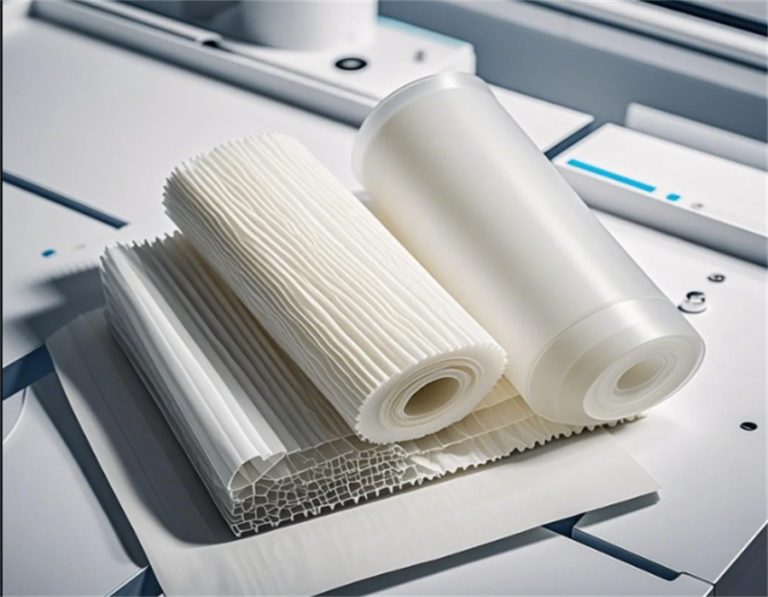
First things first, I gathered all the stuff I needed. I already had a decent-sized tank, but I picked up a new canister filter and a UV sterilizer that was supposed to be compatible. I also got some new filter media, hoses, and a few other bits and pieces. It was like Christmas morning, unpacking all the boxes!
Next, I cleared out a space to work and laid everything out. I wanted to make sure I knew what went where before I started disconnecting anything. The instructions that came with the filter were okay, but I found a couple of video tutorials online that were way more helpful. I highly recommend going down the YouTube rabbit hole before starting a project like this. It’ll make things much easier to understand and operate.
Disconnecting the old filter was a bit of a pain. I made sure to unplug everything and placed a bucket underneath to catch any water. There was definitely some spillage, but nothing major. I took the old filter apart and gave the tank a good cleaning while I was at it.
Then came the fun part – setting up the new canister filter. I carefully followed the instructions and placed the filter media in the correct order. I connected the hoses and made sure everything was nice and tight. There is an intake hose and output hose, pay attention when you operate.
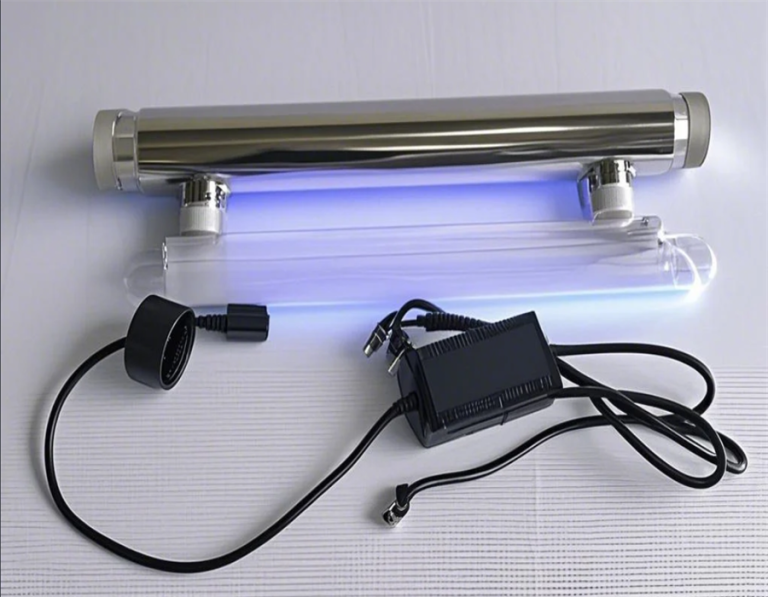
Now, for the UV sterilizer. This was the part I was most excited about. It’s supposed to help keep the water crystal clear and kill off any nasty bacteria or algae. I found a good spot to mount it near the filter and connected it to the output hose. Some people say that UV sterilizers are not very useful, but I still want to try it by myself.
With everything hooked up, it was time to fill the tank back up with water. I added the water slowly, making sure to dechlorinate it first. Once the tank was full, I plugged everything in and flipped the switch. It worked!
The Results
- The water looks so much clearer already. It’s amazing!
- The fish seem happier and more active. They have adapted to the new environment quickly.
- The plants are perking up, too.
Overall, I’m really happy with how this project turned out. It was a bit of work, but definitely worth it. My aquarium looks better than ever, and I’m confident that the water quality is much improved. If you’re thinking about upgrading your aquarium setup, I say go for it! Just do your research, take your time, and don’t be afraid to ask for help if you need it.