One stop supplier of water treatment parts&accessories


Water Filter Big Blue: Easy Guide to Choose the Best One for Your Home!
So, let me tell you about my little project this weekend – setting up a “Big Blue” water filter at home. I’ve been meaning to do this for ages, ’cause let’s be honest, the tap water here isn’t exactly top-notch, right?
First things first, I had to figure out what I needed. After going down a rabbit hole of online forums, I decided to go with the Big Blue system. Seemed like the best bang for my buck, and from what I read, it’s pretty good at cleaning up well water – which is what I’ve got.
Getting Started:
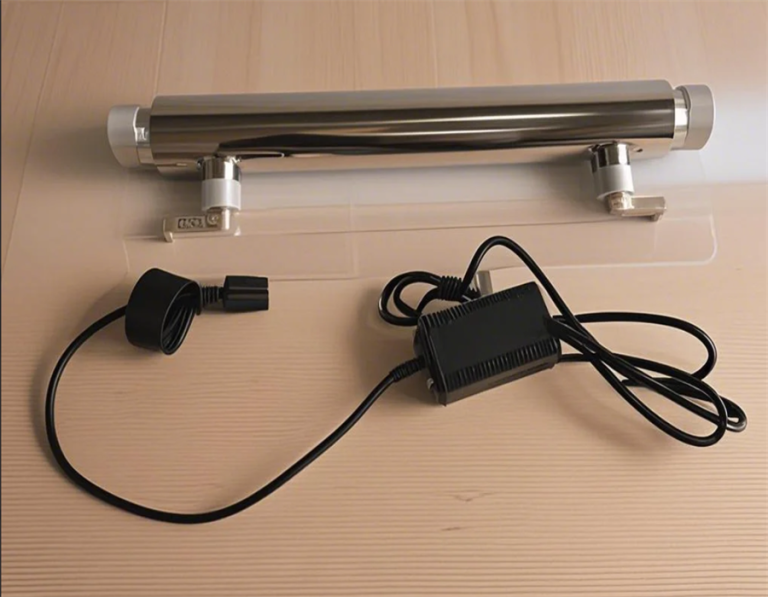
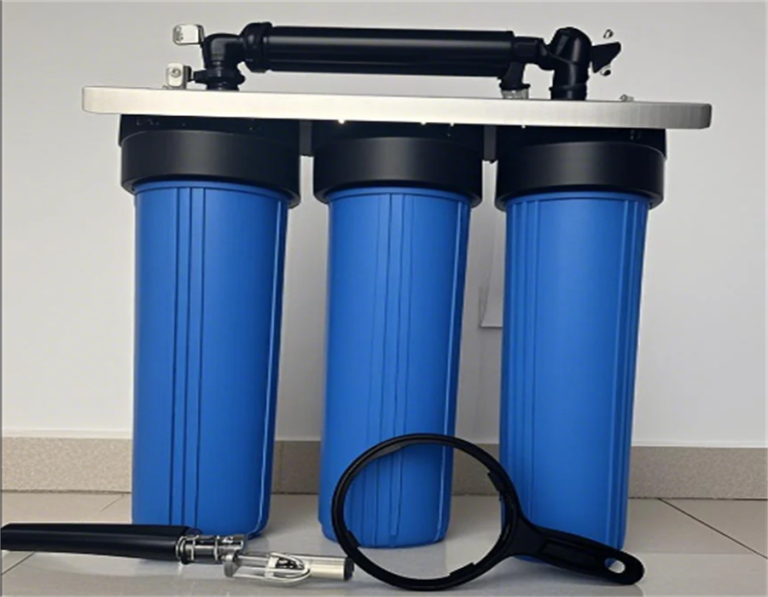
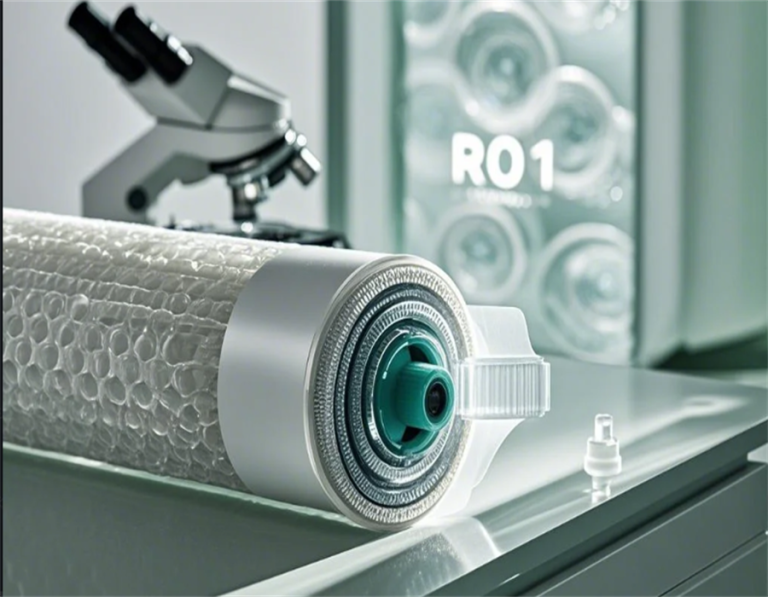
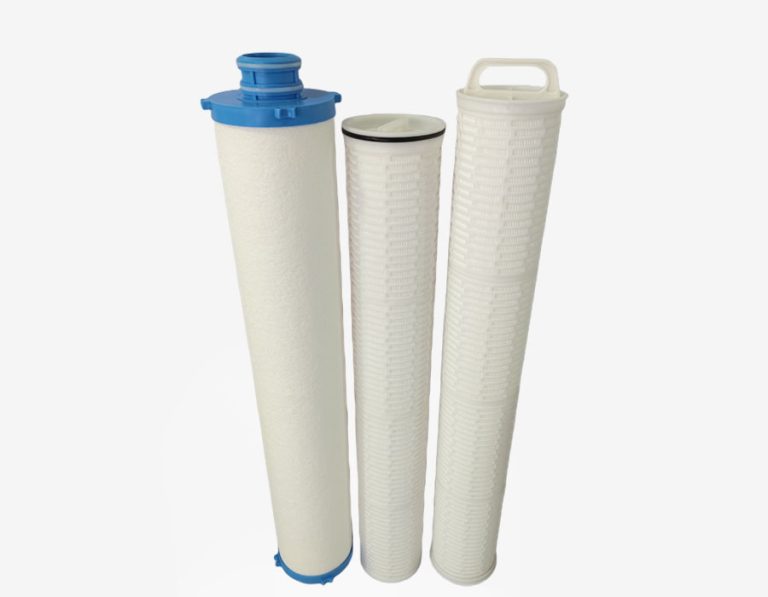
- Gathering Supplies: I hit up the local hardware store and grabbed the Big Blue filter housing, a couple of those big sediment cartridges (apparently, they’re the best for well water), some plumbing tape, and a wrench. Felt like a real DIY pro, haha.
- Choosing the Spot: This was a bit tricky. I wanted the filter after my water softener because I read online that it helps prevent any gunk from the softener getting into the rest of the pipes. But, I also read that if your water’s super muddy, you should put a filter before the softener too. Mine isn’t that bad, so I just went with after the softener for now.
The Installation:
Mounting the Housing: I found a good spot on the main water line after the softener. I marked where the screws would go, drilled some pilot holes, and mounted that bad boy. It was surprisingly easy. I feel I can do anything now.
Connecting the Pipes: This was the part I was most nervous about, but it turned out okay. I wrapped the threads of the pipes with plumbing tape to prevent leaks. Then, I just had to connect everything, making sure the water flow direction was right. I turn on the water to check it, and then I realized there was some leaking. I turned off the water and tightened it again.
Inserting the Cartridge: I popped one of those sediment cartridges into the housing. They’re huge! Screwed the housing back together and hoped for the best.
The Moment of Truth:
Testing it Out: I slowly turned the water back on, checking for leaks. Everything looked good! Then, I ran the tap for a few minutes to flush out any loose stuff from the filter. And…the water looked clearer, and it definitely tasted better! It seemed no impurities in the water now.
Final Thoughts: Overall, I’m pretty stoked with how it turned out. It wasn’t as hard as I thought it would be, and it’s such a relief to finally have better water. If you’re thinking about doing something similar, I’d say go for it! Just do your research and take your time. And don’t be afraid to ask for help – that’s what those hardware store folks are there for, right? I plan to change the filter in half a year. I will share it at that time.