One stop supplier of water treatment parts&accessories


water softeners for tankless water heaters
Alright, let’s talk about something I tackled recently: pairing a water softener with my tankless water heater. I’d been hearing good things about tankless for ages – endless hot water, saving space, maybe even a bit on the energy bill. So, I finally decided to get one installed.
Pretty soon after the tankless heater was in, I started thinking about our water quality. We’ve got pretty hard water around here. You know, the kind that leaves spots on dishes and makes soap kinda lazy. I realized this hard water, full of minerals like calcium and magnesium, probably wasn’t great news for my shiny new tankless heater. Those minerals can build up inside, creating scale, which I figured would eventually clog things up or make the heater work way harder than it needs to.
Looking into the Problem
So, I did some digging. Read forums, watched some videos. It became clear pretty fast that scale buildup is a real enemy of tankless water heaters. It coats the heating elements or the heat exchanger, making it less efficient and potentially shortening its lifespan. The recommendation that kept popping up was a water softener.
Makes sense, right? Softeners work by taking out those hard minerals. I figured if I wanted my investment in the tankless heater to last, I really needed to address the hard water issue head-on.
Choosing and Getting Ready
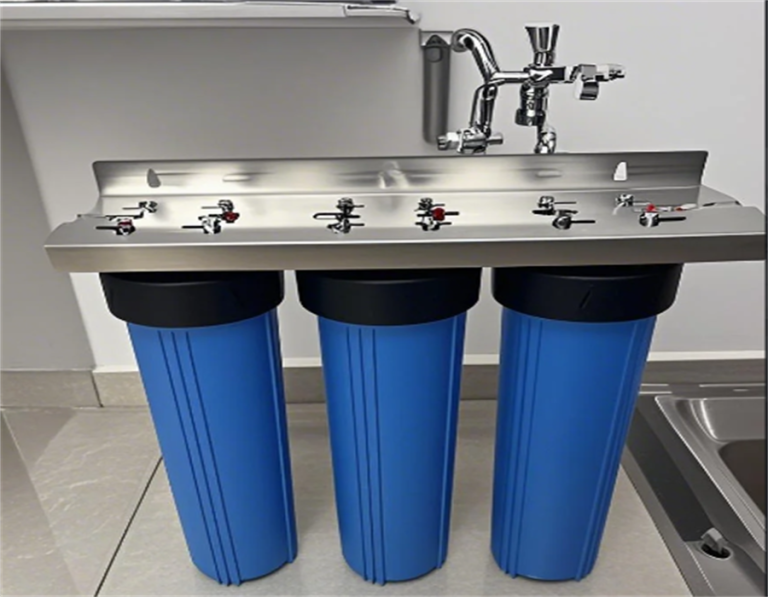
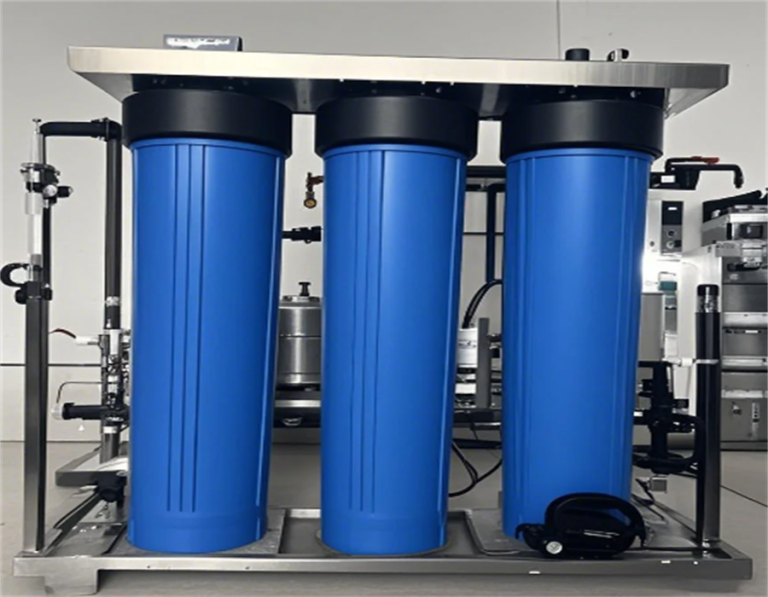
Next step was picking a softener. There are different types, but I settled on a traditional salt-based ion exchange unit. They seem to be the most effective at actually removing the hardness minerals. I looked at capacity – figuring out how much water we use and how hard our water actually is (got a simple test kit for that). Found a reasonably priced unit online that seemed like a good fit for our house size.
Once the softener arrived, I gathered up everything I thought I’d need for the install:
- The softener unit itself (tank for the resin and the brine tank for salt)
- Pipes – I went with PEX tubing because it’s flexible and easier to work with than copper for me.
- Various PEX fittings (connectors, elbows, shut-off valves)
- Pipe cutter for the PEX
- Wrenches
- Plumber’s tape
- A bucket and some old towels (knew things might get a bit wet)
- Drain tubing
The Installation Adventure
Okay, deep breath. First thing, and this is super important, I shut off the main water supply to the whole house. Found the main valve near where the water pipe comes into the basement and closed it tight.
Then, I picked the spot for the softener. Needed to be close to where the main water line comes in, but specifically before the line splits off to the tankless water heater. Also needed to be near a power outlet for the softener’s control valve and reasonably close to a drain for the regeneration cycle discharge. Found a good spot in the utility room.
Next came the slightly nerve-wracking part: cutting into the main water pipe. I double-checked the water was off (opened a faucet – nothing came out, phew!). Measured twice, cut once. I installed the bypass valve assembly that came with the softener first. This lets you isolate the softener later if needed, without cutting off water to the house.
Then, using my PEX pipe and fittings, I connected the main water line into the softener’s inlet port and then ran another pipe from the softener’s outlet port back to feed the rest of the house plumbing, including the cold supply line going to the tankless water heater. I made sure all the connections were snug, using plumber’s tape on the threaded fittings.
After connecting the main water lines, I ran the drain hose. This hose carries away the salty water during the softener’s cleaning cycle (regeneration). I routed it over to our laundry room utility sink, making sure there was an air gap so it wouldn’t siphon nasty stuff back into the softener.
Plugged the softener’s control valve into the nearby outlet. Then, I followed the instructions to add the recommended amount of salt pellets into the brine tank.
Startup and Testing
Showtime. I first put the softener into bypass mode using the valve I installed earlier. Then, I went back to the main water shut-off valve and opened it very slowly. Went back to the softener and carefully checked every single connection I made for leaks. Watched it like a hawk for a few minutes. Thankfully, everything looked dry.
Once I was confident there were no leaks, I slowly opened the valves to let water flow through the softener (taking it out of bypass). Again, watched for leaks.
The softener needed an initial setup. I had to program in our water hardness number (from the test kit I used earlier) and set the time for regeneration (picked 2 AM, when nobody’s using water). Then, I initiated the first manual regeneration cycle. This took a couple of hours, flushing the resin bed and getting everything ready. I could hear it working, water flowing to the drain periodically.
The Payoff
It’s only been running for a little while, but I can already tell the difference. The water feels… slicker? Soap definitely lathers up much better in the shower. Haven’t seen any new water spots on the fixtures near the sinks yet. But the biggest thing is the peace of mind. I feel much better knowing my tankless water heater is getting treated water, free from those scale-forming minerals.
It was a bit of a project, took me most of an afternoon, but totally doable if you’re comfortable with basic plumbing. If not, definitely call a pro. For me, protecting that tankless heater investment made it totally worth the effort.