One stop supplier of water treatment parts&accessories

What is big blue sediment water filter? Easy tips for choosing the right one for your home!
Hey everyone, it’s been a while since I last posted, but I’ve been busy with a home project that I think a lot of you will find useful. I recently decided to tackle our water quality issues by installing a big blue sediment water filter. The tap water where I live is pretty rough—lots of sediment and who knows what else floating around in it. So, I thought, why not take matters into my own hands?
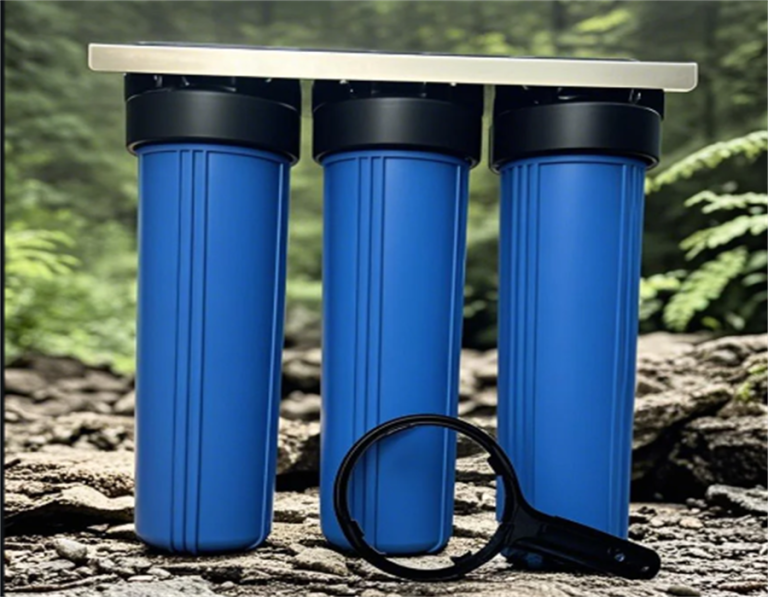
First off, I did a bunch of reading online to figure out what kind of filter would work best for my place. It seemed like everyone was talking about these “Big Blue” filters, and the more I looked into it, the more they seemed like the right choice. They’re supposed to be great for filtering out all the gunk without slowing down the water flow too much, which is a big deal when you’re trying to take a shower or fill up a pot for cooking.
I ended up choosing a model from a brand called Kind Water and according to the reviews I could find, it was a solid choice and even got a 9.7 out of 10, so that sounded pretty good to me! I also looked at a few others like the Waterdrop and SimPure. I also noticed a brand called Culligan and iSpring WGB21B which a lot of people recommended.
After settling on the Kind Water filter, the next step was actually getting it installed. I’m no plumber, but I’m pretty handy, so I figured I could handle it myself. I gathered all my tools, shut off the main water supply (that’s important, folks—don’t want a surprise indoor swimming pool), and got to work.
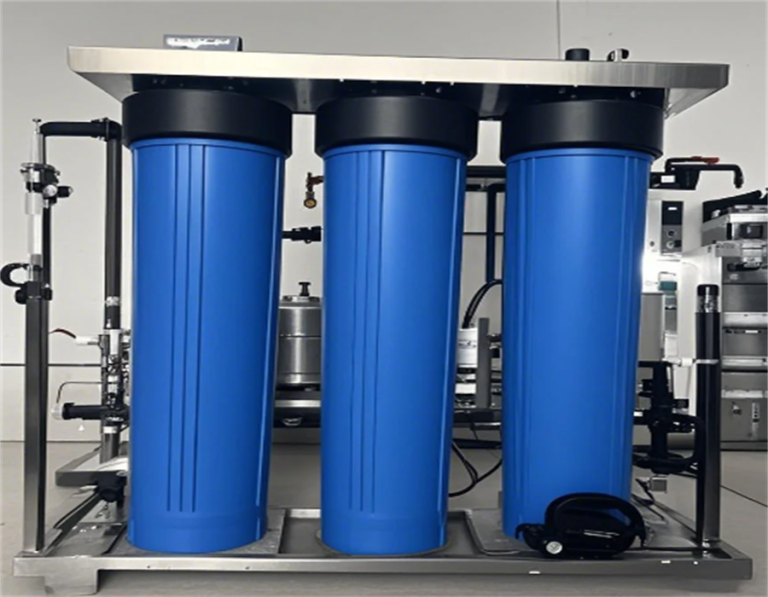
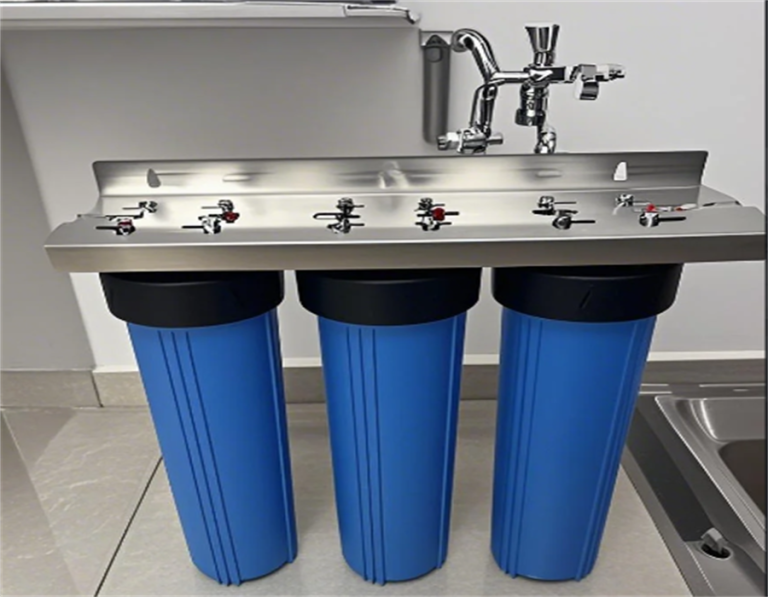
The installation process was a bit of a puzzle. I had to cut into the main water line coming into the house, which was a bit nerve-wracking. But with some careful measuring, a few deep breaths, and some elbow grease, I managed to get the filter housing mounted securely on the wall. Then it was just a matter of connecting the pipes, making sure everything was tight and leak-proof. The filter housing is pretty big, which is why they call it “Big Blue,” I guess. It’s designed to handle a lot of water, which is good for a whole house setup like mine. The micron size is also important. I started with a 50-micron filter. It is said that the smaller the micron, the more sediment it can catch. But if it is too small, it is easier to get clogged. So, 50-micron seems to be a good start.
Once everything was hooked up, I slowly turned the water back on, holding my breath and hoping for the best. And guess what? No leaks! I let the water run for a few minutes to flush out any air and loose sediment, and then I checked the water coming out of the tap. It was noticeably clearer, and it even tasted better.
Now, I know this isn’t the most glamorous project, but let me tell you, the difference in water quality is huge. Showers feel cleaner, the laundry seems brighter, and I’m not constantly cleaning out sediment from the faucets. Plus, it’s kind of cool to know that I did it all myself.
So, if any of you are dealing with not-so-great water quality, I’d definitely recommend looking into a Big Blue sediment filter. It’s a bit of work to set up, but totally worth it in the end.
That’s it for my water filter adventure! Feel free to ask any questions in the comments. I’m not an expert, but I’m happy to share more about my experience. Catch you all in the next post!


