One stop supplier of water treatment parts&accessories


Whats a 24 gpd RO membrane? Heres how it works and why you might need it!
Okay, so I’ve been messing around with my water filter setup at home, specifically the reverse osmosis part. Today’s little project was all about swapping out the RO membrane for one with a 24 gallons per day (GPD) rating. Let me tell you, it’s been quite the learning experience.
First off, I did a bit of reading on what these GPD ratings actually mean. Turns out, it’s basically how much water the system can filter in a day under perfect conditions. Of course, in the real world, it’s never quite that simple, but it’s a good starting point. My old membrane was a higher GPD one, and I was curious to see how this 24 GPD would stack up, especially since I live alone and don’t use a ton of water.
Getting Started
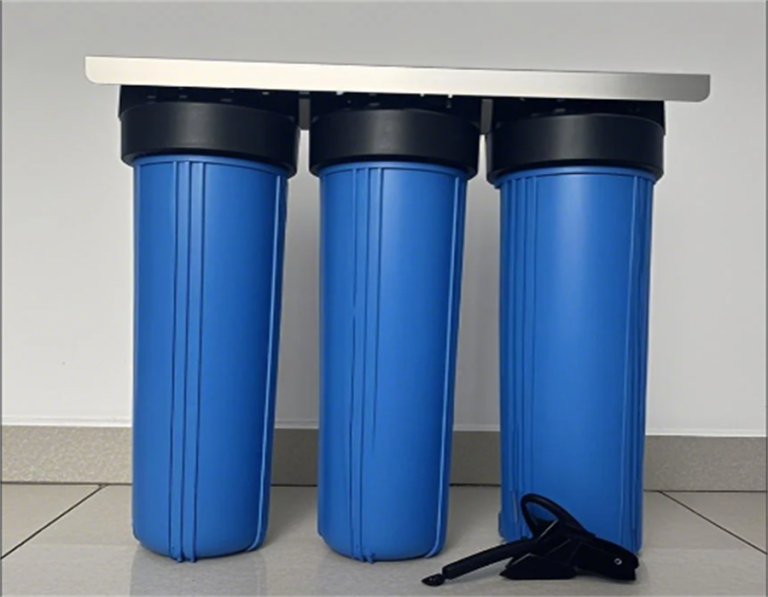
I started by shutting off the water supply to the RO system. Safety first, right? Then, I located the membrane housing – it’s usually the biggest part of the setup. This is where the magic happens, where all the bacteria, viruses, and other nasty stuff gets filtered out.
- Unscrewing the housing: This was a bit of a workout. These things are on tight! I used a housing wrench to get a good grip and slowly loosened it.
- Taking out the old membrane: Once the housing was open, I could see the old membrane. It looked pretty worn out. I carefully pulled it out – it’s important not to damage the housing or any of the seals.
Putting in the New Membrane
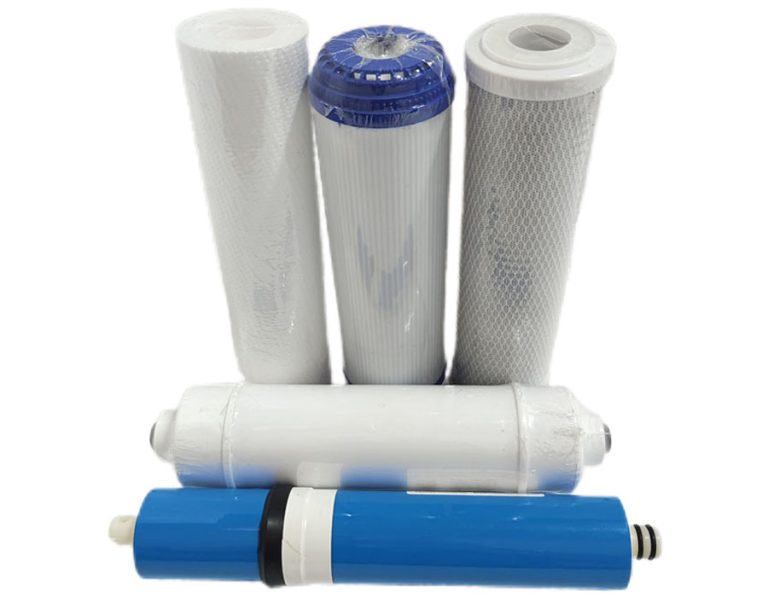
With the old membrane out, it was time to put in the new 24 GPD one. I made sure to handle it with care, these membranes are pretty delicate.
- Inserting the new membrane: I gently slid the new membrane into the housing, making sure it was seated properly. There’s usually a direction to insert it, so I followed the instructions that came with it.
- Screwing the housing back on: Once the membrane was in, I screwed the housing back on. I made sure not to overtighten it – just snug enough to prevent leaks.
Testing It Out
After everything was back together, I turned the water supply back on and let the system run for a while. I was pretty eager to see how the new membrane would perform.
- Checking for leaks: I kept a close eye on all the connections, especially around the membrane housing, to make sure there were no leaks.
- Flushing the system: It’s recommended to flush the system after installing a new membrane. This helps get rid of any manufacturing residues and ensures the water is clean. I let the water run for a good amount of time, as suggested in the instructions.
The Result
Honestly, the water flow is slower than with my old, higher GPD membrane. I did expect this. But the water quality seems just as good, which is the main thing. For a single person like me, a 24 GPD membrane is more than sufficient. It’s kind of nice knowing I’m not using a more powerful membrane than I need. It feels like a more fitting, maybe even more efficient setup for my needs.
All in all, it was a successful little DIY project. It’s satisfying to tinker with things and see how they work. Plus, I learned a good bit about RO systems and GPD ratings. If you’re thinking about changing your RO membrane, don’t be afraid to give it a go. Just do your research, take your time, and always remember to turn off that water supply first!