One stop supplier of water treatment parts&accessories


Whats the best ro system membrane housing? Check out these top picks!
Alright, so the other day I was tinkering with my RO system at home, you know, the one that makes sure our drinking water is all clean and stuff. I figured it was time to take a look at the membrane housing ’cause, honestly, I hadn’t paid much attention to it since we set it up.
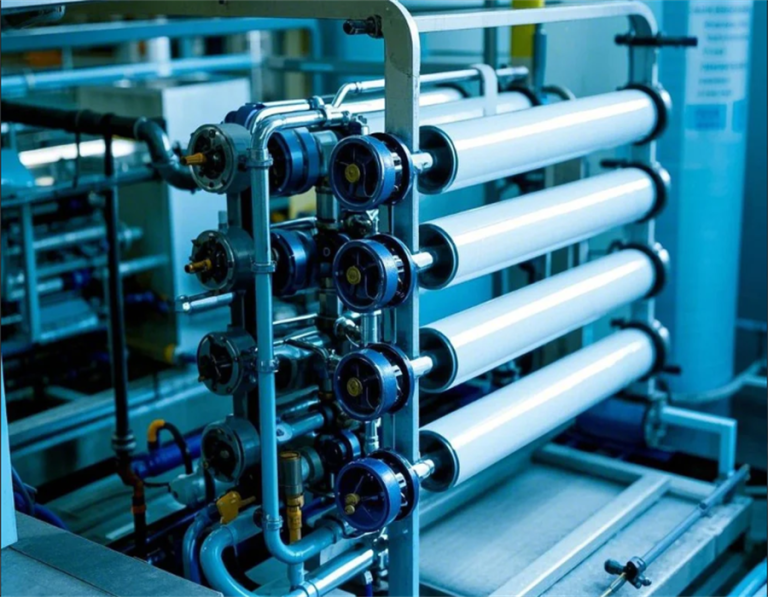
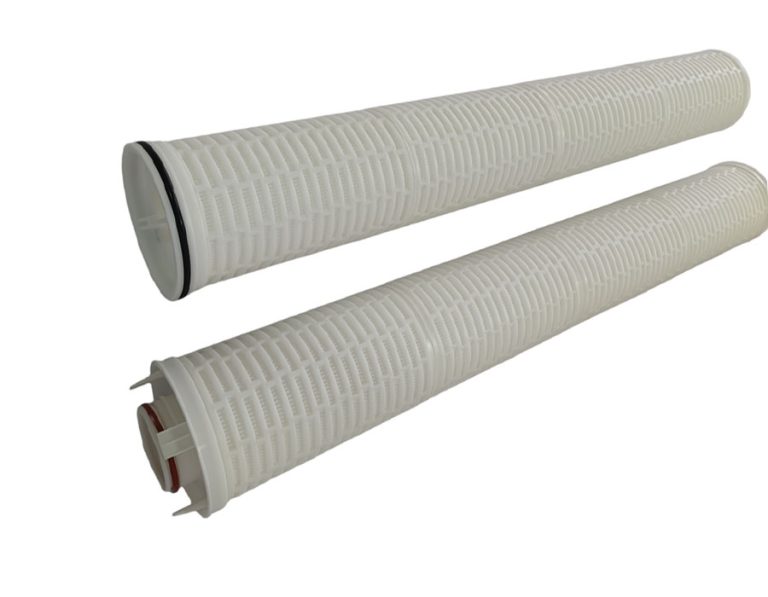
So, I grabbed my tools, feeling like a real handyman. First things first, I turned off the water supply. I’ve learned from past mistakes – you don’t want water spraying everywhere. Then I started to locate the membrane housing. It’s this long, cylindrical thing, usually tucked away under the sink or wherever your RO system lives.
Once I found it, I carefully unscrewed the end caps. I had to use a bit of elbow grease, but they came off eventually. Inside, there it was – the RO membrane, all rolled up like a little scroll. It’s pretty cool how this little thing filters out all the nasties from the water.
- Disconnect: I disconnected the tubing that was attached to the housing. I made sure to remember which tube goes where, ’cause I’m not a fan of puzzles when it comes to plumbing.
- Inspect: I pulled out the old membrane to take a good look at it. It was kinda discolored, which is a sign that it’s been doing its job. You wouldn’t believe the gunk that these things catch.
- Clean: Next, I took out the housing itself and gave it a good rinse. There was some residue built up inside, so I used a soft brush to clean it out. I wanted to make sure everything was spick and span for the new membrane.
- Replace: Putting in the new membrane was a breeze. I just slid it into the housing, making sure it was snug and secure. Then, I screwed the end caps back on, nice and tight.
After reconnecting all the tubes, I slowly turned the water supply back on. I was like a kid waiting to see if his science project worked. I checked for leaks, and thankfully, there were none. It’s always a relief when things go smoothly, you know?

I let the water run for a few minutes to flush out the system and get rid of any air bubbles. Then, I poured myself a glass of water, and it tasted great! It’s satisfying to know that you’ve got clean water and that you did the maintenance yourself. Plus, it’s way cheaper than calling a plumber for every little thing.
Honestly, working on this RO system was a good reminder that sometimes, you just gotta roll up your sleeves and get your hands dirty. It’s not rocket science, and it feels good to be self-reliant. So, next time you think about your RO system, don’t be afraid to take a peek inside. You might be surprised at how simple it is to keep it in top shape.