One stop supplier of water treatment parts&accessories


Where to buy a pentek big blue 1 inch npt filter replacement? Check out these options!
Okay, so, I’ve been meaning to replace the filter in my water system for a while now. You know how it is, life gets in the way. But finally, I got around to it, and let me tell you, it wasn’t as bad as I thought it would be. I’ve got this Pentek Big Blue whole house filter system, the one with the 1 inch NPT inlet. Pretty standard stuff.
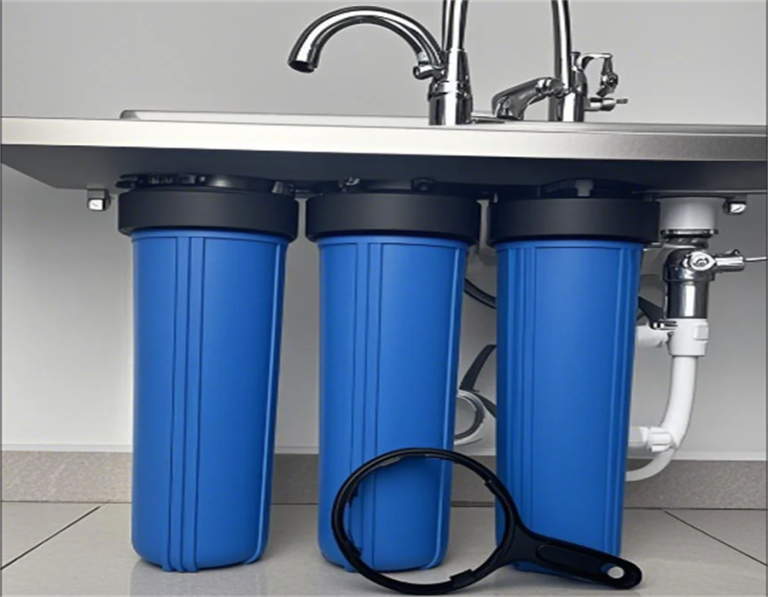
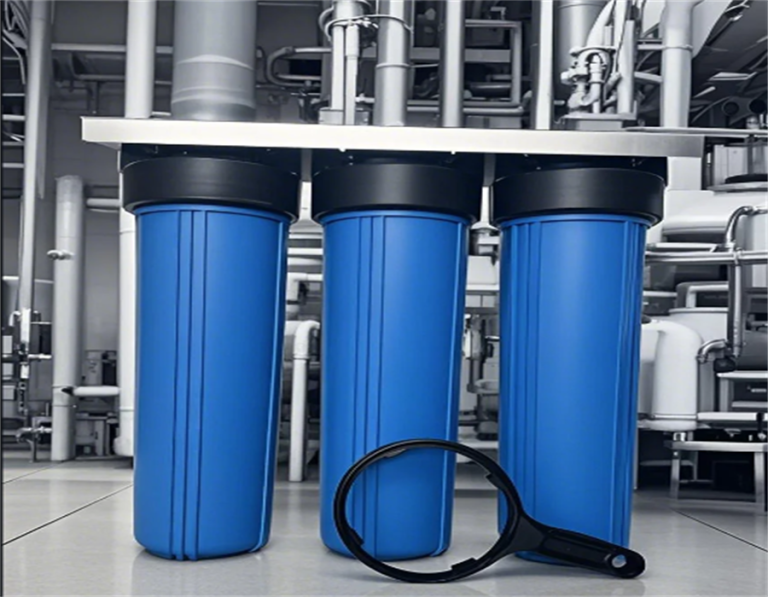
First thing I did was shut off the main water supply to the house. Don’t want any surprise showers, right? Then, I grabbed my wrench and went to town on the filter housing. It’s a big blue cylinder, hence the name “Big Blue”, and mine’s made of this tough, reinforced polypropylene. They also have black ones I think. Anyway, it’s got this black cap on top with a pressure relief button, which is super handy. I pressed that button to let out any built-up pressure before unscrewing the cap.
- Turn off main water supply
- Locate the filter housing
- Press the pressure relief button
- Unscrew the housing cap
Once the cap was off, I could see the old filter cartridge. Man, was it grimy! It’s supposed to be replaced regularly, but, like I said, I’ve been slacking. It was a 20-inch by 4.5-inch sediment filter, all brown and gunked up. It was originally a 5-micron filter, I got the Pentek DGD-5005-20. This thing was made out of some kind of spun polypropylene material, designed to catch all the dirt and junk in the water.
Getting the old filter out was a bit messy. Water, dirt, you name it. I had a bucket ready, thankfully. After that, I gave the inside of the housing a good rinse. Just wanted to make sure there wasn’t any leftover gunk in there.
Then came the new filter. I ordered a replacement online, the exact same model as the old one, the Pentek DGD-5005-20. It’s a dual-gradient density filter, which I guess means it catches different sized particles. It slid right into the housing, no problem.
Reassembling and finishing up
With the new filter in place, I screwed the cap back on, making sure it was nice and tight. Then, I slowly turned the main water supply back on, keeping an eye out for any leaks. Everything looked good, so I let the water run for a few minutes to flush out the new filter.
And that’s it! Honestly, it was easier than I expected. I should probably do this more often. Now I’ve got clean, filtered water throughout the whole house. Feels good, man. Plus, I saved a few bucks by doing it myself instead of calling a plumber. Win-win!